How to Plant a Kratom Plant
Plant Kratom indoors in a warm bright spot that stays between 70 and 90°F with high humidity. Use a pot one to two inches wider than the nursery container, filled with a chunky well-drained mix of potting soil, bark, and perlite. Give the new arrival two to three weeks to acclimate before repotting. Water deeply once the top inch dries, and expect the first new leaf push four to six weeks after settling in.
Where to put it
Kratom is a fast-growing tropical tree in the coffee family, native to the warm humid lowlands of Southeast Asia. In most of the US it lives indoors as a container plant, since anything below about 50°F can cause leaf drop and prolonged cold kills the plant. Only USDA zones 10 and 11 support outdoor growing year-round.
Indoors, give the plant the brightest spot you can offer. A south-facing window with several hours of direct morning sun works well, or a few feet back from an unobstructed west window. Insufficient light is the most common reason indoor Kratom stalls and drops leaves, so err on the bright side. Keep the plant away from cold drafts, AC vents, and exterior doors in winter.
Humidity matters as much as light. Kratom thrives at 60 to 80 percent relative humidity. In a dry home, group the plant with other tropicals, run a small humidifier nearby, or set the pot on a pebble tray. Room temperature should stay between 70 and 90°F, with nighttime lows no cooler than 60°F.
Planting from a nursery transplant
Give your Kratom two to three weeks in its nursery pot before repotting. Moving it the day it comes home stacks transplant shock on top of the change from greenhouse to your home, and Kratom is sensitive to abrupt environmental change. Once the plant has settled into your light, temperature, and watering rhythm without dropping leaves, repot whenever you are ready.
The critical rule for Kratom is drainage. Roots sitting in waterlogged mix rot quickly in the warm humid conditions the plant otherwise needs to thrive, so the pot and the mix must both move water through freely.
-
1Let the plant acclimate first Place the plant in its target indoor spot and leave it in the nursery pot for two to three weeks. Water normally and watch for new leaf growth or steady color, which signals the plant has adjusted to your light and humidity. Repotting before this point doubles the stress and often triggers leaf drop that takes months to recover from.
-
2Pick a pot one to two inches wider Choose a container only one to two inches wider than the nursery pot, with several drainage holes in the base. Oversized pots hold extra wet mix around the roots and invite rot, which is the fastest way to lose a Kratom plant. A terracotta or unglazed ceramic pot helps excess moisture evaporate through the walls, but plastic works fine if you let the mix dry properly between waterings.
-
3Mix a chunky well-draining blend Combine roughly equal parts quality potting soil, fine orchid bark or coco chips, and perlite or pumice. This blend holds enough moisture for the warm humid conditions Kratom likes while still draining fast enough to keep roots oxygenated. Skip dense peat-heavy mixes straight out of the bag, since they compact over time and stay too wet.
-
4Slide the plant in and backfill Add a layer of mix to the new pot, then gently slide the root ball out of the nursery container without breaking it apart. Set the root ball so the top sits about half an inch below the pot rim, then fill in around the sides with fresh mix and firm it lightly with your fingers. Keep the trunk at the same depth it was growing at before, since burying the stem invites rot at the soil line.
-
5Water in deeply and place it back Water slowly until liquid runs freely from the drainage holes, which settles the mix around the roots and removes air pockets. Let the pot drain completely before returning it to its bright warm spot, and skip fertilizer for the first six to eight weeks while new roots establish. Hold off on misting the leaves directly and rely on ambient humidity instead, since wet foliage in still indoor air invites fungal spots.
The first month and a half
The first six weeks after repotting are mostly underground work. Kratom is pushing fresh root tips into the new mix and pulling water and nutrients through its leaves, but very little of that effort shows up as new top growth right away. Some minor leaf drop in the first two weeks is normal, especially the oldest lower leaves.
The most common new-grower mistake during this period is overwatering. Tropical labels can read as a license to keep the mix constantly damp, but Kratom roots need air pockets between waterings to stay healthy. Water deeply, then wait until the top inch of mix dries before watering again.
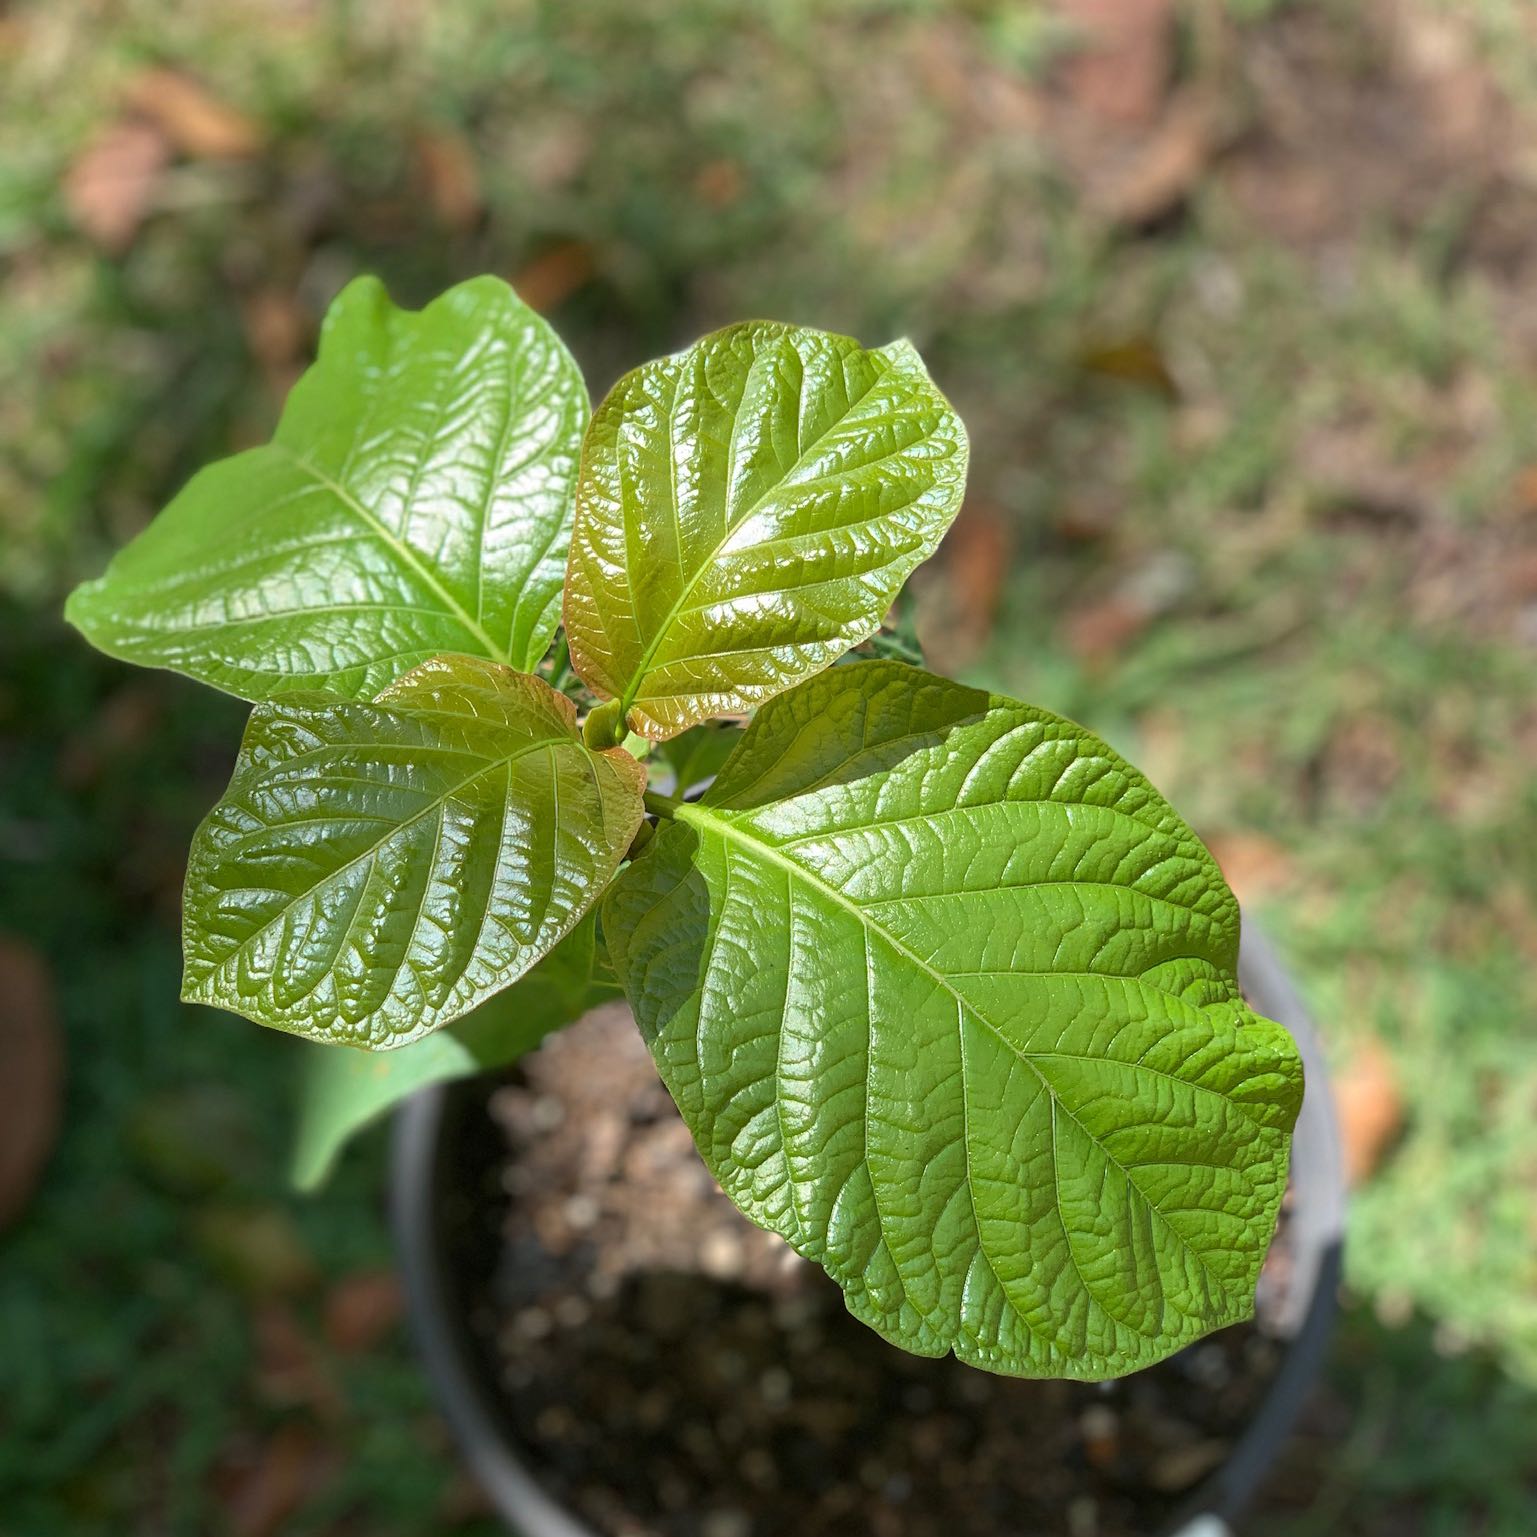
Healthy first-six-week growth looks like firm green leaves that hold their color, no rapid yellowing, and the first new leaf push from the growth tip somewhere around week four to six.
What can go wrong
-
Sudden leaf drop after repotting
Stacked stress from repotting too soon after arrival is the usual culprit, often combined with a cold or dry spot. Move the plant to its warm bright home and stop disturbing it. Water only when the top inch of mix has dried, and give the plant four to six weeks to push fresh leaves once conditions stabilize. -
Yellowing leaves on the lower trunk
A few lower leaves yellowing and dropping during the first two weeks is normal as the plant sheds older foliage to support new root growth. Persistent yellowing across many leaves usually points to overwatering or poor drainage instead. Check that the pot drains freely, let the mix dry further between waterings, and verify the roots are firm and pale rather than soft and brown. -
Mushy stem at the soil line
Crown rot from a waterlogged mix or burying the trunk too deep is the cause. Unpot the plant and check the roots and lower stem for soft brown tissue, trimming away anything mushy with a clean blade. Repot into fresh chunky mix at the correct depth, with the original soil line sitting at the new soil line, and hold off watering for several days to let the cuts callus. -
Brown crispy leaf edges
Low humidity is the common cause indoors, especially in heated winter rooms where ambient humidity can drop to 20 percent. Group the plant with other tropicals, run a small humidifier nearby, or set the pot on a tray of pebbles and water. Avoid misting the leaves directly, since droplets in still indoor air can invite fungal spotting instead of solving the humidity problem. -
Slow growth or stalled new leaves
Insufficient light is the most common reason indoor Kratom stalls after the establishment period. Check that the plant is getting several hours of direct or very bright filtered sun each day, and move it closer to a south or west window if needed. Cold room temperatures below 65°F also slow growth substantially, so verify the nighttime low at the plant's location. -
Pale washed-out new growth
Insufficient light is the usual cause once the plant has been in place for several weeks, since new leaves emerging in dim conditions never develop full green color. A nitrogen deficiency from a long stretch without feeding can produce similar paleness across all foliage. Move the plant to brighter light first, then start a gentle balanced fertilizer at half the label rate every four to six weeks during active growth. -
Wilting despite damp soil
Root damage from rot or from cold soil prevents the plant from drawing up water even when the mix is wet, so the leaves droop as if thirsty. Check the roots for softness and the room temperature for cold drafts. Repot into fresh mix if roots are damaged, warm the room or move the plant away from the cold source, and let the mix dry significantly before watering again. -
Tiny webs or sticky leaves
Spider mites and aphids both target stressed indoor Kratom, especially in low humidity. Look closely at the undersides of leaves and along new growth tips for fine webbing or small clusters of insects. Rinse the foliage in a lukewarm shower, then treat with insecticidal soap or neem oil every five to seven days for three weeks, and raise the ambient humidity to make the environment less hospitable for mites.
About This Article
