How To Plant Hollyhock Roots
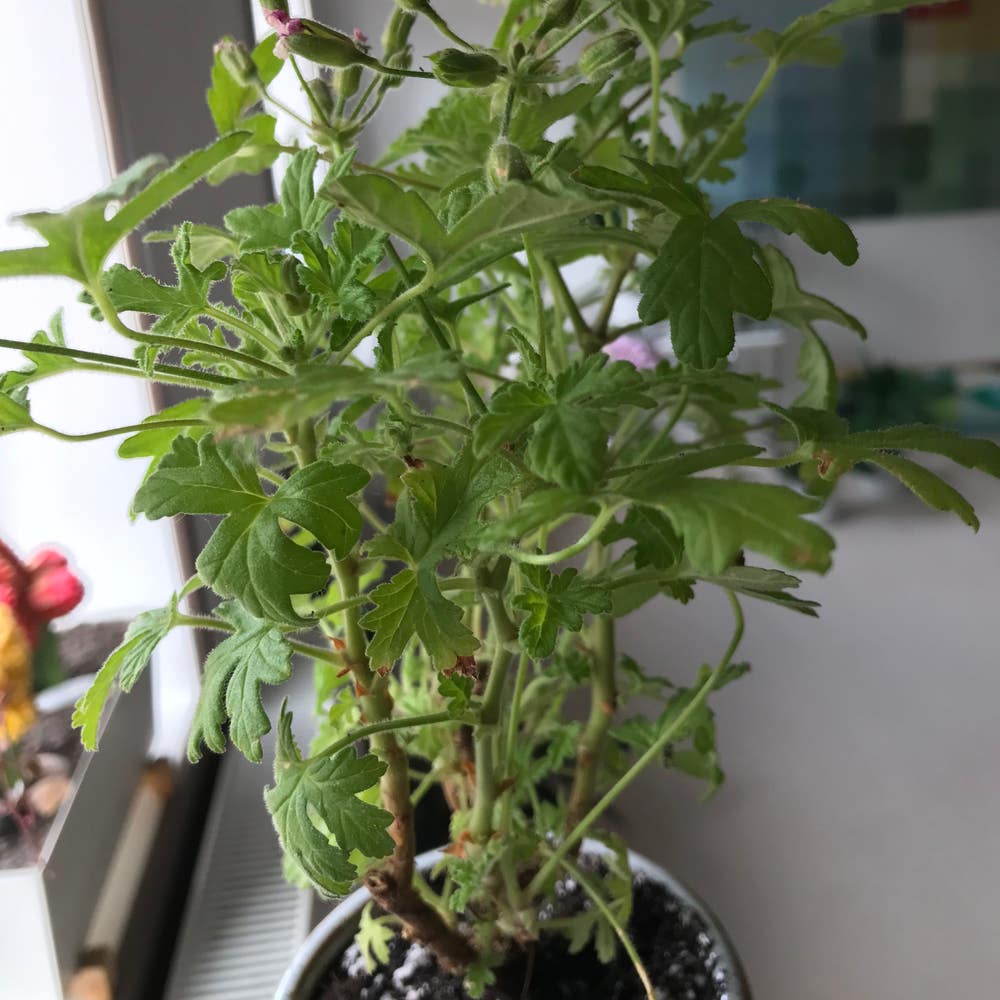
Malva alcea
By the Greg Editorial Team
Dec 16, 2023•9 min read
This article was created with the help of AI so we can cover more plants for you. May contain errors. See one? Report it here.
Elevate your garden's charm and help pollinators 🐝 with this essential hollyhock planting guide.
- 🌞 Full sun and well-draining soil are essential for hollyhocks.
- Stake tall plants to protect from wind; prune for health.
- Fertilize early, water at base, and deadhead for more blooms.
Selecting the Right Location
🌞 Well-Draining Soil and Full Sun
Full sun is non-negotiable for hollyhocks to flourish. Scout for a spot that basks in at least six hours of sunlight daily. Well-draining soil is just as crucial; soggy roots are a no-go. If you're dealing with clay, get ready to amend like there's no tomorrow.
🏙 Height and Wind Considerations
Hollyhocks are the skyscrapers of the garden, easily reaching heights that rival some NBA players. Choose a location that can accommodate their vertical ambitions without tangling with power lines or overshadowing other plants. Wind is the nemesis of tall plants; a sheltered spot will prevent your hollyhocks from taking a tumble. If your garden is a wind tunnel, consider staking as an insurance policy.
🌱 Soil pH and Fertility
Aim for a soil pH that's slightly acidic to neutral; think 6.0 to 7.0 on the pH scale. If you're scratching your head over your soil's pH, a simple test can clear things up. Remember, hollyhocks aren't picky eaters, but they do appreciate fertile ground. Compost or well-rotted manure? Yes, please.
🌍 Environmental Factors
Don't ignore the quirks of your locale. Coastal gardeners, watch out for salt spray. Urban dwellers, consider pollution. And everyone should keep an eye on local wildlife—deer find hollyhocks as irresistible as a buffet.
Preparing the Soil
Before you plant hollyhocks, soil preparation is key. They thrive in fertile, loamy soil with a slightly acidic to neutral pH, ideally between 6.0 and 7.0.
🌱 Soil Texture and Composition
Check that your soil is well-draining yet retains sufficient moisture. If it's heavy with clay or too sandy, incorporate organic matter like peat moss or compost to improve texture and drainage.
📊 Soil pH and Amendments
A soil test can pinpoint your soil's pH. If you need to adjust it, add sulfur to lower the pH or lime to raise it, but only as indicated by your test results.
🌿 Nutrient Content
Mix in a balanced fertilizer or compost to enrich the soil with nutrients. This step is crucial for the hollyhocks to establish strong roots and support their tall growth.
Remember, the goal is to create a crumbly, nutrient-rich bed for your hollyhocks to flourish in. No need to overcomplicate it – just ensure good drainage, the right pH, and plenty of nutrients.
Planting Hollyhock Roots
Planting hollyhock roots is straightforward but requires attention to detail. Start by soaking your roots in water for about 10 minutes to revitalize them. Avoid over-soaking; you don't want them turning to mush.
🕳️ Preparing the Hole
Dig a hole that's a cozy fit for the roots, typically 2-3 inches deep. The hole should allow the taproot to point downward and the crown to sit at soil level. Think of it as tucking them in bed—snug but not smothered.
🌱 Planting the Roots
Place the roots on a mound of soil in the hole's center. The bud or crown should peek out like a periscope, level with the soil surface. Backfill with soil, tamping gently for good soil-to-root contact.
💧 Initial Watering and Mulching
After planting, give them a good drink of water. Not a sprinkle, not a flood—think of a steady rain. Then, mulch to keep the soil cool and moist, like a refreshing ice pack on a hot day.
🛡️ Protecting the Young Plants
If the sun's being a bit too enthusiastic, shield your plants with a box or newspaper. It's like giving them sunglasses during a heatwave.
Remember, hollyhocks are the high-rises of the flower world. They need a solid foundation, so don't rush the planting process. Take your time, and your hollyhocks will reach for the sky in no time.
Propagation from Roots
Propagation isn't just a fancy term for cloning your favorite plants—it's a practical way to expand your hollyhock collection. Let's dig into the dirt on how to do it right.
🌱 Division: The Plant Multiplication Method
Think of division as plant mitosis. Early spring is the prime time for this, just as your hollyhocks are shaking off winter's chill. Here's the lowdown:
- Gently unearth the plant, keeping the root ball intact.
- Look for natural separations where the plant is begging to be split.
- Use your hands—or a clean knife for stubborn roots—to divide the plant into smaller sections.
- Ensure each new plant has a healthy chunk of roots and a few leaves to photosynthesize like a champ.
- Replant each section at the same depth it was originally, and water it to help settle the soil.
🌿 Offsets: The Little Suckers
Offsets are like the plant's own attempts at creating a mini-me. They're the side shoots that sometimes sprout their own roots. Here's how to handle these little rebels:
- Identify offsets that have formed their own root system.
- With a sharp spade or knife, separate them from the mother plant.
- Plant them in their new home, giving them the same TLC you'd give any young hollyhock.
Pro tip: Don't be stingy with space. Hollyhocks are social but not that social—they need room to grow without bickering over sunlight.
🕰 The Waiting Game
Patience is key. After propagation, give your hollyhocks a few weeks to settle in before you even think about fertilizing. They're tough cookies, but they need a moment to recuperate from the shock of moving day.
Remember, propagation is part science, part art, and a whole lot of dirt under your fingernails. Get it right, and you'll have a garden full of hollyhocks that'll make the neighbors green with envy.
Watering and Maintenance
💧 Watering Hollyhocks
Proper hydration is crucial for hollyhocks, especially during their establishment phase and in times of drought. Water deeply and infrequently to encourage robust root growth. Aim for the soil to be moist but not waterlogged, and always water at the base to prevent leaf diseases like rust. Mulching is your ally here; a generous layer around the plants will keep the moisture in and the weeds out.
🛠 Maintenance Musts
Tall, stately hollyhocks need a buddy system; staking is non-negotiable to prevent a wind-induced timber moment. Regularly check for dead or yellowing leaves and show no mercy—prune them off. This not only keeps your hollyhocks looking sharp but also deters disease. And remember, the only thing that should be left high and dry is humor, not your plants. Keep an eye on the weather and adjust your watering accordingly; your hollyhocks will thank you with blooms that turn heads.
Fertilization and Nutrient Needs
Hollyhocks, those tall beacons of the cottage garden, aren't gluttons for feed, but they do enjoy a good meal to support their lofty ambitions. Initial fertilization is key; mix in a slow-release fertilizer when planting to kick-start their growth.
🌱 When to Fertilize
After planting, hollyhocks are pretty low-maintenance on the feeding front. If you've got a green thumb itch and want to fertilize mature plants, do so sparingly. Overfeeding can lead to more leaves than flowers, and nobody wants a leafy tower.
🌿 Choosing the Right Fertilizer
A balanced NPK (nitrogen, phosphorus, potassium) fertilizer is the hollyhock's best friend. Nitrogen for foliage, phosphorus for those show-stopping blooms, and potassium for overall health. Remember, it's a buffet, not an all-you-can-eat.
🍃 Organic Options
If you're the organic type, good compost is your go-to. It's like a slow-release capsule of joy for your hollyhocks, feeding the soil and your soul, one decomposed banana peel at a time.
⚗️ Synthetic Fertilizers
For those who prefer a more scientific approach, synthetic fertilizers are fine, too. Just follow the instructions like it's a recipe for a chemical cake. But really, less is more—think of it as seasoning, not the main course.
🕒 Timing is Everything
Fertilize in the early growing season when your hollyhocks are stretching their legs. Avoid late-season fertilizing; it's like giving them an espresso shot before bed. Not cool.
🚩 Signs of Over-Fertilization
Yellowing leaves? Slow growth? You might be over-feeding. Hollyhocks aren't teenagers; they don't need constant feeding. Ease up and let them breathe.
In summary, treat your hollyhocks to a balanced diet, and they'll reward you with a floral tower that's the envy of the neighborhood. Just don't go overboard—nobody likes a greedy garden.
Managing Pests and Diseases
Hollyhocks, while statuesque, are not immune to the sneaky attacks of pests and diseases. Rust is the most infamous ailment, leaving its mark with yellow-spotted leaves. To combat this, keep foliage dry and water at the base to prevent spore spread. If rust appears, show no mercy: remove affected leaves and dispose of them like a bad habit.
🐛 Common Culprits
Anthracnose can also crash the party, causing unsightly black splotches. Hot, humid weather is its playground. Ensure good air circulation and consider a fungicide if it gets bold.
👾 Unwelcome Guests
Pests are less of a headache but can still cause drama. Young hollyhocks might attract slugs and caterpillars, while spider mites and Japanese beetles eye them up when they're older. Regular inspections are key—catch them red-handed and show them the door with insecticidal soap or neem oil.
🚫 Prevention Over Cure
Remember, the best offense is a good defense. Space your hollyhocks to avoid overcrowding and ensure your garden doesn't become a fungal rave. A little garden hygiene goes a long way, and so does choosing resistant varieties. Keep your plants robust, and they'll be less likely to fold under pressure.
Growth and Blooming Period
Hollyhocks, those towering beauties of the cottage garden, follow a fascinating growth cycle. In their first year, they're all about the foliage and energy storage. Come year two, they shoot up like beanstalks, unfurling flowers that can make a paint palette jealous. Typically, you'll see blooms from June to August, but some eager varieties will burst into color in their first year if you play your cards right with early planting.
🎆 When to Expect Fireworks
Expect the real show in the second year after planting. That's when hollyhocks truly strut their stuff, with stalks that can reach 6 to 8 feet tall, flaunting flowers from top to toe. And if you're worried about deer treating your garden like a salad bar, hollyhocks are usually given a pass by these four-legged critters.
🎸 Deadheading: Not Just for Rock Fans
After the bloom bonanza, deadheading is your ticket to more flowers. Snip off those spent blooms to stop seeds from forming, and you might just get a second act. If you're playing the long game and want seeds for next year, leave a few flowers to do their thing. Just remember, after the curtain falls and winter approaches, cut everything back to prevent rust disease from crashing the after-party.
Remember, these are not just pretty faces; they're workhorses that support pollinators like bees and hummingbirds, and even the painted lady butterfly's caterpillars. So, by growing hollyhocks, you're not just a gardener; you're an eco-hero. Keep that in mind when you're up to your elbows in soil, and it'll feel less like work and more like a noble quest.
⚠️ Safety First
This content is for general information and may contain errors, omissions, or outdated details. It is not medical, veterinary advice, or an endorsement of therapeutic claims.
Always consult a qualified healthcare professional before using any plant as food, medicine, or supplement.
Never eat any plant (or feed one to pets) without confirming its identity with at least two trusted sources.
If you suspect poisoning, call Poison Control (800) 222-1222, the Pet Poison Helpline (800) 213-6680, or your local emergency service immediately.
Spotted an error? Please report it here.
Ensure your hollyhocks thrive and support pollinators by using Greg's personalized watering schedule 🌞 to keep them blooming beautifully from June to August.