How to Plant a Desert Willow
Plant Desert Willow in spring in full sun and sharply drained soil, with the root flare sitting at or just above the finished grade. Dig the hole twice as wide as the root ball but no deeper. Space plants 15 to 20 feet apart. Water deeply every week through the first summer, then taper off, since established plants resent wet roots. Expect light bloom the first summer and a full flush by year two.
When and where to plant
Desert Willow is hardy in zones 7 through 11 and grows best in full sun, meaning six or more hours of direct light per day. Less sun means fewer flowers and a leggier shape. The plant tolerates the reflected heat off walls and paving better than almost any other small flowering tree, so a hot south or west exposure is ideal.
Plant in spring after the last frost, once nights stay above 50°F. The roots need warm soil to push out into native ground before the first hot stretch. Fall planting works in zones 9 and warmer, but anywhere colder, a fall transplant risks frost damage on tender new growth before the plant has settled.
The site needs sharply drained soil. Heavy clay that holds water for more than a day after rain will kill the plant within a season or two. Native rocky, sandy, or gravelly ground is perfect. On clay sites, plant on a raised mound at least eight inches above grade so water drains away from the root zone. Allow 15 to 20 feet between plants and at least 10 feet from walls or paving where the mature canopy will spread.
Planting a container-grown tree
Desert Willow is sold almost exclusively as a container-grown tree from one to fifteen gallon pots. Two rules drive success. The first is drainage, since the plant evolved on washes and arroyos that dry out completely between storms and root rot is the leading cause of death in landscape plantings. The second is the root flare, which must sit at or just above the finished grade, since trees buried below the flare slowly suffocate over two to five years.
-
1Pick a planting day Choose a cool, overcast spring day after the last hard frost, ideally with rain in the next few days. Hot dry weather pulls moisture out of freshly transplanted leaves faster than new roots can replace it. If you must plant on a warm day, do it in early morning and provide light shade through the first afternoon.
-
2Dig the hole twice as wide Measure the root ball, then dig a hole twice as wide and the same depth, never deeper. A wide hole loosens the surrounding ground so new roots can push out laterally rather than circling. On heavy or compacted soil, rough up the sides of the hole with a fork so the transition to native ground is not slick.
-
3Find and set the root flare The root flare is the slight trunk widening where the wood transitions into the major surface roots. Brush soil off the top of the root ball with your fingers until you can see the flare, then position the tree so the flare sits at or just above your finished grade. On poorly drained ground, plant the flare two to four inches above grade so the crown stays out of standing water.
-
4Score the roots if they are circling Slide the tree out of its container and inspect the sides of the root ball. If you see roots wrapping around in a spiral, use a clean knife to make three or four shallow vertical cuts down the sides, about half an inch deep. Scoring redirects the roots outward instead of letting them continue the circle, which can choke the tree years later.
-
5Backfill, water in, and mulch Hold the tree upright as you backfill with the same native soil you removed, firming gently to remove large air pockets. Do not amend the backfill with compost or potting mix, since a richer pocket of soil holds extra water and discourages roots from leaving the hole. Water the planting hole until the soil settles, then top with two to three inches of coarse gravel or bark mulch, kept four inches back from the trunk.
The first year
The first year for a newly planted Desert Willow is mostly an underground story. The plant is shifting energy into pushing roots out into native soil and building the deep tap and lateral system that lets a mature plant shrug off drought. You should not expect much top growth in month one, and that is normal.
The most common new-grower mistake is to read slow leaf-out as a sign of trouble and overwater. This species evolved to wait out dry spells and then surge with summer monsoon rain, so soggy roots are a much bigger threat than a dry week. Water deeply once a week through the first summer, then let the plant tell you when to drink by watching for slight leaf wilt in the late afternoon.
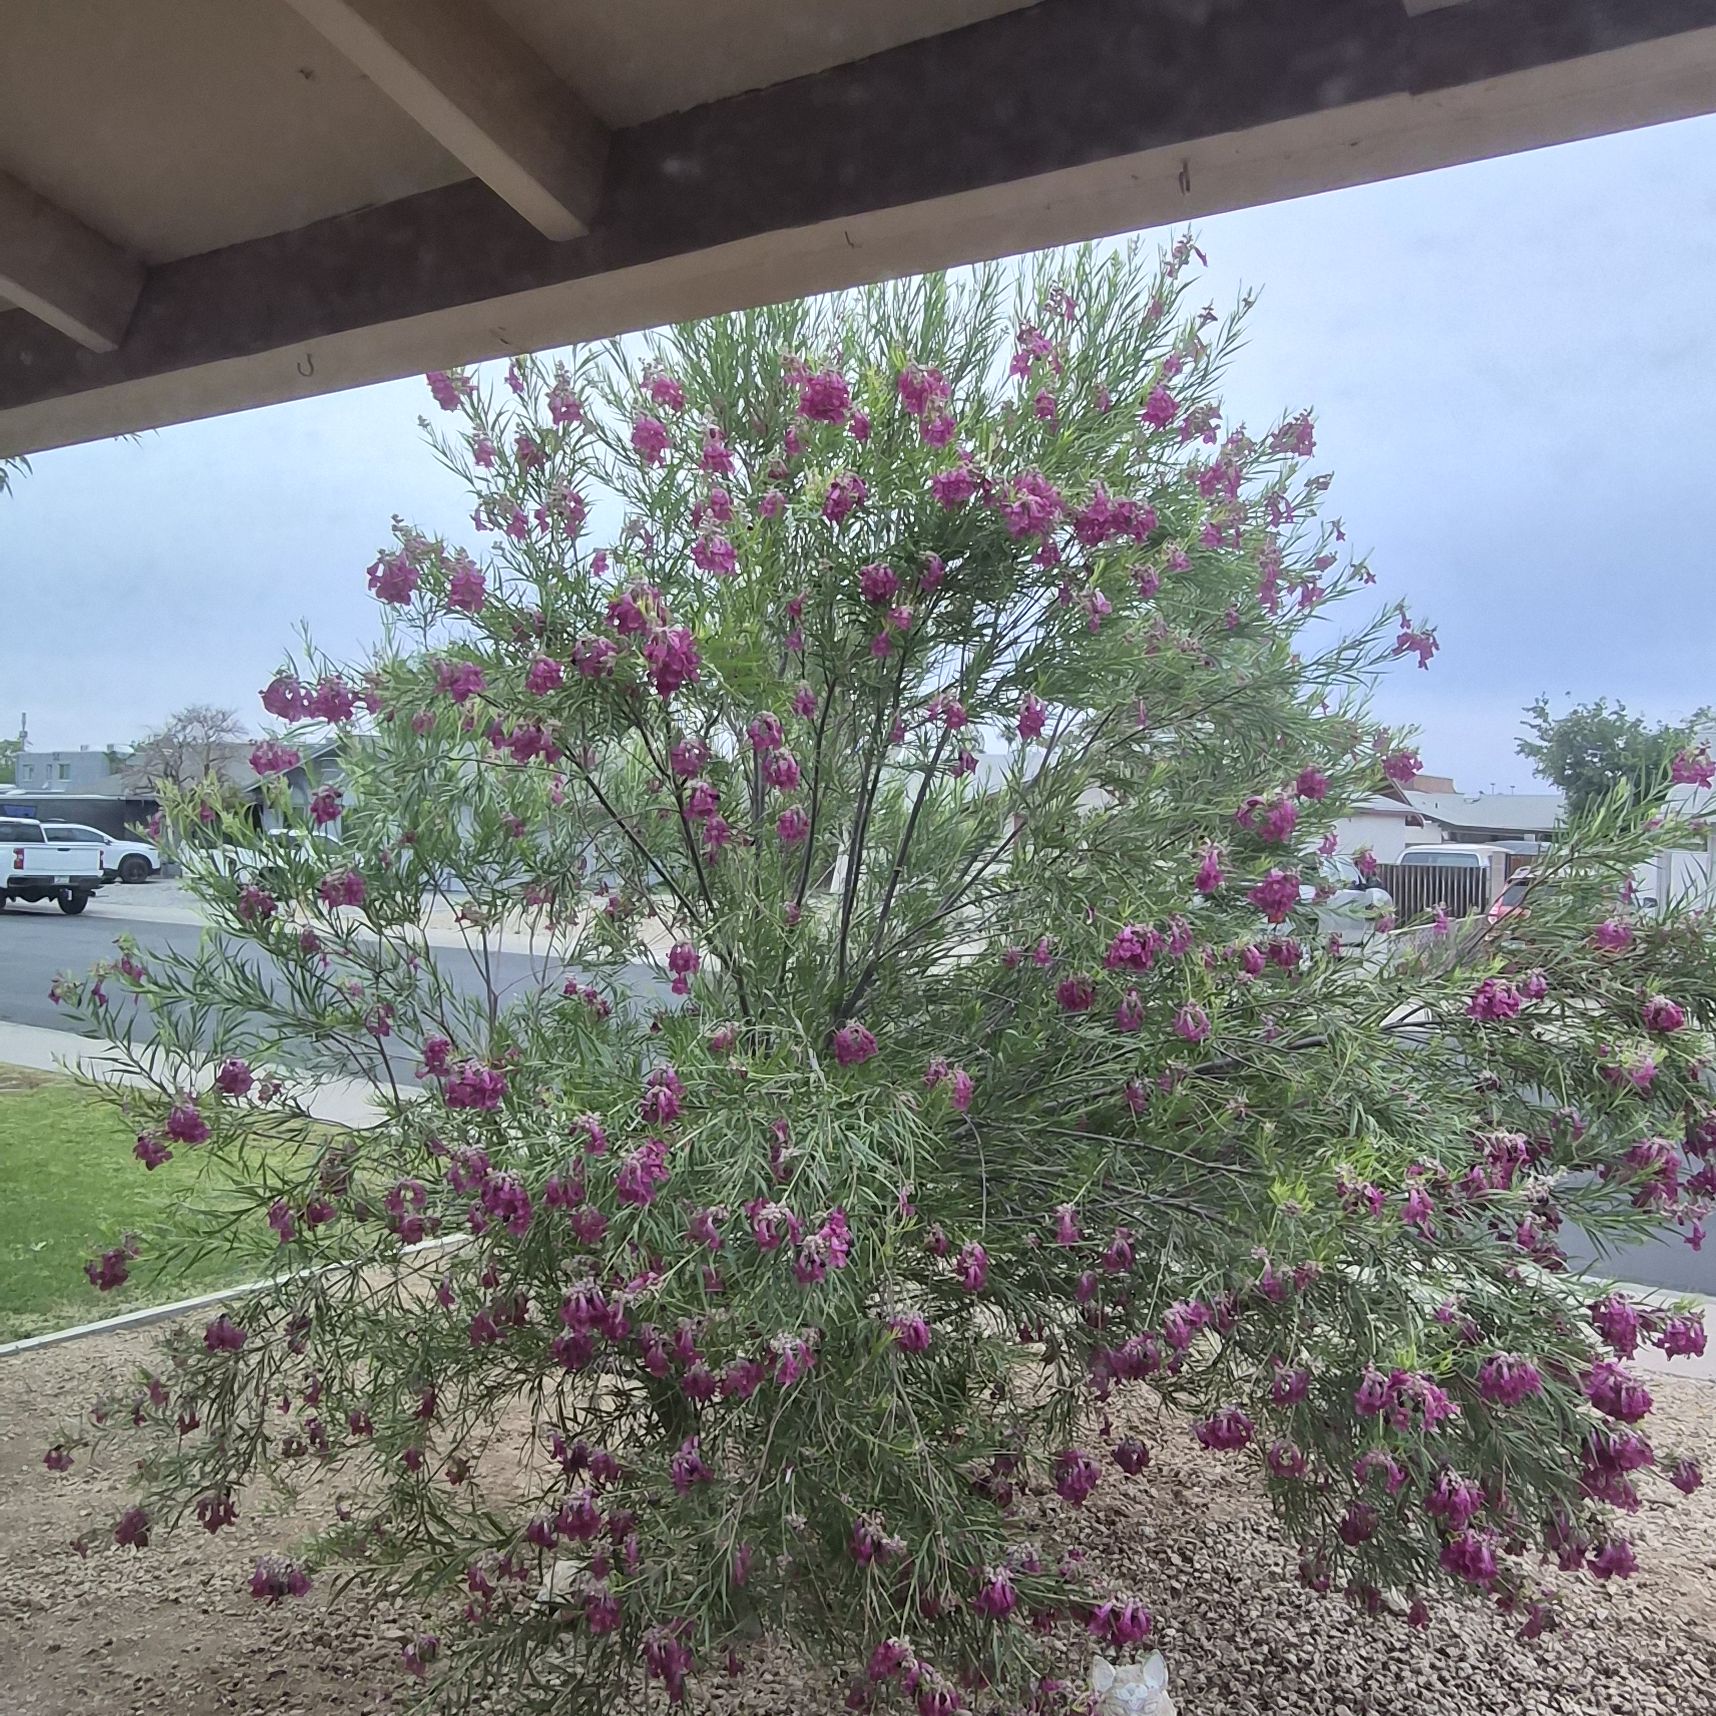
Healthy first-year growth looks like steady leaf production, two or three feet of new branch extension, and a light scatter of pink to lavender flowers from midsummer onward.
What can go wrong
-
Wilting and brown leaf edges in the first weeks
Transplant shock from heat or wind pulling moisture out of the foliage faster than new roots can rehydrate it is the usual cause. Check that the root ball is staying lightly moist, not soaked, by pushing a finger two inches into the side of the planting hole. Water deeply at the base and shade the plant through the hottest afternoons of the first two weeks. Once new growth appears, the plant has cleared the worst of the shock. -
Yellow leaves dropping after heavy watering
Overwatering is the leading cause of failure in the first year. Desert Willow roots need oxygen between drinks, and soggy soil starves them within days. Stop watering, push a finger into the soil two inches down, and only water again when that depth feels fully dry. If the soil stays wet for more than two days after each watering, the site itself drains too poorly and the tree needs to be lifted onto a mound. -
Mushy roots or trunk base from waterlogged soil
Clay, low spots, and lawn sprinklers spraying the base are the most common drivers of root rot in newly planted Desert Willow. Lift the plant if the ground is staying saturated more than a day after rain or irrigation, and replant on a six to ten inch mound of native soil or pull it to a better-drained site. Going forward, water based on whether the soil is dry two inches down rather than on a fixed schedule. -
Buried root flare (slow decline)
If the flare disappeared into the planting hole or under added mulch, the trunk is slowly suffocating. Gently excavate the area around the trunk with your hands until you can see where the trunk widens into the major roots, then pull soil and mulch back from that point. Done within the first year, recovery is usually full. Done after several years, the decline is often too far along to reverse. -
No flowers the first summer
First-year plants almost always put energy into roots and leaves before producing a heavy bloom. A light scatter of flowers in the first summer is normal, with the full flush coming in year two. If by midsummer of year two there are still no flowers, check the sun exposure. Less than six hours of direct light leads to leggy growth and a thin bloom no matter how mature the plant is. -
Leggy stems with sparse leaves
Too little sun is the cause. The plant is reaching for light and stretching internodes rather than branching, which leaves the canopy thin and the bloom weak. Move to a sunnier spot in fall or next spring, or remove any overhead branches from a nearby tree that are shading the planting site. In the meantime, light tip pruning encourages side branching but does not fix the underlying problem. -
Frost damage on tender new growth
A late spring frost can blacken the soft new shoots of a freshly planted Desert Willow within hours. Cover the plant with a frost cloth or upside-down bucket overnight when the forecast drops below 32°F during the first month. Damaged shoots can be left alone or trimmed back to the nearest healthy bud once new growth resumes, since the plant pushes vigorously from below the dead tissue. -
Mulch piled against the trunk
A mulch volcano holds moisture against living bark and invites the same rot the root flare rule is meant to prevent. Pull mulch back from the trunk so a four-inch ring of bare soil shows around the base. Spread the mulch in a wide flat doughnut two to three inches deep over the root zone instead. The wide ring conserves the soil moisture roots actually use, without bathing the bark in damp.
About This Article
