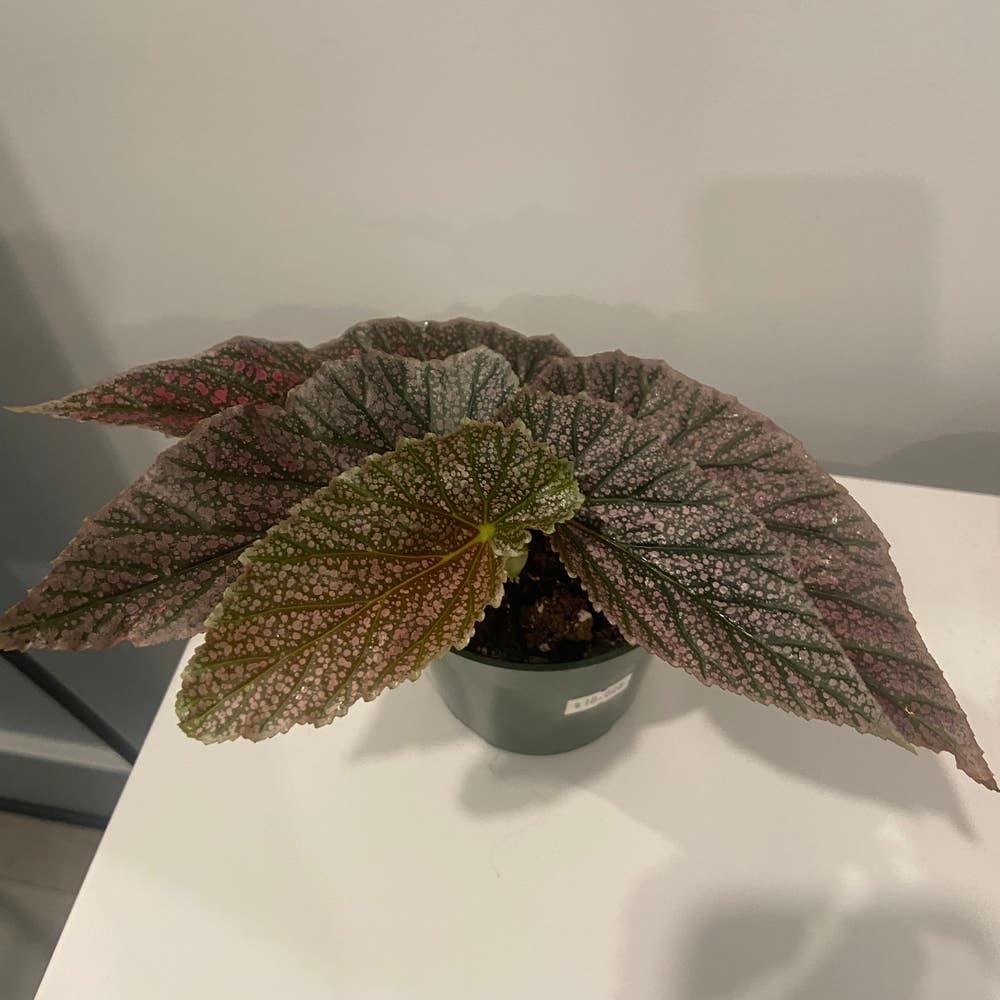
❄️ Step-by-Step Guide for How to Plant Aglaonema 'Snow White'
Aglaonema 'Snow White'
By the Greg Editorial Team
Sep 29, 2024•4 min read
This article was created with the help of AI so we can cover more plants for you. May contain errors. See one? Report it here.
Master the art of planting Aglaonema 🌱 for a vibrant, thriving indoor garden that transforms your space!
- 🌱 Plant Aglaonema 'Snow White' in spring for optimal growth and health.
- 💧 Use well-draining soil and maintain humidity for thriving plants.
- 🌞 Aglaonema tolerates low light, making it perfect for indoor spaces.
Planting New Aglaonema
🌱 Optimal Timing for Planting
The best time to plant Aglaonema 'Snow White' is during spring or early summer. This is when the plant is actively growing, ensuring a smoother transition into its new environment.
Consider your local climate conditions as well. Avoid planting during extreme temperatures, which can stress the plant.
🪴 Selecting the Right Soil Mix and Container
For optimal growth, use a well-draining potting mix. Adding perlite or orchid bark can enhance drainage, which is crucial for Aglaonema.
When choosing a container, ensure it has drainage holes. A pot size of 6-8 inches in diameter is ideal for young plants, allowing ample room for root growth.
📏 Proper Depth and Spacing for Planting
When planting, make sure the root ball is level with the soil surface. This helps the plant establish itself more effectively.
If you're planting multiple Aglaonema, space them 12-18 inches apart. This spacing allows for healthy growth and airflow between the plants.
🌤️ Maintaining Ideal Growing Conditions
Aglaonema prefers indirect light but can tolerate low-light conditions. This makes it a versatile choice for various indoor settings.
Humidity is another key factor; aim for moderate to high levels between 50-70%. Additionally, keep the temperature within the optimal range of 65°F to 80°F (18°C to 27°C) for best results.
🌳 Hardening Off Process Before Outdoor Planting
Before moving your Aglaonema outdoors, gradually expose it to the new conditions over 7-10 days. This process helps the plant acclimate without shock.
Start by placing it in a shaded area, then slowly increase its sunlight exposure. This gradual approach ensures a smoother transition to outdoor life.
With these steps, you’re well on your way to successfully planting your Aglaonema 'Snow White.' Next, let’s explore how to transplant established Aglaonema for continued growth and health.
Transplanting Established Aglaonema
🌱 Optimal Timing for Transplanting
The best time to transplant your Aglaonema is in spring or early summer. Look for signs like root-bound conditions or declining health to know when it’s time to make a move.
🛠️ Step-by-Step Instructions for Transplanting
Removing the Plant from Its Current Location
- Water the plant a day before to ease removal.
- Gently loosen the soil around the edges of the pot.
- Carefully lift the plant by the base, avoiding damage to roots.
Preparing the New Planting Site
- Choose a new pot or location with well-draining soil.
- Fill the bottom with a layer of fresh potting mix.
- Ensure the new container is 1-2 inches larger in diameter than the old one.
Ensuring Proper Placement and Spacing
- Position the plant in the center of the new container.
- Fill in with soil, ensuring the root ball is level with the soil surface.
- Space multiple plants 12-18 inches apart if applicable.
💧 Tips on Watering, Mulching, and Support
Water your Aglaonema thoroughly after transplanting and allow excess to drain.
A light layer of mulch can help retain moisture and regulate temperature.
If your plant is taller, consider using stakes for support until it establishes itself.
Transplanting can be a bit daunting, but with the right timing and care, your Aglaonema will thrive in its new home. Next, let’s explore how to troubleshoot common issues that may arise during this process.
Troubleshooting Common Issues
Identifying Transplant Shock 🌱
Transplant shock can be a real concern for your Aglaonema 'Snow White.' Look out for symptoms like wilting, yellowing leaves, and stunted growth.
These signs often stem from root disruption or sudden environmental changes. If you notice these issues, don’t panic; they can often be resolved with some care.
Solutions for Establishment Problems 💧
To help your plant bounce back, start by ensuring proper watering. Avoid overwatering, as this can lead to root rot; instead, maintain consistent moisture in the soil.
Next, monitor the light conditions. If your Aglaonema isn’t thriving, consider adjusting its placement to better meet its light requirements.
General Care Tips for Newly Planted or Transplanted Aglaonema 🌿
Regularly check humidity levels to keep your plant happy. Aglaonema thrives in moderate to high humidity, so be ready to adjust as needed.
When it comes to fertilization, patience is key. Wait 4-6 weeks after planting or transplanting before introducing any fertilizers to allow your plant to settle in.
Lastly, keep an eye out for pests and diseases. Early detection is crucial for effective management, so don’t hesitate to inspect your plant regularly.
With these tips, your Aglaonema should thrive in its new environment. Next, let’s explore how to keep your plant flourishing long-term.
⚠️ Safety First
This content is for general information and may contain errors, omissions, or outdated details. It is not medical, veterinary advice, or an endorsement of therapeutic claims.
Always consult a qualified healthcare professional before using any plant as food, medicine, or supplement.
Never eat any plant (or feed one to pets) without confirming its identity with at least two trusted sources.
If you suspect poisoning, call Poison Control (800) 222-1222, the Pet Poison Helpline (800) 213-6680, or your local emergency service immediately.
Spotted an error? Please report it here.
Planting your Aglaonema 'Snow White' is a blooming success 🌱 with Greg's tailored care tips and reminders, ensuring your plant flourishes in its new home!