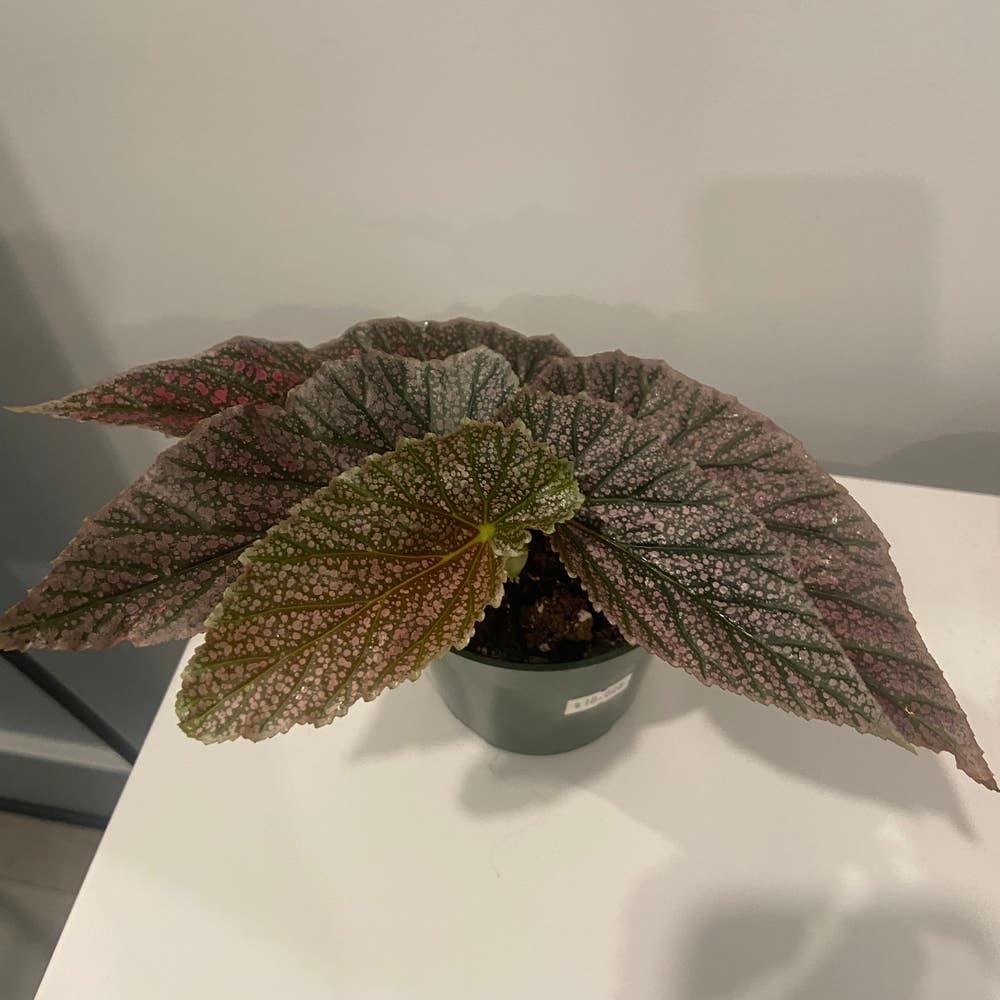
🪴 8 Tips for How to Plant Aglaonema 'Silver Queen'
Aglaonema 'Silver Queen'
By the Greg Editorial Team
Sep 29, 2024•5 min read
This article was created with the help of AI so we can cover more plants for you. May contain errors. See one? Report it here.
Unlock vibrant growth for your Aglaonema 'Silver Queen' 🌱 with essential planting techniques for a thriving indoor oasis!
- 🌱 Proper planting techniques ensure Aglaonema 'Silver Queen' thrives and lasts longer.
- 💧 Well-draining soil prevents root rot and transplant shock for healthier plants.
- 🌞 Spring planting aligns with growth phases, maximizing your Aglaonema's potential.
Importance of Proper Planting Techniques
Proper planting techniques are crucial for the Aglaonema 'Silver Queen' to thrive. They not only ensure healthy growth but also extend the plant's lifespan.
🌱 Preventing Common Issues
Using the right methods significantly reduces risks like root rot and transplant shock. These problems can derail your plant's progress and lead to unnecessary stress.
🌿 Healthy Growth and Longevity
When you plant correctly, your Aglaonema will flourish, showcasing its stunning foliage. A well-planted plant is more resilient and better equipped to handle environmental changes.
🏁 Conclusion
Investing time in proper planting techniques pays off in the long run. You'll enjoy a vibrant, healthy Aglaonema that enhances your space beautifully. Next, let’s explore the optimal timing for planting your new Aglaonema 'Silver Queen.'
Planting New Aglaonema 'Silver Queen'
🌱 Optimal Timing for Planting
The best time to plant Aglaonema 'Silver Queen' is during spring or early summer. This period aligns with the plant's active growth phase, ensuring a robust start.
🪴 Selecting the Right Soil Mix and Container
For optimal growth, use a well-draining potting mix enriched with organic matter like peat moss and perlite. Aim for a pH range of 6.0 to 6.5 for ideal nutrient absorption.
When choosing a container, select one that is 1-2 inches larger in diameter than the root ball. Terracotta or plastic pots with drainage holes are excellent options to prevent waterlogging.
📏 Proper Depth and Spacing for Planting
Ensure the root ball of your Aglaonema is level with the soil surface when planting. If you're planting multiple specimens, space them 12-18 inches apart to allow for healthy growth.
🌤️ Maintaining Ideal Growing Conditions
Aglaonema thrives in indirect light but can tolerate low-light conditions. Keep the temperature between 65°F to 80°F (18°C to 27°C) for optimal health.
Humidity is crucial; aim for levels between 50-70%. Consider using a humidity tray or misting the leaves to maintain moisture.
🌳 Hardening Off Process Before Outdoor Planting
Before moving your Aglaonema outdoors, gradually expose it to the new environment.
- Start with 1-2 hours of outdoor time in a shaded area.
- Increase exposure by 1 hour daily over a week.
- Monitor for signs of stress, such as wilting or leaf burn.
This gradual process helps your plant adjust without shock, setting it up for success in its new home.
With these planting tips, your Aglaonema 'Silver Queen' will be well on its way to thriving. Next, we’ll explore how to transplant established plants for continued growth and vitality.
Transplanting Established Aglaonema 'Silver Queen'
🌱 Optimal Timing for Transplanting
The best time to transplant your Aglaonema 'Silver Queen' is during spring or early summer. This period aligns with the plant's active growth phase, making it more resilient to the changes.
Look for signs that indicate it's time to transplant, such as root-bound conditions or a noticeable decline in health. If you see roots emerging from the drainage holes or the plant appears stunted, it’s time for a change.
🛠️ Step-by-Step Instructions for Transplanting
Prepare the New Planting Site: Ensure the new location has well-draining soil and receives appropriate light conditions. This sets the stage for a smooth transition.
Remove the Plant from Its Current Location: Gently loosen the soil around the root ball. Carefully lift the plant by the base, taking care not to damage the roots during this process.
Place the Plant in the New Site: Position the plant so that the root ball is level with the soil surface. Fill in with soil, gently pressing down to eliminate any air pockets that could hinder growth.
💧 Watering and Mulching Tips
After transplanting, thoroughly water the plant to help settle the soil around the roots. It's crucial to maintain consistent moisture without waterlogging, as this can lead to root rot.
Consider applying a 1-2 inch layer of organic mulch around the base. This helps retain moisture and suppress weeds, creating a healthier environment for your plant.
🏗️ Providing Support for Newly Transplanted Plants
Assess whether your newly transplanted Aglaonema needs support. If the plant is tall or top-heavy, using stakes can help stabilize it.
Ensure that any stakes are placed carefully to avoid damaging the roots. This will provide the necessary support while allowing the plant to thrive in its new home.
Transplanting can be a rewarding experience, setting your Aglaonema up for success. With the right timing and care, your plant will flourish in its new environment. Next, we’ll explore troubleshooting common issues that may arise during this process.
Troubleshooting Common Issues
Identifying Transplant Shock 🌱
Transplant shock can be a real bummer for your Aglaonema 'Silver Queen.' Look out for symptoms like wilting, yellowing leaves, and stunted growth, which indicate that the plant is struggling.
The primary causes of transplant shock are root disturbance and sudden environmental changes. If you've recently moved your plant, it might need some time to adjust.
Solutions for Establishment Problems 💧
To help your plant bounce back, ensure you're providing proper watering and humidity levels. Keep the soil consistently moist but avoid waterlogging, as that can lead to other issues.
It's also wise to hold off on fertilizing right after transplanting. Give your plant 4-6 weeks to settle in before adding any nutrients.
Common Pests and Diseases Affecting Aglaonema 'Silver Queen' 🐛
Your Aglaonema can face a few pesky challenges, including pests like spider mites, aphids, and mealybugs. For control, consider using neem oil or insecticidal soap, which are effective and less harsh on the plant.
Diseases such as root rot and leaf spot can also be problematic. To prevent these, ensure your soil drains well and avoid overwatering, which is a common pitfall for many plant parents.
By staying vigilant and addressing these issues promptly, you can keep your Aglaonema 'Silver Queen' thriving. Next, let’s explore how to care for your plant after transplanting to ensure it flourishes in its new home.
⚠️ Safety First
This content is for general information and may contain errors, omissions, or outdated details. It is not medical, veterinary advice, or an endorsement of therapeutic claims.
Always consult a qualified healthcare professional before using any plant as food, medicine, or supplement.
Never eat any plant (or feed one to pets) without confirming its identity with at least two trusted sources.
If you suspect poisoning, call Poison Control (800) 222-1222, the Pet Poison Helpline (800) 213-6680, or your local emergency service immediately.
Spotted an error? Please report it here.
Plant your Aglaonema 'Silver Queen' with confidence 🌿 by using Greg's tailored care reminders to keep it thriving and vibrant for years to come!