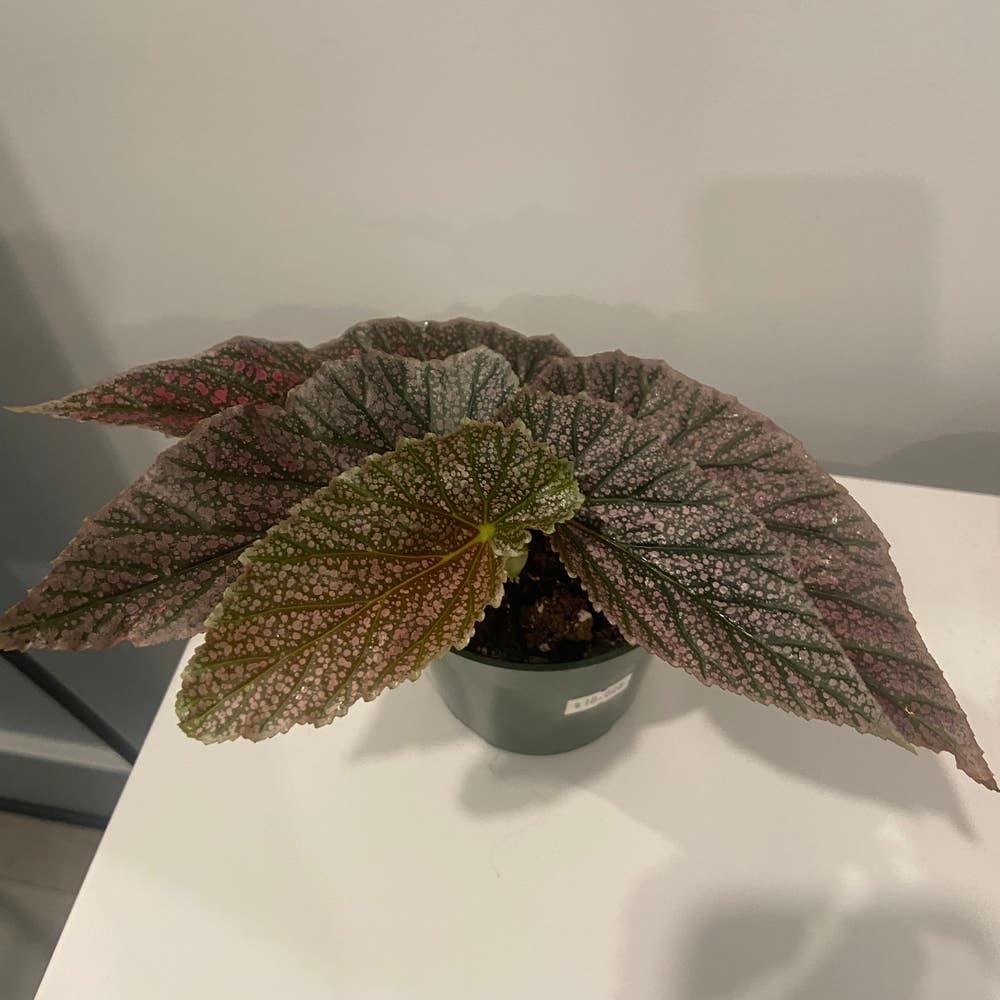
🪴 4 Tips for How to Plant Your Aglaonema 'Maria Christina'
Aglaonema 'Maria Christina'
By the Greg Editorial Team
Sep 29, 2024•5 min read
This article was created with the help of AI so we can cover more plants for you. May contain errors. See one? Report it here.
- 🌱 Plant Aglaonema 'Maria Christina' in spring for optimal growth and establishment.
- 🪴 Use well-draining soil and containers with drainage holes to prevent waterlogging.
- 🌞 Thrive in indirect light; maintain humidity for best growth conditions.
Planting New Aglaonema 'Maria Christina'
🌱 Optimal Timing for Planting
Spring or early summer is the best time to plant your Aglaonema 'Maria Christina.' During these months, the plant is actively growing, making it more likely to thrive.
Consider your local climate conditions and ensure indoor temperatures are stable. This will help your plant adjust better to its new environment.
🪴 Selecting the Right Soil Mix and Container
For optimal growth, use a well-draining potting soil mixed with perlite or orchid bark. This combination promotes aeration, which is crucial for healthy root development.
Choose a container with drainage holes to prevent waterlogging. A pot that is 6-8 inches in diameter is ideal for young plants, allowing enough space for root growth.
📏 Proper Depth and Spacing for Planting
When planting, ensure the root ball is level with the soil surface. This positioning helps the plant establish itself more effectively.
If you're planting multiple Aglaonema, space them 12-18 inches apart. This distance allows each plant to grow without competing for resources.
🌤️ Maintaining Ideal Growing Conditions
Aglaonema 'Maria Christina' prefers indirect light but can tolerate low-light conditions. This versatility makes it a great choice for various indoor settings.
Humidity is another key factor; these plants thrive in humid environments. Consider using a humidity tray or misting to keep the air around them moist.
🌳 Hardening Off Process Before Outdoor Planting
If you're moving your Aglaonema outdoors, gradually expose it to the new conditions over 7-10 days. Start with a few hours of indirect sunlight, then slowly increase exposure.
This hardening-off process helps the plant adjust to outdoor elements, reducing the risk of shock.
With these tips, you’ll set your Aglaonema 'Maria Christina' up for success. Next, let’s explore how to transplant established plants for optimal growth.
Transplanting Established Aglaonema 'Maria Christina'
🌱 Optimal Timing for Transplanting
Spring is the prime time for transplanting your Aglaonema 'Maria Christina.' This season aligns perfectly with the plant's growth cycle, ensuring it adapts well to its new environment.
Keep an eye out for signs that your plant is root-bound or has outgrown its container. Indicators include roots growing out of the drainage holes or stunted growth.
🛠️ Step-by-Step Instructions for Transplanting
- Prepare the New Planting Site: Ensure the new location has well-draining soil and receives adequate light.
- Remove the Plant: Gently loosen the soil around the root ball, then lift the plant out carefully.
- Inspect Roots: Check for any damaged or excessively long roots and trim them as needed.
- Place in New Site: Position the plant at the same depth it was previously growing to avoid stress.
- Fill in with Soil: Firmly pack the soil around the roots to eliminate any air pockets, promoting stability.
💧 Watering and Mulching Tips
After transplanting, water your Aglaonema thoroughly to help settle the soil around the roots.
Consider applying a light layer of mulch to retain moisture and regulate soil temperature, creating a cozy environment for your plant.
🏗️ Providing Support for Newly Transplanted Plants
If your Aglaonema is a taller variety, use stakes for support until it establishes itself. This extra help can prevent any toppling during its adjustment period.
Transplanting can be a rewarding experience, setting the stage for your Aglaonema to thrive. Next, let’s explore the benefits and drawbacks of planting versus transplanting to help you make informed decisions for your plant care journey.
Benefits and Drawbacks of Planting vs. Transplanting
💰 Cost Considerations
Planting new Aglaonema is usually more budget-friendly, making it a great option for beginners. However, keep in mind that these young plants may take longer to mature and fill out.
Transplanting established plants comes with a higher price tag upfront. Yet, the payoff is often quicker, as these plants are already ready to thrive in your space.
⏳ Time to Maturity
New Aglaonema plants can take several months to establish themselves. Patience is key as you wait for them to grow and flourish.
On the other hand, established plants typically show immediate growth and adaptation. You’ll see results faster, which can be incredibly rewarding.
🌱 Adaptability to Local Growing Conditions
New plants might need some time to acclimatize to your local environment. This adjustment period can be crucial for their long-term health.
Established plants, however, are often better suited to local conditions. Their previous exposure means they’re more likely to thrive right away.
In summary, both planting and transplanting have their unique advantages and challenges. Understanding these factors can help you make the best choice for your gardening journey. Next, let’s dive into troubleshooting common issues that may arise during planting or transplanting.
Troubleshooting Common Issues
Identifying Transplant Shock 🌱
Transplant shock can manifest in several ways. Look out for symptoms like wilting, yellowing leaves, or stunted growth after you've planted or transplanted your Aglaonema 'Maria Christina'.
Causes of Transplant Shock ⚠️
The primary culprits behind transplant shock include root disruption, sudden environmental changes, or improper care. Understanding these factors can help you mitigate their effects.
Solutions for Establishment Problems 💧
To combat establishment issues, ensure you're watering consistently but avoid overwatering. Maintaining humidity levels is crucial; consider using a humidity tray or misting to help your plant recover.
Avoiding Direct Sunlight ☀️
During the recovery phase, keep your newly planted or transplanted Aglaonema out of direct sunlight. This will help reduce stress and allow the plant to acclimate more comfortably.
General Care Tips for Newly Planted or Transplanted Aglaonema 🪴
Regularly monitor your plant for pests and diseases. Adjust your care routine based on environmental conditions and how your plant responds to its new home.
Final Thoughts 💭
By staying attentive and responsive to your Aglaonema's needs, you can help it thrive in its new environment. With a little patience and care, your plant will bounce back and flourish beautifully.
⚠️ Safety First
This content is for general information and may contain errors, omissions, or outdated details. It is not medical, veterinary advice, or an endorsement of therapeutic claims.
Always consult a qualified healthcare professional before using any plant as food, medicine, or supplement.
Never eat any plant (or feed one to pets) without confirming its identity with at least two trusted sources.
If you suspect poisoning, call Poison Control (800) 222-1222, the Pet Poison Helpline (800) 213-6680, or your local emergency service immediately.
Spotted an error? Please report it here.
Transform your Aglaonema 'Maria Christina' into a thriving beauty 🌱 by using Greg's tailored care reminders to keep your plant happy and healthy in its new home!