Plant Care
›
Propagation
›
Taro
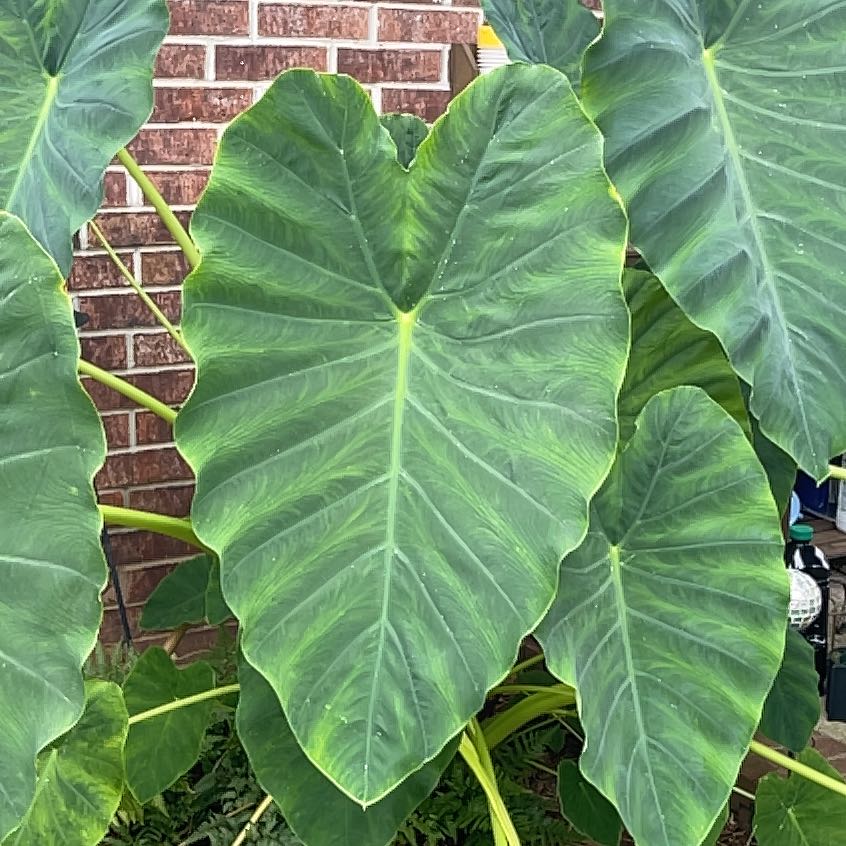
Colocasia esculenta
Reviewed by Kiersten Rankel M.S.
QUICK ANSWER
Corm division splits a mature parent corm into chunks and gives each chunk a new growing season, with shoots up in 3 to 6 weeks.
Cormel separation lifts the small offset corms growing on the sides of the parent and pots each one up on its own. Both methods work best when done in early spring before active growth resumes.
Cormel separation lifts the small offset corms growing on the sides of the parent and pots each one up on its own. Both methods work best when done in early spring before active growth resumes.
Stay on top of plant care
Get seasonal reminders for watering and fertilizing, personalized for your plants.
Try Greg Free
Pick your method
Tap one to jump to the walkthrough.
Corm division
Best in early spring before new shoots emerge
Cormel separation
Best for plants that have produced offset corms on the sides
Corm division
Time
3–6 weeks
Level
Intermediate
Success rate
High
You'll need
Sterile knife or sharp pruners
Nitrile or latex gloves
Garden fork or trowel
Pots or planting holes with rich moist soil
Sulfur or cinnamon (optional, for cut surfaces)
1
Lift the parent in early spring
Wait until the soil has warmed to about 60°F and just before new leaves push up from the corm. Use a garden fork to lift the entire corm cluster from the ground or slide a potted plant out of its container. Gently brush soil away so you can see the corm clearly.
Wear gloves the whole time. Taro sap contains calcium oxalate crystals that irritate skin.
Wear gloves the whole time. Taro sap contains calcium oxalate crystals that irritate skin.
2
Identify the eyes
Look across the surface of the parent corm for raised buds, called eyes. Each eye is a future shoot. A division is only viable if it contains at least one eye, and ideally two or three.
3
Cut the corm into pieces
Use a sterile knife to slice the corm into chunks, making sure each chunk has at least one eye and a portion of root. Aim for divisions roughly the size of a fist for the most reliable growth.
4
Dust cuts and dry overnight
Sprinkle sulfur powder or cinnamon on each cut surface to discourage rot. Spread the divisions on a tray out of direct sun and let the cuts dry for 12 to 24 hours.
Planting still wet at the cut leads to soft rot in the soil.
Planting still wet at the cut leads to soft rot in the soil.
5
Plant 2 inches deep in damp soil
Push each division into rich moist soil with the eye facing up and bury it about 2 inches deep. Water in well. Taro is a swamp plant and prefers consistently damp to wet soil, so do not let the planting hole dry out.
6
Wait for shoots to push up
New shoots typically push through the soil in 3 to 6 weeks once the divisions wake up and root. Hold off on fertilizer until you see the first leaves unfurl. Then resume normal taro care with consistent moisture and warmth.
WATCH FOR
A division that turns soft and slimy without ever sprouting. That is corm rot from soil that stayed too cold or from an undried cut going into wet ground. Pull and discard rotting pieces immediately, dust nearby divisions with sulfur, and check that the soil is damp but draining freely.
Cormel separation
Time
4–8 weeks
Level
Beginner
Success rate
High
You'll need
Sterile knife or sharp pruners
Nitrile or latex gloves
4-inch pots with drainage holes
Rich moist potting mix
Garden fork or trowel
1
Lift the parent in early spring
Lift the entire corm cluster from the ground or from its pot once the weather warms but before strong new growth begins. Brush soil away so you can see where smaller cormels attach to the side of the parent.
Wear gloves the whole time.
Wear gloves the whole time.
2
Find cormels with their own roots
Look for the small side corms growing along the parent. The best candidates are at least the size of a golf ball and already have a few roots of their own. Smaller cormels can still work but take longer.
3
Twist or slice each cormel free
Most cormels twist off cleanly with a gentle pull. For tougher attachments, use a sterile knife to slice the connection.
Leave at least a few roots attached to each cormel.
Leave at least a few roots attached to each cormel.
4
Dry the cuts for a few hours
Spread the cormels on a tray out of direct sun and let any cut surfaces dry for 4 to 6 hours. This light drying lets the wound seal before going into damp soil.
5
Pot each cormel in damp mix
Fill 4-inch pots with rich moist potting mix. Plant each cormel so the top sits just at the soil surface. Water in well and keep the soil consistently damp.
6
Move to bright warm conditions
Place the pots in a warm spot at 70 to 80°F with bright indirect light. New leaves typically push up within 4 to 8 weeks. Resume normal taro care once the first leaf unfurls.
WATCH FOR
A cormel that softens and oozes after planting. That is rot from a wet cut going into damp soil too soon. Lift the cormel, trim away soft tissue with a sterile blade, dry the cut for a full day this time, and replant in fresh damp mix.
Stay on top of plant care
Get seasonal reminders for watering and fertilizing, personalized for your plants.
Try Greg Free
About This Article

Kiersten Rankel M.S.
Botanical Data Lead at Greg · Plant Scientist
Editorial Process
Propagation methods verified against Colocasia esculenta growth data from Greg's botanical database, cross-referenced with USDA hardiness zone data and published horticultural research.
13,897+ Greg users growing this plant
USDA hardiness zones 8a–11b