Plant Care
›
Propagation
›
Sprenger's Asparagus
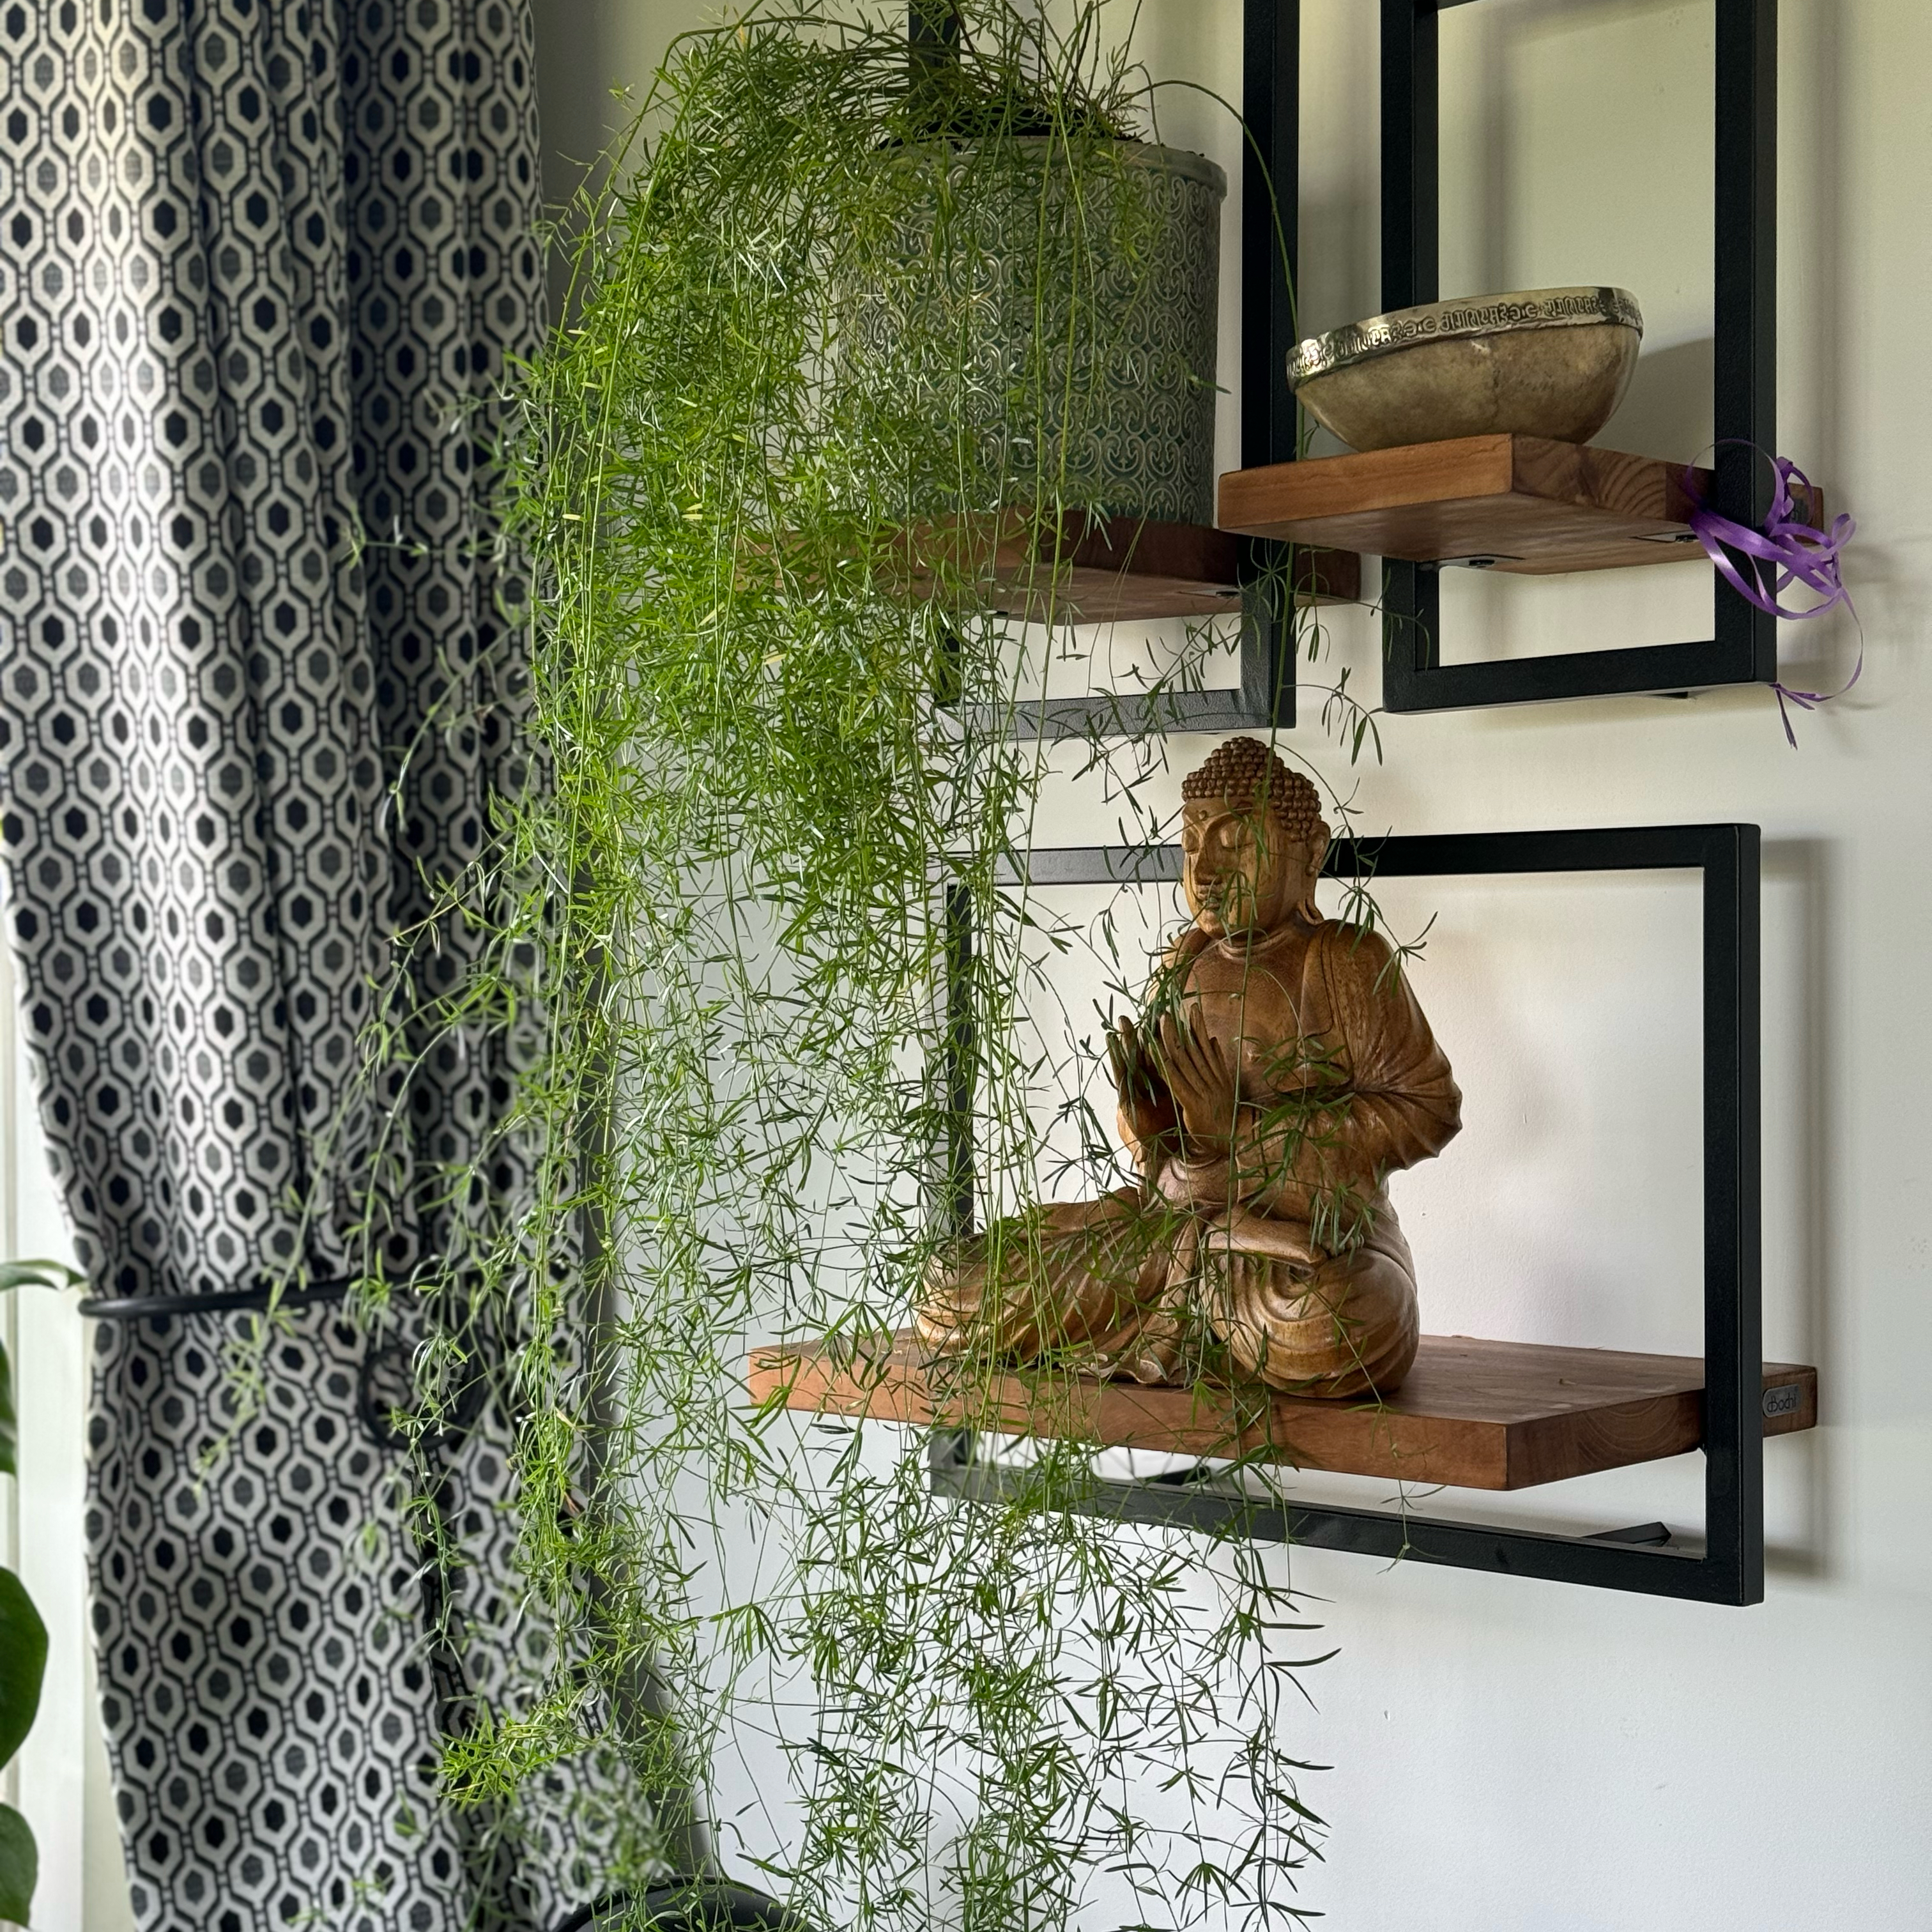
Asparagus aethiopicus
Reviewed by Kiersten Rankel M.S.
QUICK ANSWER
Division of the tuberous root mass is the fastest and most reliable home method and gives a settled new plant in 2 to 4 weeks. Seed starting takes 3 to 6 weeks to germinate but produces dozens of new plants from a single fruiting cluster.
Stem cuttings do not root for this species, so don't bother trying water or soil cuttings.
Stem cuttings do not root for this species, so don't bother trying water or soil cuttings.
Stay on top of plant care
Get seasonal reminders for watering and fertilizing, personalized for your plants.
Try Greg Free
Pick your method
Tap one to jump to the walkthrough.
Division
Best when your plant is overflowing its pot
From seed
Best when you have ripe red berries to harvest
Division
Time
2–4 weeks to settle
Level
Beginner
Success rate
High
You'll need
Sterile sharp serrated knife
Two pots with drainage holes
Standard houseplant potting mix
Watering can
Newspaper or tarp (for the mess)
1
Choose a mature root-bound plant
Division works best on Sprenger's Asparagus that has been in the same pot for at least a year and has a tight mass of pale tuberous roots. Younger plants do not divide cleanly.
If the plant slides out as a single solid root mass with white tubers visible, it is ready.
If the plant slides out as a single solid root mass with white tubers visible, it is ready.
2
Unpot onto a tarp
Lay newspaper or a tarp on a flat surface. Tip the pot sideways and slide the plant out. Brush off enough loose soil to see the tuber and root structure.
This is messy work. Sprenger's Asparagus drops needle-like leaves throughout the process.
This is messy work. Sprenger's Asparagus drops needle-like leaves throughout the process.
3
Slice the rootball with a serrated knife
Use a sterile serrated knife to saw down through the dense root mass into halves or thirds. The tubers are tough and tear-resistant. A bread knife works better than a clean-edged blade for this species.
4
Pull the divisions apart
After cutting, work the divisions apart with your hands. Some root and tuber damage is unavoidable. Each division should have several stems and a substantial section of tuberous root.
5
Pot each division
Pot each division into its own pot of standard houseplant mix at the same depth it was growing before. Firm the soil around the roots and water thoroughly.
6
Shade for two weeks
Move the divisions to slightly lower light for the first two weeks while they recover. Some yellowing of older fronds is normal. New green growth from the crowns confirms the divisions have settled.
WATCH FOR
Many fronds turning yellow and dropping in the week after dividing. That means too much root was lost or the divisions are sitting in soggy soil. Trim away the worst yellow stems, let the soil dry out before the next watering, and keep humidity up while the plant recovers.
From seed
Time
3–6 weeks to germinate
Level
Beginner
Success rate
Moderate
You'll need
Ripe red berries from a Sprenger's Asparagus plant
Seed-starting mix
Shallow seed tray with drainage
Clear plastic dome or wrap
Bright indirect light or grow light
Heat mat (optional but speeds germination)
1
Harvest fully red berries
Pick berries that are fully red and slightly soft to the touch. Green or orange berries are not ready. Each berry contains 1 to 3 black seeds.
2
Squeeze out the seeds
Squeeze the berries and rinse the seeds in clean water to remove all the pulp. Pulp left on seeds attracts mold during germination. Discard any seeds that float since those are not viable.
3
Soak seeds for 24 hours
Place clean seeds in warm water and let them soak for 24 hours. Soaking softens the hard black seed coat and improves germination from about 40 percent to 70 percent.
4
Sow a quarter inch deep
Fill a tray with pre-moistened seed-starting mix. Push each seed about a quarter inch into the surface and cover lightly. Space seeds 1 inch apart.
5
Cover and warm
Place a clear plastic dome or loose wrap over the tray. Set in bright indirect light at 70 to 80 degrees Fahrenheit, ideally on a heat mat.
Germination is uneven. Some seeds sprout at 3 weeks, others wait until week 6.
Germination is uneven. Some seeds sprout at 3 weeks, others wait until week 6.
6
Pot up at the true leaf stage
Once seedlings have several visible needle-like leaves and stand 2 inches tall at about 8 to 10 weeks, pot each into its own 3-inch pot of standard houseplant mix. Move to brighter light gradually over a week to avoid scorching the new growth.
WATCH FOR
Seedlings flopping over with a thin pinched stem at soil level. That is damping off, a fungal disease that kills seedlings overnight. Improve airflow by venting the dome more often and water from below by setting the tray in a shallow dish, never overhead.
Stay on top of plant care
Get seasonal reminders for watering and fertilizing, personalized for your plants.
Try Greg Free
About This Article

Kiersten Rankel M.S.
Botanical Data Lead at Greg · Plant Scientist
Editorial Process
Propagation methods verified against Asparagus aethiopicus growth data from Greg's botanical database, cross-referenced with USDA hardiness zone data and published horticultural research.
1,800+ Greg users growing this plant
USDA hardiness zones 9a–11b