Plant Care
›
Propagation
›
Seagrape
Coccoloba uvifera
Reviewed by Kiersten Rankel M.S.
QUICK ANSWER
Seed propagation is the easiest method and produces a sprouted seedling in 4 to 8 weeks from a fresh ripe fruit. Semi hardwood cuttings root in 8 to 12 weeks under high humidity and let you clone a known female fruiting tree.
Air layering takes 10 to 14 weeks but produces a much larger starter plant since you keep a thick branch attached to the parent the whole time.
Air layering takes 10 to 14 weeks but produces a much larger starter plant since you keep a thick branch attached to the parent the whole time.
Stay on top of plant care
Get seasonal reminders for watering and fertilizing, personalized for your plants.
Try Greg Free
Pick your method
Tap one to jump to the walkthrough.
From seed
Best for the easiest start with fresh fruit
Semi hardwood cuttings
Best for cloning a known female fruiting tree
Air layering
Best when you want a larger established starter
From seed
Time
4–8 weeks
Level
Beginner
Success rate
High
You'll need
Ripe purple seagrape fruit (just fallen)
Bowl of water
1 gallon nursery pots
Free draining potting mix with sand
Clear plastic bag (optional, for humidity)
1
Collect ripe fruit
Pick or gather seagrape fruit that has turned dark purple and dropped from the tree, usually August through October. Each fruit contains one large seed. Green or red fruit is not ripe enough and the seed inside will not germinate.
2
Clean the seed
Squish the soft pulp off the seed in a bowl of water. Rub the seed between your fingers until the surface is clean and tan colored. Pulp left on the seed promotes mold during germination.
3
Sow immediately
Seagrape seeds lose viability within weeks of falling, so plant the same day if possible. Push each seed an inch deep into a 1 gallon pot of free draining mix. Water until it drains and set the pot somewhere warm.
4
Keep warm and moist
Place the pot in bright indirect light at 75 to 85 degrees. A spot near a sunny window or outdoors in summer works well in zones 9 to 11.
Keep the surface moist but never soggy. A clear plastic bag loosely over the pot speeds germination by holding humidity.
Keep the surface moist but never soggy. A clear plastic bag loosely over the pot speeds germination by holding humidity.
5
Remove the bag at sprouting
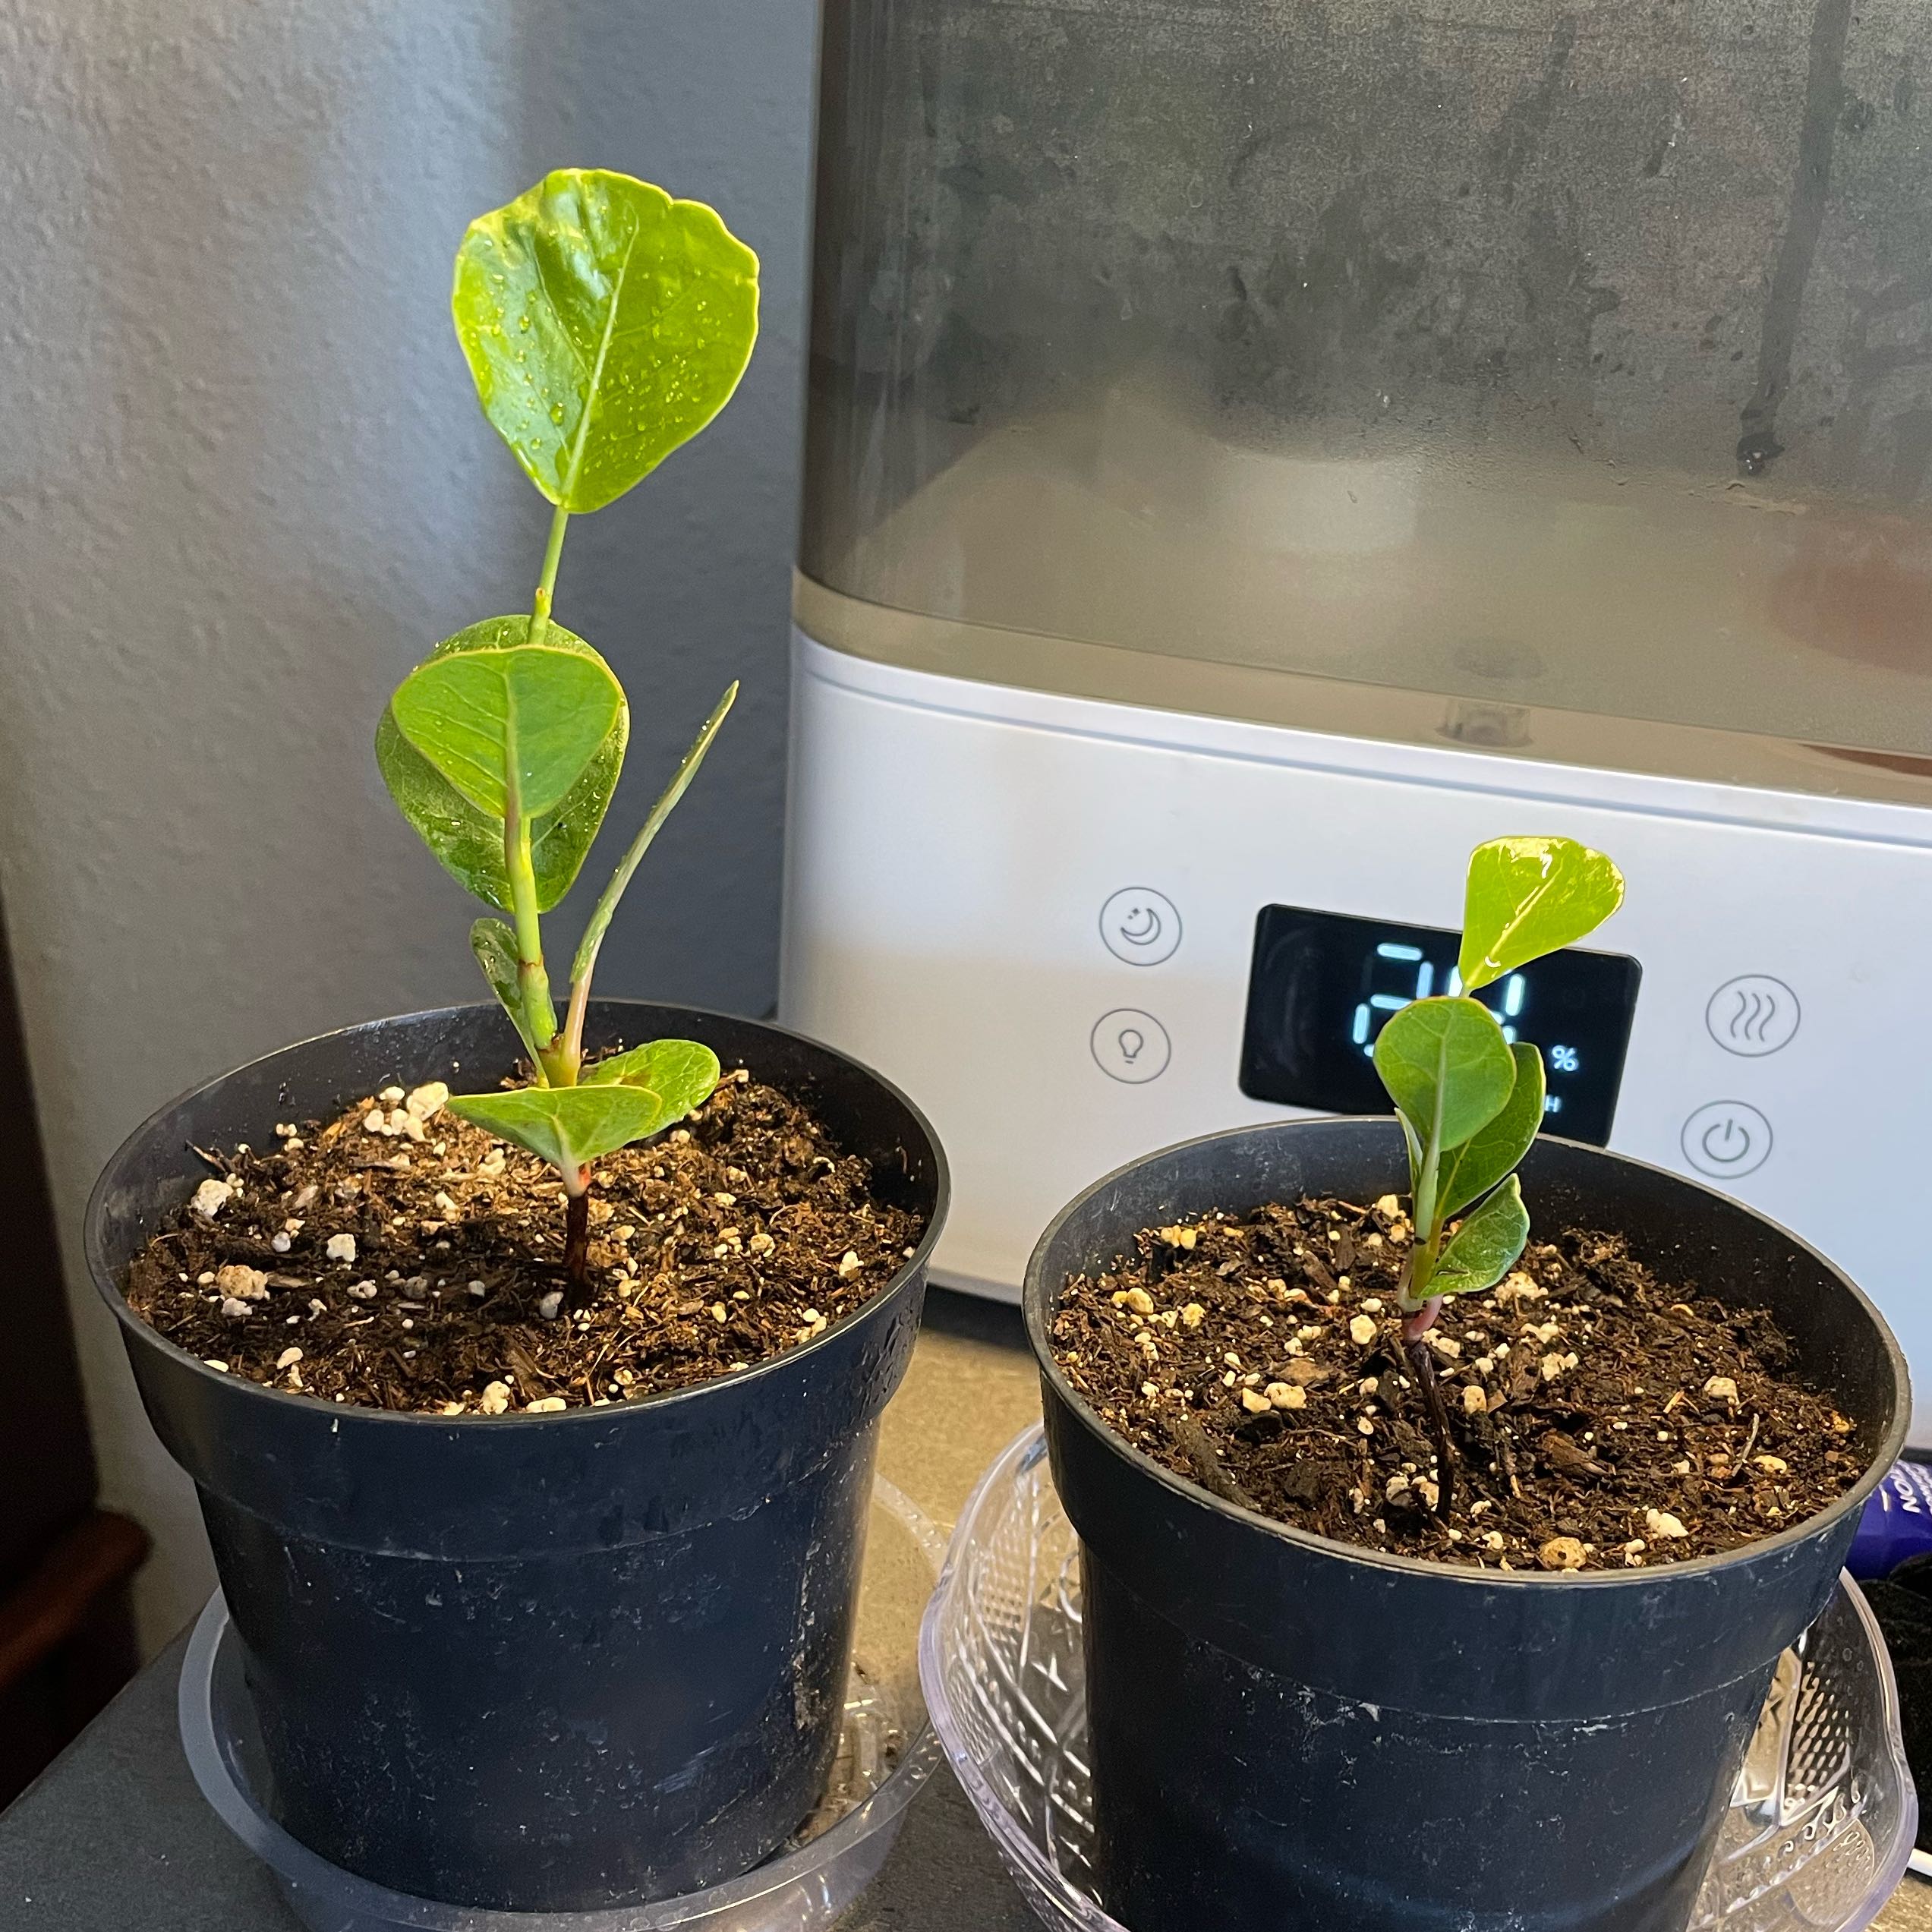
Germination takes 4 to 8 weeks. Once the seedling pokes through, take any plastic cover off so the leaves dry between waterings. The first leaves are coppery red and rounded, true to species.
6
Grow on in full sun
Move the seedling to direct sun once it has four leaves. Water when the top inch of soil dries. Seagrape seedlings grow slowly the first year, then take off in year two if planted in sandy soil with good drainage.
WATCH FOR
Seedling stems that develop dark spots at the soil line and topple over. This is stem rot from staying too wet. Reduce watering to once a week, move to a brighter spot, and confirm the pot drains freely from the bottom.
Semi hardwood cuttings
Time
8–12 weeks
Level
Intermediate
Success rate
Moderate
You'll need
Sterile bypass pruners
Rooting hormone with IBA (recommended)
1 gallon pots with drainage
Coarse sand and perlite mix
Clear humidity dome or plastic bag
1
Take cuttings in late summer
Cut 8 to 10 inch sections from the current season's growth in August or September, when the wood has firmed up but is not fully woody. Each cutting should have three or four leaf nodes. Avoid taking from flowering or fruiting branches.
2
Strip lower leaves
Remove all but the top two leaves. Seagrape leaves are large and lose water fast, so cut the remaining two leaves in half across to reduce surface area. The cutting needs energy reserves but cannot afford full transpiration.
3
Dip in rooting hormone
Wet the bottom inch of the cutting and dip it into IBA rooting powder. Tap off excess. Seagrape roots reluctantly, so hormone is the difference between 50 percent success and almost zero.
4
Stick into the medium
Push each cutting two inches deep into a 1 gallon pot of moist sand and perlite. Firm the medium around the stem so the cutting stands upright. Water once until it drains.
5
Cover and keep warm
Place a clear dome or large plastic bag over the pot to maintain high humidity. Set in bright indirect light at 75 to 85 degrees. Lift the cover for ten minutes daily to refresh the air and prevent fungal growth.
6
Test for roots at 8 weeks
Give a gentle tug. Resistance means roots have formed. Remove the dome over a week to harden off, then move the pot to direct sun. Plant out the following spring after the last cool weather has passed.
WATCH FOR
Leaves drop within the first two weeks and the cutting looks bare. Some leaf drop is normal but a fully bare cutting with no buds left will not push roots. If the stem still feels firm and green, leave it for another month before composting.
Air layering
Time
10–14 weeks
Level
Intermediate
Success rate
High
You'll need
Sharp knife or grafting blade
Rooting hormone with IBA (recommended)
Damp sphagnum moss (one large handful)
Clear plastic wrap
Electrical tape or twist ties
1
Pick a healthy branch
Choose a pencil thick to thumb thick branch about 18 inches long, ideally one to two years old. Late spring through early summer is the best window so warm weather drives root growth. Pick a branch you can reach comfortably.
2
Make a girdling cut
About a foot from the branch tip, score the bark in two parallel rings half an inch apart. Strip the bark off between the rings cleanly down to the woody core. This girdling stops sugars from flowing past and forces the branch to push roots above the cut.
3
Apply rooting hormone
Dust IBA rooting powder onto the exposed wood at the upper edge of the girdle. This is where new roots will form. Hormone is not strictly required but doubles the success rate on seagrape.
4
Wrap with damp moss
Soak a handful of sphagnum moss in water and squeeze out the excess until it holds shape without dripping. Pack the moss around the girdled section in a ball about the size of a tennis ball.
The moss must stay damp the whole time but never sopping wet.
The moss must stay damp the whole time but never sopping wet.
5
Wrap and seal
Cover the moss ball completely with clear plastic wrap. Twist the ends and secure with electrical tape or twist ties so no air escapes. The clear wrap lets you see roots without unwrapping. Check weekly for white roots inside the moss.
6
Sever and pot up
Once white roots fill the moss ball, usually 10 to 14 weeks later, cut the branch off just below the moss. Unwrap the plastic gently, leaving the moss intact around the roots. Pot into a 3 gallon container of sandy mix and keep in shade for two weeks before moving to sun.
WATCH FOR
The moss dries out and roots stop forming. A dry moss ball stalls the layer permanently. Inject water with a syringe through the plastic every week or two if rainfall is light, especially in dry coastal heat.
Stay on top of plant care
Get seasonal reminders for watering and fertilizing, personalized for your plants.
Try Greg Free
About This Article

Kiersten Rankel M.S.
Botanical Data Lead at Greg · Plant Scientist
Editorial Process
Propagation methods verified against Coccoloba uvifera growth data from Greg's botanical database, cross-referenced with USDA hardiness zone data and published horticultural research.
247+ Greg users growing this plant
USDA hardiness zones 10a–11b