Plant Care
›
Propagation
›
Red Buckeye
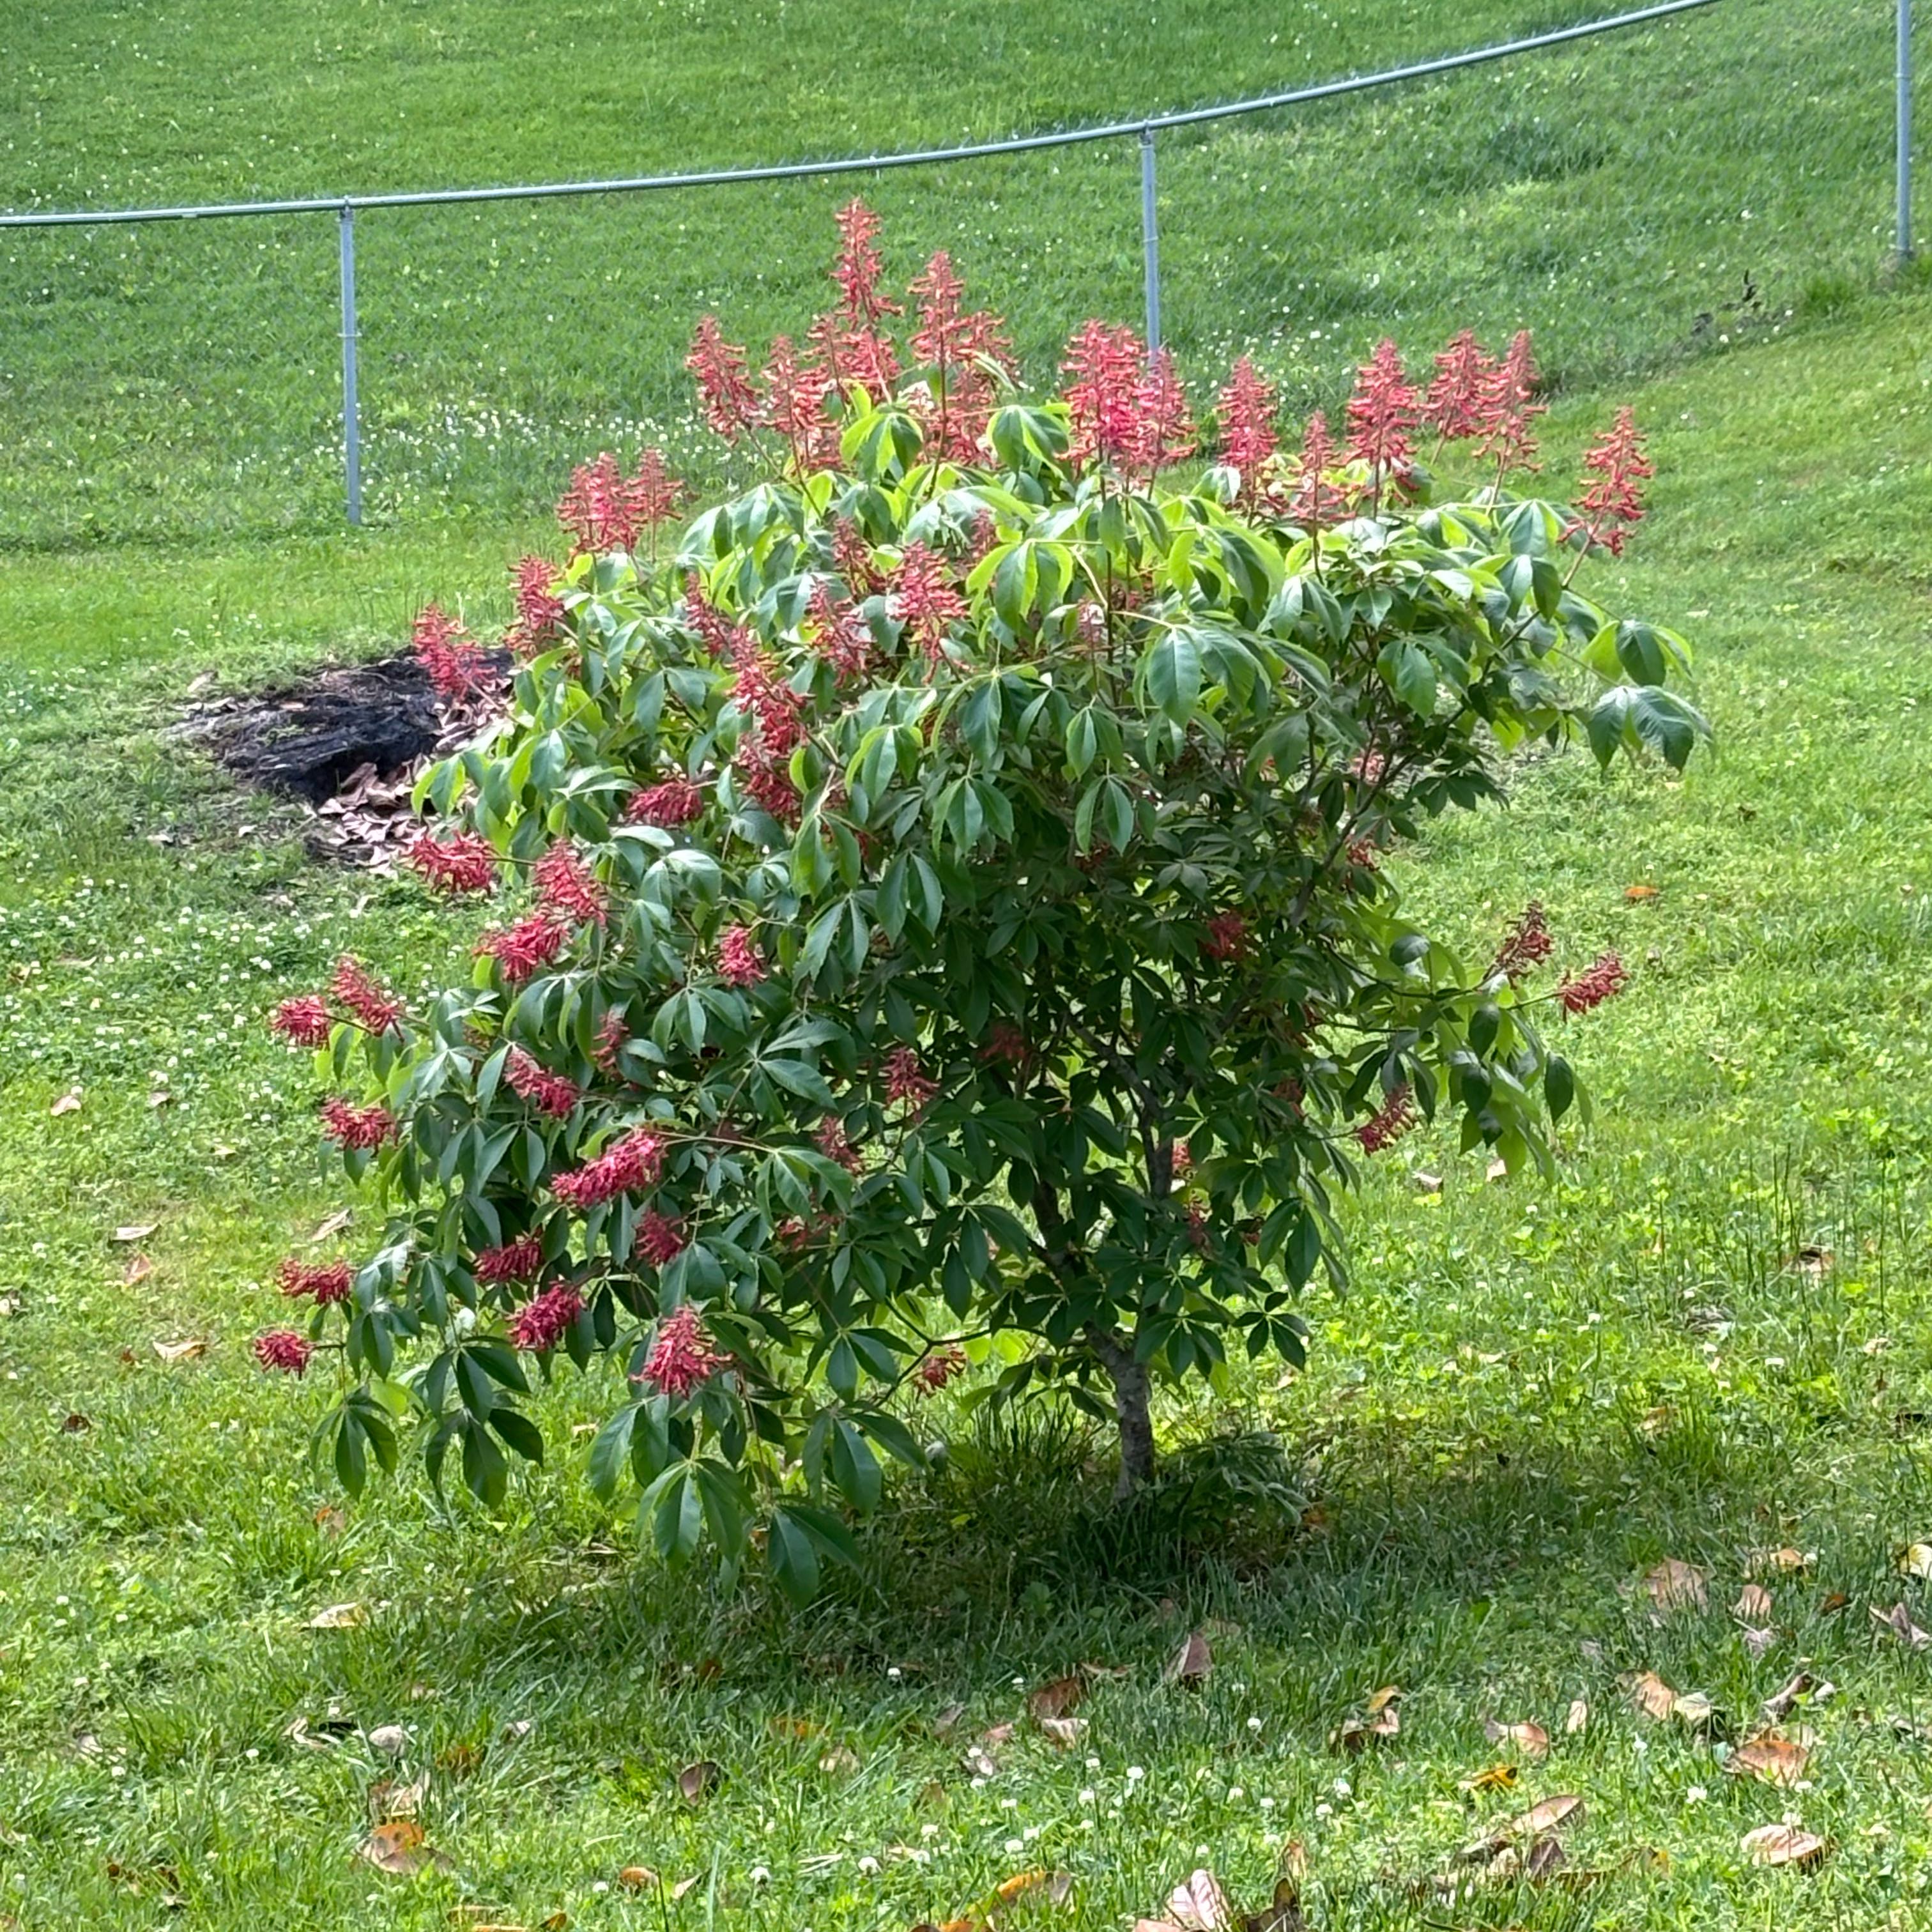
Aesculus pavia
Reviewed by Kiersten Rankel M.S.
QUICK ANSWER
Fresh seed sown in autumn is the easiest and most reliable method for red buckeye and produces flowering trees in 4 to 6 years.
Root cuttings taken in late winter from a mature tree push new shoots in 8 to 12 weeks at moderate success. Softwood cuttings taken in early summer root reluctantly at under 30 percent and most home growers skip them in favor of seed.
Root cuttings taken in late winter from a mature tree push new shoots in 8 to 12 weeks at moderate success. Softwood cuttings taken in early summer root reluctantly at under 30 percent and most home growers skip them in favor of seed.
Stay on top of plant care
Get seasonal reminders for watering and fertilizing, personalized for your plants.
Try Greg Free
Pick your method
Tap one to jump to the walkthrough.
From seed
Best when you can collect fresh nuts in early autumn
Root cuttings
Best in late winter from a mature tree's roots
Softwood cuttings
Best in early summer when shoots are still flexible
From seed
Time
Sow in fall + 18 months
Level
Beginner
Success rate
High
You'll need
Fresh red buckeye nuts (collected as husks split open)
Bucket of water
Deep 1 gallon nursery pots or a prepared planting hole
Compost-amended potting mix
Mulch
Mesh wire to deter squirrels
1
Collect nuts the moment husks split
Aesculus pavia drops nuts in late summer to early fall. Collect them as soon as the spiny husks crack open. Each husk holds 1 to 3 shiny brown nuts, sometimes called buckeyes for the white spot that resembles a deer's eye.
Fresh nuts are critical. Buckeye seed loses viability within weeks once it dries out, store-bought or year-old nuts almost never germinate.
Fresh nuts are critical. Buckeye seed loses viability within weeks once it dries out, store-bought or year-old nuts almost never germinate.
2
Float-test the nuts
Drop nuts in a bucket of water. Discard floaters, those are usually empty or grub-damaged. Sinkers are viable and ready to sow.
3
Sow immediately, 2 inches deep
Push each nut 2 inches deep into compost-amended soil, either in a deep 1 gallon pot or directly into a prepared planting hole. The taproot drives down fast, so a deep pot or final position is far better than a shallow seedling tray.
4
Mulch and protect from rodents
Cover the soil surface with 2 inches of mulch. Lay mesh wire over the planting until late spring, squirrels dig up buckeye nuts almost as a sport. The mesh comes off once the seedling pushes through in May.
5
Watch for first leaves in May
Buckeye nuts cold-stratify themselves through winter and germinate in spring once soil warms above 50 degrees Fahrenheit. The first leaves are large and palmate, looking nearly adult-sized from the start.
6
Grow on through year 2
Water deeply during dry spells through the first 2 summers. Move pot-grown seedlings to their permanent spot in the second autumn. Aesculus pavia is summer-dormant in the Southeast, expect leaf drop in August even on a healthy plant.
WATCH FOR
No germination by mid-June even after a normal spring. That usually means the nuts dried out before sowing or were eaten. Pull the soil back, check for any sign of the nut, and resow with fresh nuts the next autumn. Stored buckeye seed is rarely viable, plan to collect fresh each year.
Root cuttings
Time
8–12 weeks
Level
Intermediate
Success rate
Moderate
You'll need
Mature red buckeye whose roots you can access (offset from main trunk)
Sharp spade
Sterile pruners
Pencil-thick root sections
Sandy potting mix or 50/50 sand-compost mix
Deep 4 inch pots with drainage
1
Dig in late January or early February
Pick a spot 2 to 3 feet from the trunk. Dig a 12 inch deep hole and look for pencil-thick roots running horizontally. Wear gloves, the roots can be tough and brittle. Backfill the hole when you are done so you do not stress the parent tree.
2
Cut roots into 4 inch sections
Using sterile pruners, cut roots into 4 inch sections. Make a flat cut on the end closest to the trunk and a slanted cut on the end furthest from the trunk so you can tell which way is up.
Root polarity matters for buckeye, sections planted upside down do not produce shoots. The end nearest the trunk goes up.
Root polarity matters for buckeye, sections planted upside down do not produce shoots. The end nearest the trunk goes up.
3
Stick sections vertically in sandy mix
Push each section into a deep 4 inch pot of sandy mix with the flat-cut end about half an inch below the soil surface. Firm the medium around the section. Space sections 2 inches apart if you are putting several in one pot.
4
Place in a cool sheltered spot
Set pots in a cold frame or unheated garage at 40 to 55 degrees Fahrenheit. Keep the mix evenly moist, root cuttings rot in saturated soil but stall in dry mix. Aim for damp like a wrung-out sponge.
5
Watch for shoots in spring
By April or May, viable sections push a green shoot from the buried flat-cut end. New roots form below the surface around the same time. Once shoots are 3 inches tall, move pots to bright indirect light.
6
Pot up rooted sections in early summer
Lift each rooted section in June and pot up to a 1 gallon container of regular potting mix. Grow on through summer in bright shade. Plant out in the second spring.
WATCH FOR
Sections sitting in the medium with no shoot or root activity by late May. That usually means the section was either too thin (under pencil thickness, not enough stored energy) or planted upside down. Lift suspicious sections, check polarity, and re-stick the right way up. Genuinely failed sections will be soft and dark when squeezed.
Softwood cuttings
Time
10–14 weeks
Level
Advanced
Success rate
Low
You'll need
Sterile sharp pruners
Rooting hormone (required)
Perlite or 50/50 perlite-peat mix
4 inch pots with drainage holes
Clear plastic dome or bag with stakes
Bottom heat mat (recommended)
1
Take cuttings in early June
Choose this year's growth that bends without snapping but is starting to firm at the base. Cut 4 to 6 inch tips with 2 leaf sets in early morning. Drop cuttings in a bag with a damp paper towel until you can pot them up within an hour.
2
Strip lower leaves and wound the base
Remove all leaves from the bottom half of each cutting. Score the lowest inch with two shallow vertical cuts through the bark.
Dip in rooting hormone. Aesculus is one of the hardest woody natives to root, hormone is not optional, it is required.
Dip in rooting hormone. Aesculus is one of the hardest woody natives to root, hormone is not optional, it is required.
3
Stick into moist perlite
Push each cutting 1.5 inches into pre-moistened perlite. Firm the medium so the cutting stays vertical. Space cuttings 2 inches apart.
4
Cover and add bottom heat
Tent the pot with a clear dome or a bag held off the leaves with stakes. Place on a heat mat at 75 to 80 degrees Fahrenheit. Bottom heat roughly doubles the rooting rate for buckeye softwood. Mist inside the dome daily.
5
Vent the dome at week 10
Open the dome for 1 hour the first day, doubling daily for a week. Tug a cutting at week 12. Resistance plus a small new green leaf at the tip means roots have formed. Most cuttings will not pass this test.
6
Pot up survivors carefully
Move successful cuttings to deep 4 inch pots of regular potting mix. Buckeye produces a fast-growing taproot, deep pots beat shallow ones. Overwinter in a sheltered spot and plant out in the second spring.
WATCH FOR
Most cuttings turning brown and crispy at the cut end by week 6 to 8 with no sign of rooting. That is the typical pattern for Aesculus softwood, success below 30 percent is normal. Discard failures, sterilize the dome, and either start over with fresh cuttings or shift to seed or root cuttings, both of which work better for this species at home.
Stay on top of plant care
Get seasonal reminders for watering and fertilizing, personalized for your plants.
Try Greg Free
About This Article

Kiersten Rankel M.S.
Botanical Data Lead at Greg · Plant Scientist
Editorial Process
Propagation methods verified against Aesculus pavia growth data from Greg's botanical database, cross-referenced with USDA hardiness zone data and published horticultural research.
58+ Greg users growing this plant
USDA hardiness zones 4a–8b