Plant Care
›
Propagation
›
Purple Shamrocks
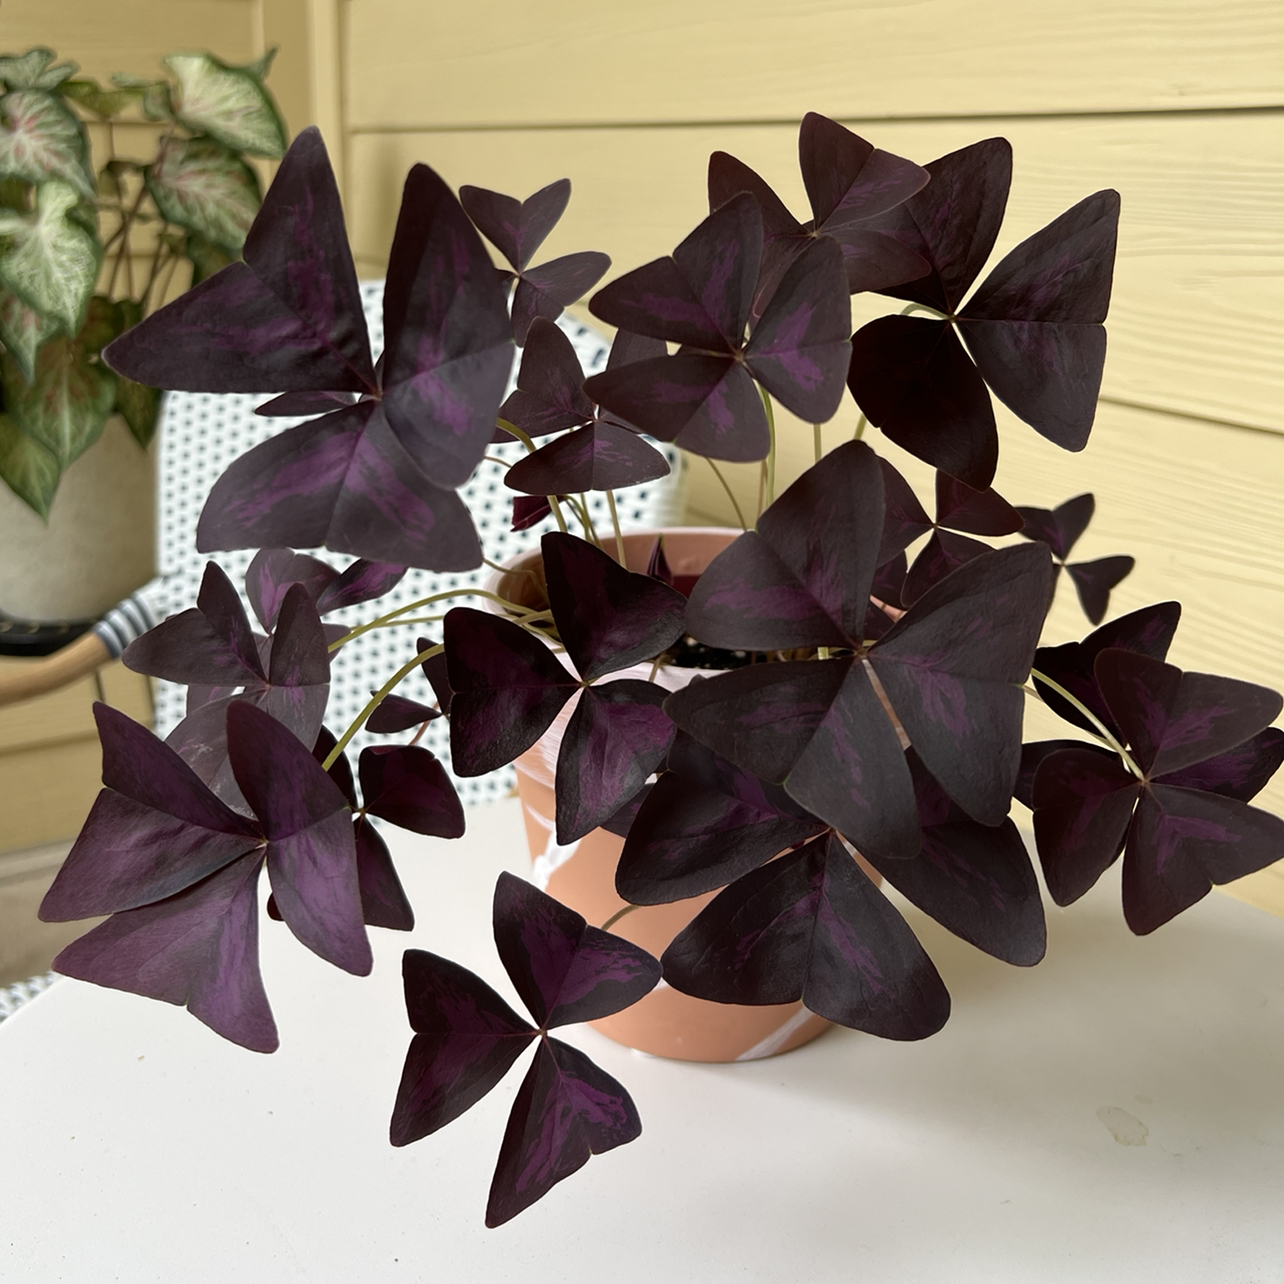
Oxalis triangularis
Reviewed by Kiersten Rankel M.S.
QUICK ANSWER
Bulb division during dormancy is the most reliable method and gives you flowering plants in 4 to 6 weeks once growth restarts. Offset separation in active growth is gentler on the parent and produces a leafy plant in 2 to 3 weeks but yields fewer new plants per round.
Stay on top of plant care
Get seasonal reminders for watering and fertilizing, personalized for your plants.
Try Greg Free
Pick your method
Tap one to jump to the walkthrough.
Bulb division
Best when your plant goes dormant and you want lots of new plants
Offset separation
Best when your plant is actively growing and you want one or two new pots
Bulb division
Time
4–6 weeks
Level
Beginner
Success rate
High
You'll need
4-inch pots with drainage holes
Light, well-draining houseplant mix
Clean hands or a soft brush
A shallow tray for sorting bulbs
1
Wait for natural dormancy
Purple shamrocks send up fewer leaves and flop over every few months. That is dormancy starting, not death. Stop watering once the leaves yellow and let the foliage die back fully over 2 to 3 weeks. The bulbs underground are now plump, separated, and ready to handle.
2
Unpot and uncover the bulbs
Tip the pot sideways and ease the rootball out. Crumble the soil away with your fingers over a tray so loose bulbs do not roll off the table. You will find dozens of small pinkish-brown scaly bulbs the size of a grain of rice or a pea, all tangled together with thin roots.
3
Separate the bulbs by hand
Pull the cluster apart gently. Each scaly bulb is a complete new plant, even the small ones. Sort them into piles by size if you want to pot uniform pots, or mix them for a fuller look. Discard any that feel mushy or smell sour.
4
Plant 6 to 10 bulbs per 4-inch pot
Fill the pot loosely with houseplant mix. Place the bulbs on the surface with the pointy end up if you can tell, then cover with about half an inch of soil. Crowding is fine and actually looks better than sparse planting.
5
Water once and wait for growth
Give the pot one thorough watering until water drains from the bottom. Place it in bright indirect light at room temperature. Do not water again until you see green shoots emerging, usually in 2 to 3 weeks. Watering a dry pot of bulbs is the most common cause of rot.
6
Resume normal care once leaves appear
Once shoots reach an inch tall, water when the top inch of soil dries out. Feed monthly with a balanced houseplant fertilizer at half strength. The pot will fill in within 4 to 6 weeks of breaking dormancy.
WATCH FOR
Mushy or moldy bulbs after planting. That means the soil stayed too wet during the no-water phase or a bulb was already damaged. Dump the pot, pick out the firm bulbs, let them air-dry for a day, and replant in fresh dry mix. Do not water until you see growth.
Offset separation
Time
2–3 weeks
Level
Beginner
Success rate
High
You'll need
A 4-inch pot with drainage holes
Light, well-draining houseplant mix
A small spoon or chopstick
A clean knife or scissors
1
Find a side cluster to lift
Look at the edge of the pot for a leafy clump that is growing slightly apart from the main mass. Gently brush the surface soil aside with a chopstick to confirm there is a small group of bulbs attached to it. You only need 3 to 5 bulbs to start a viable new pot.
2
Lift the cluster without unpotting
Slide a spoon or knife straight down between the cluster and the main plant. Push down to slice through any thin connecting roots. Lift the cluster out with as much soil as you can keep around the bulbs.
3
Pot the offset right away
Place the cluster in a small pot of fresh houseplant mix at the same depth it was growing. The bulbs should sit just below the soil surface. Press the soil firmly so the cluster does not flop.
4
Water lightly and shade for a week
Water just enough to settle the soil. Place the new pot in bright indirect light, out of direct sun for the first week. Some leaf wilt is normal while the bulbs adjust. Do not pull damaged leaves, they will fall on their own.
5
Resume normal watering after 7 days
Once the leaves perk back up, water when the top inch dries. The cluster will push new leaves within 2 to 3 weeks. The parent pot fills in the gap on its own within a month.
WATCH FOR
Leaves stay limp for more than 10 days. That means the cluster did not bring enough roots with it. Carefully unpot, check that at least 3 firm bulbs are present, and if so leave them buried in dry soil for 2 weeks before watering again. Bulbs reroot from dry soil more reliably than from wet.
Stay on top of plant care
Get seasonal reminders for watering and fertilizing, personalized for your plants.
Try Greg Free
About This Article

Kiersten Rankel M.S.
Botanical Data Lead at Greg · Plant Scientist
Editorial Process
Propagation methods verified against Oxalis triangularis growth data from Greg's botanical database, cross-referenced with USDA hardiness zone data and published horticultural research.
9,157+ Greg users growing this plant
USDA hardiness zones 8a–11b