Plant Care
›
Propagation
›
Poinsettia
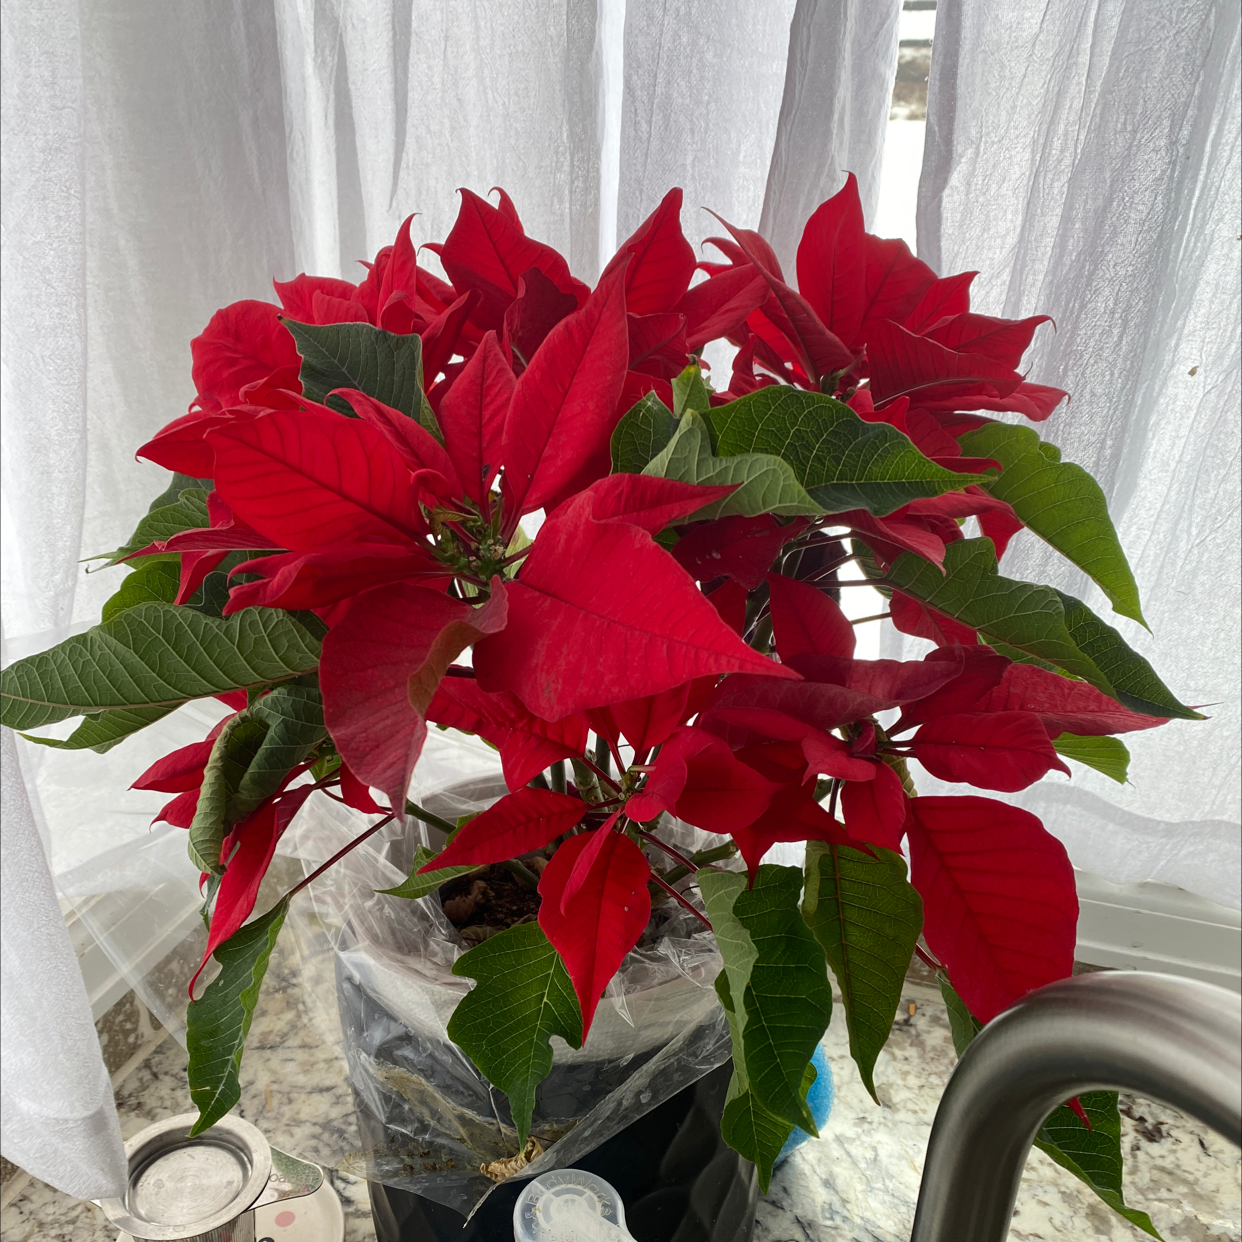
Euphorbia pulcherrima
Reviewed by Kiersten Rankel M.S.
QUICK ANSWER
Softwood stem cuttings taken in late spring or early summer are the only home-grower method that works for Poinsettia, with rooting in 4 to 6 weeks. Most retail poinsettias are patented hybrids that do not come true from seed, so cuttings are how you keep the same color year after year.
Stay on top of plant care
Get seasonal reminders for watering and fertilizing, personalized for your plants.
Try Greg Free
Softwood stem cuttings
Time
4–6 weeks
Level
Intermediate
Success rate
Moderate
You'll need
Sterile pruners or a sharp knife
Nitrile or latex gloves
4-inch pot with drainage holes
Peat-based potting mix amended with perlite
Clear plastic bag or humidity dome
Rooting hormone (recommended)
1
Wait for new green growth
Take cuttings in late spring or early summer once the plant has pushed out new green stems and the wood has firmed up but is still flexible. New growth that is fully soft will wilt before it roots, and old woody stems root very poorly.
The sweet spot is wood that bends but does not crush easily.
The sweet spot is wood that bends but does not crush easily.
2
Cut a 4 to 6 inch tip
Wear gloves before cutting. Poinsettia stems weep a milky white sap that irritates skin and eyes. Use sterile pruners to take a 4 to 6 inch cutting just below a node, leaving 2 to 3 leaves at the top.
3
Stop the bleeding
The cut end will weep sap for a minute. Dip the cut into cool water briefly to wash off the sap and stop the bleeding, then pat the cut dry with a paper towel.
Untreated sap forms a sticky cap that blocks rooting.
Untreated sap forms a sticky cap that blocks rooting.
4
Dust in rooting hormone and plant
Tap the cut end against rooting hormone powder and shake off the excess. Push the cutting into a 4-inch pot of damp peat-based mix amended with extra perlite. Bury about 2 inches of stem and press the soil firmly.
5
Tent with a humidity bag
Cover the pot with a clear plastic bag to hold humidity near 70 percent. Set in bright indirect light at 70 to 75°F. Open the bag for a few minutes every other day to refresh the air and prevent mold.
6
Check at 4 weeks with a tug test
Give the cutting a gentle tug. Resistance means roots have anchored. If it lifts freely, leave it for another 2 weeks and try again.
Once rooted, take the bag off and let the plant acclimate to room humidity over a week before moving to its long-term spot.
Once rooted, take the bag off and let the plant acclimate to room humidity over a week before moving to its long-term spot.
WATCH FOR
Wilting that does not recover overnight under the humidity dome. The cut sap was not rinsed off and has sealed the stem, blocking water uptake. Lift the cutting, slice off half an inch with a sterile blade, dip the new cut in cool water for 30 seconds to wash sap, dust with hormone, and replant.
Stay on top of plant care
Get seasonal reminders for watering and fertilizing, personalized for your plants.
Try Greg Free
About This Article

Kiersten Rankel M.S.
Botanical Data Lead at Greg · Plant Scientist
Editorial Process
Propagation methods verified against Euphorbia pulcherrima growth data from Greg's botanical database, cross-referenced with USDA hardiness zone data and published horticultural research.
9,967+ Greg users growing this plant
USDA hardiness zones 9a–11b