Plant Care
›
Propagation
›
Chinese Fringe Flower
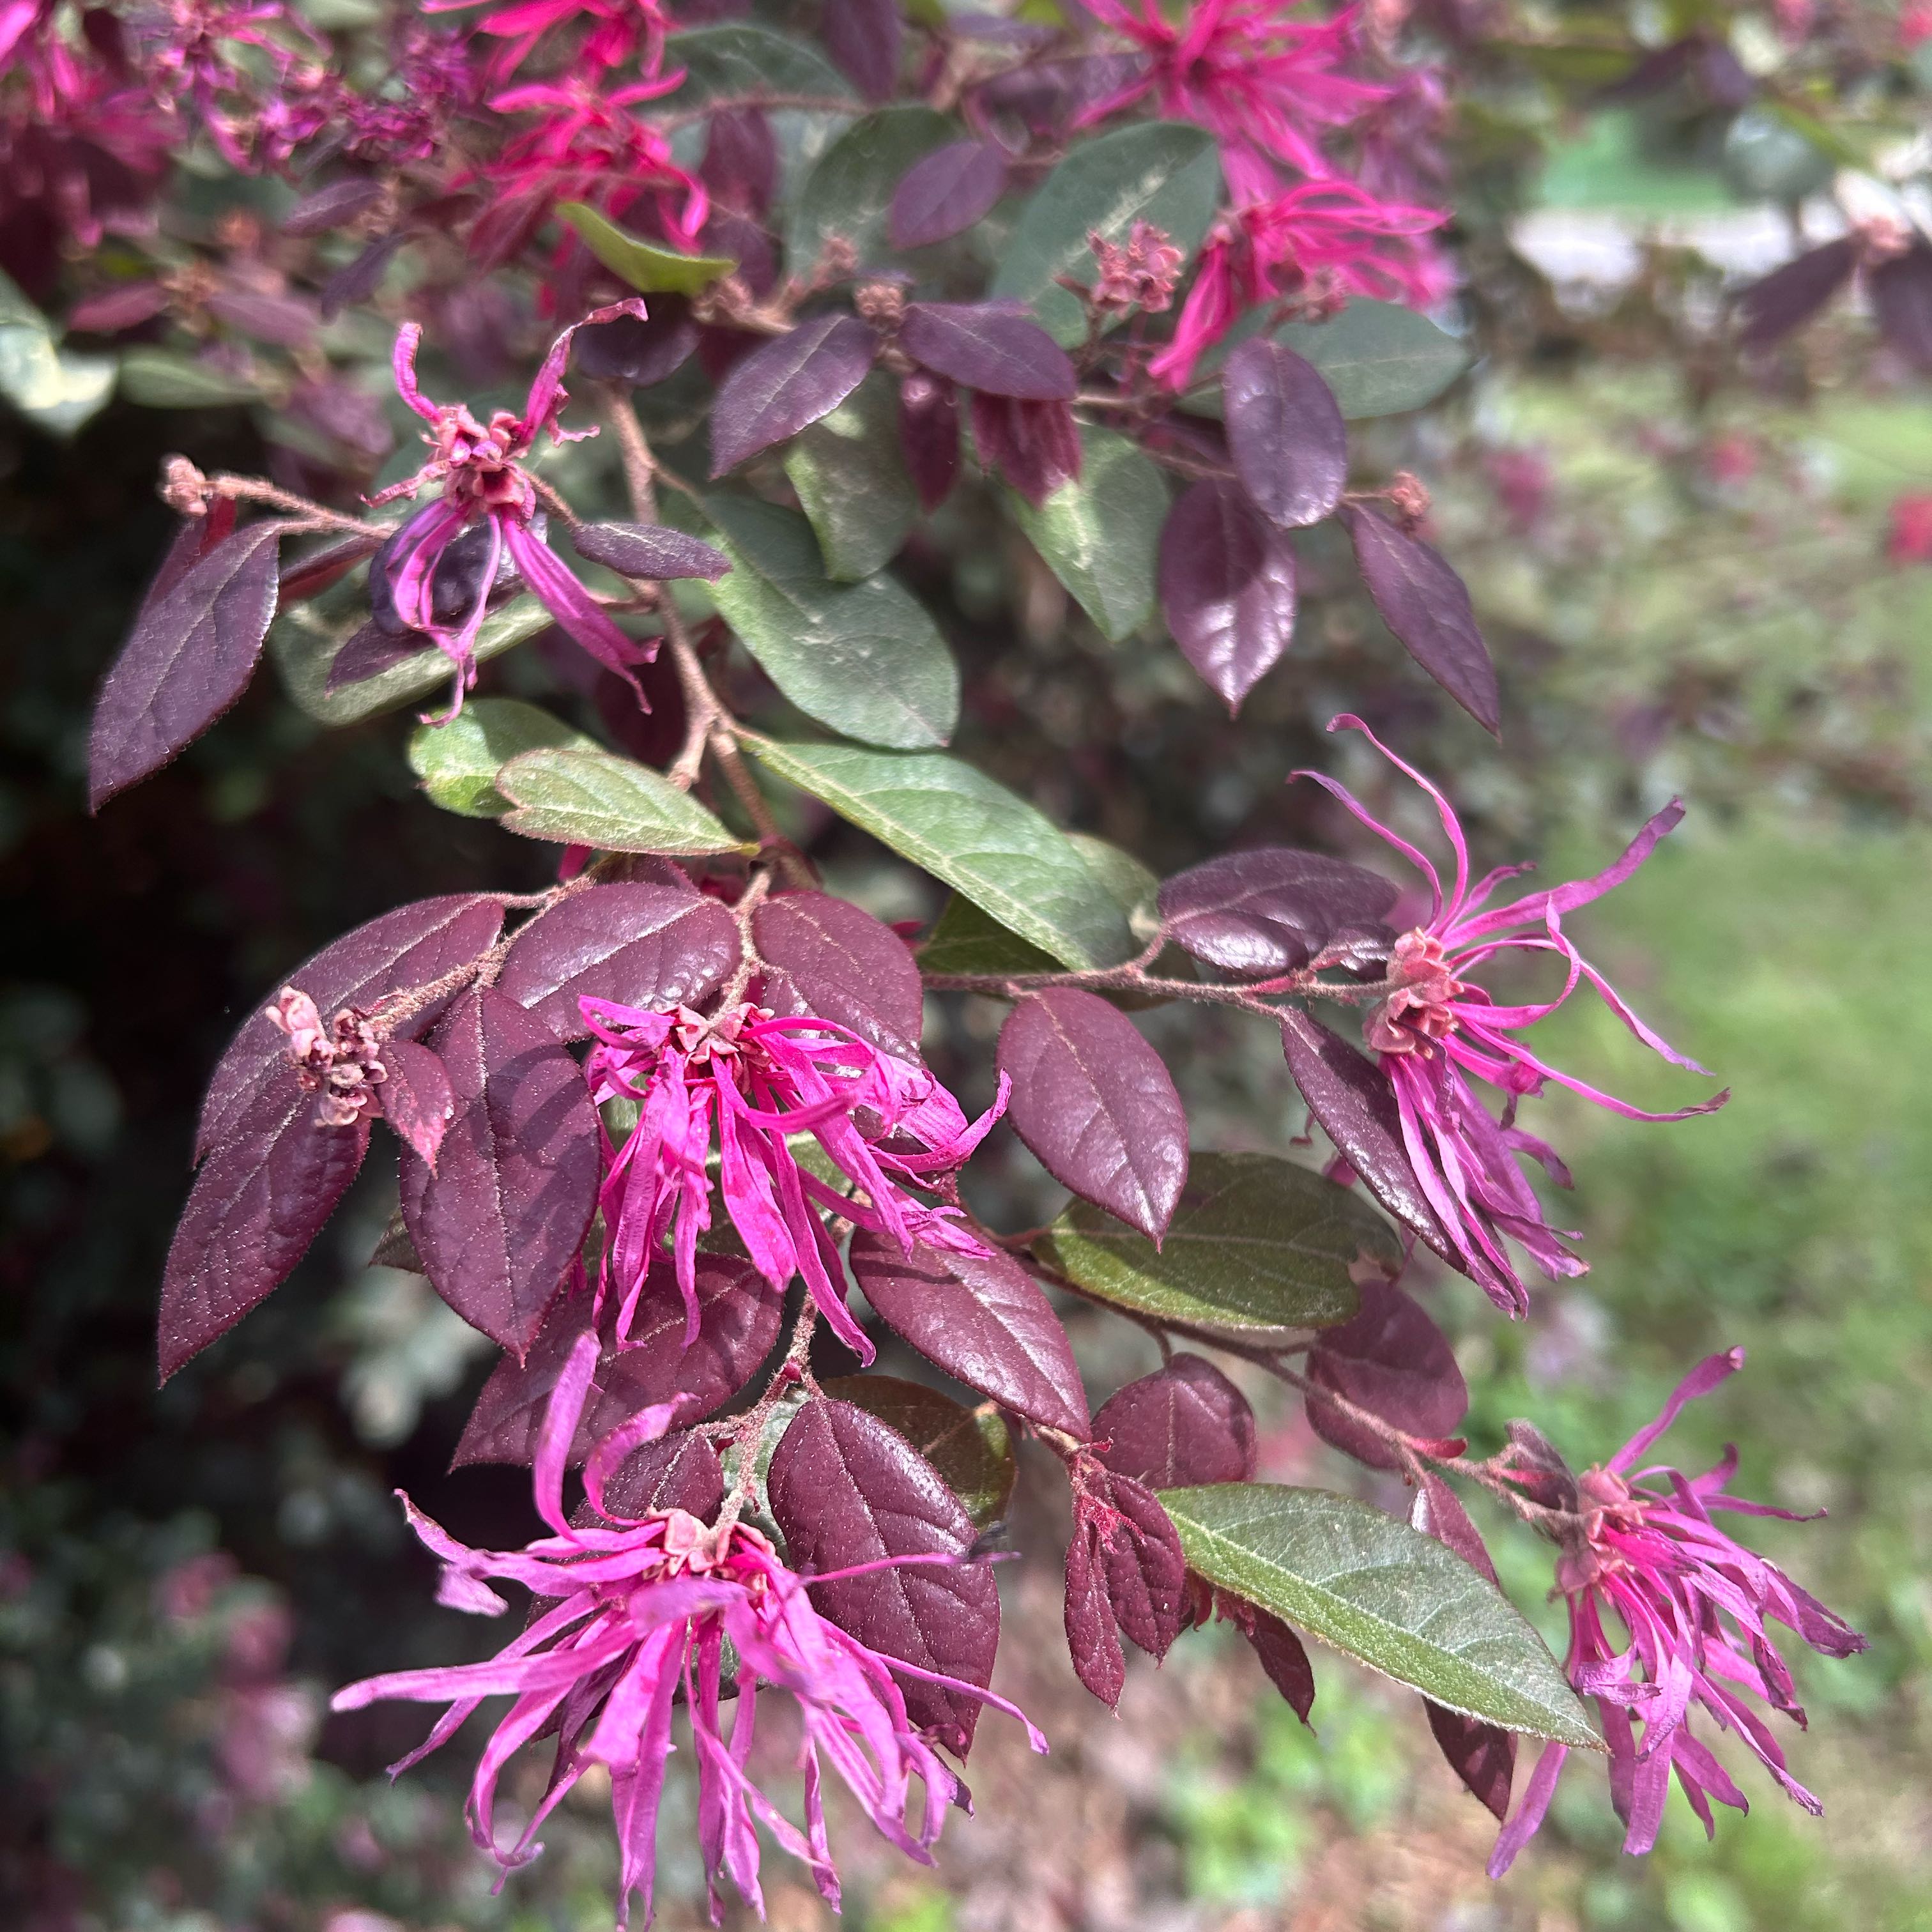
Loropetalum chinense
Reviewed by Kiersten Rankel M.S.
QUICK ANSWER
Semi-hardwood cuttings taken in midsummer are the most reliable home method and root in 6 to 10 weeks. Hardwood cuttings taken in late autumn root slower over 4 to 6 months but need almost no equipment.
Ground layering of a low branch takes 8 to 12 months and works without cutting at all, which makes it the easiest method for someone with one parent shrub.
Ground layering of a low branch takes 8 to 12 months and works without cutting at all, which makes it the easiest method for someone with one parent shrub.
Stay on top of plant care
Get seasonal reminders for watering and fertilizing, personalized for your plants.
Try Greg Free
Pick your method
Tap one to jump to the walkthrough.
Semi-hardwood cuttings
Best in midsummer when this year's growth has firmed up
Hardwood cuttings
Best for using late-autumn pruning material
Ground layering
Best when a low branch can reach the soil
Semi-hardwood cuttings
Time
6–10 weeks
Level
Intermediate
Success rate
Moderate
You'll need
Sterile pruning shears
Rooting hormone (recommended)
4-inch pots with drainage
Perlite and peat mix (50/50)
Clear plastic dome or bag
Heat mat (optional)
1
Take cuttings in July or August
Cut from this year's growth that has begun to harden at the base while the tip is still soft. The bark should be tan-pink with a flexible green tip. Avoid fully soft tips, which collapse, and old gray wood, which roots poorly.
2
Cut 4 to 6 inch pieces below a node
Use sterile shears and cut just below a leaf node. Strip leaves from the bottom two-thirds. Loropetalum has small leaves, but on long growth you can shorten any large remaining leaves by half to cut down on water loss.
3
Dip the base in rooting hormone
Loropetalum roots noticeably better with hormone than without. Tap the cut end against the powder, knock off the excess, and avoid getting hormone on the leaves.
For the dwarf cultivars sold in nurseries, hormone makes the difference between 30 percent and 70 percent success.
For the dwarf cultivars sold in nurseries, hormone makes the difference between 30 percent and 70 percent success.
4
Insert into the perlite mix
Push each cutting 2 inches deep into a moist perlite and peat blend. Firm the medium so the cutting stands on its own. Space cuttings 2 inches apart in a tray or one per 4-inch pot.
5
Cover and keep warm
Tent a clear plastic bag over the pot, propped above the leaves. Place in bright indirect light at 70 to 75 degrees. A heat mat helps speed rooting in cool basements or unheated greenhouses.
Vent the dome for 10 minutes every few days to prevent stagnant air and mold. The medium should stay damp like a wrung sponge, never soggy.
Vent the dome for 10 minutes every few days to prevent stagnant air and mold. The medium should stay damp like a wrung sponge, never soggy.
6
Pot up at 6 to 10 weeks
Tug gently after 6 weeks. Resistance means roots have formed. Once roots reach 1 to 2 inches, pot each cutting into a 4-inch container of standard potting mix and gradually acclimate to lower humidity over the next 2 weeks.
WATCH FOR
Wilted limp cuttings within the first week despite high humidity inside the dome. The cuttings were taken from too-soft growth or in heat above 85 degrees. Take fresh cuttings from firmer wood, take them in early morning when stems are full of water, and move the dome to a cooler shaded spot.
Hardwood cuttings
Time
4–6 months
Level
Beginner
Success rate
Moderate
You'll need
Sterile pruning shears
Rooting hormone
Deep nursery pot or sheltered trench
Coarse sand or gritty soil mix
Mulch
1
Cut in late autumn or winter
After the last flush of fall growth has firmed up, take cuttings from pencil-thick wood about 6 to 8 inches long. The bark should be brown-gray and the wood fully firm. Cut just below a node at the base and just above a node at the top so you remember which end goes down.
2
Wound and treat the base
Slice a thin half-inch sliver of bark off one side at the bottom of each cutting. This wound exposes more cambium and gives roots more places to emerge. Dip the wounded end in rooting hormone.
3
Insert into a deep pot or trench
Push each cutting two-thirds deep into gritty mix, leaving only the top third with 1 or 2 buds above the surface. Hardwood cuttings root best in a stable cool spot, so a sheltered trench against a wall or in a cold frame works well.
Loropetalum is hardy in zones 7 through 10, so it tolerates winter outdoors in those zones with minimal protection.
Loropetalum is hardy in zones 7 through 10, so it tolerates winter outdoors in those zones with minimal protection.
4
Mulch and leave through winter
Cover the surface with 2 inches of mulch to keep the bottom of the cuttings cool and damp. Water once if there is no rain for a couple of weeks. Otherwise leave the cuttings completely alone.
5
Check for callus and roots in spring
By April or May, look for swelling at the base and white root tips emerging. New green leaves at the top alone are not enough, since the buds can flush from stored energy without rooting.
6
Pot up rooted cuttings
Once roots fill the bottom 2 inches of the pot or you can lift a cutting with a small soil ball clinging to it, transplant into a 6-inch container of regular potting mix. Grow on in part shade for the first summer.
WATCH FOR
New leaves emerging at the top in spring with no roots forming below. The cutting is running on stored energy and will collapse once that runs out. Pull one cutting carefully to check for white roots. If none have formed by May, the wood was too old or the soil too cold, and the batch is unlikely to take.
Ground layering
Time
8–12 months
Level
Beginner
Success rate
High
You'll need
Flexible low branch on the parent shrub
Sharp knife
Landscape staple or bent wire
Compost-rich soil
Sterile pruning shears for separation
1
Pick a low pliable branch in spring
Loropetalum branches are flexible and arching, which makes them ideal for ground layering. Find a branch that bends down to touch the soil without breaking. The section that meets the ground should be 1 to 2 years old.
2
Wound the underside
About 12 inches back from the tip, slice an upward cut halfway through the branch on the underside. Twist gently to keep the wound open. This is where roots will form.
3
Pin and bury
Press the wounded section onto loose compost-amended soil and pin it down with a landscape staple. Cover with 3 inches of soil so only the leafy tip stays exposed.
The branch keeps drawing water and nutrients from the parent shrub through the entire rooting period.
The branch keeps drawing water and nutrients from the parent shrub through the entire rooting period.
4
Water through summer
Keep the buried section evenly damp through the first summer. Spread mulch on top to slow evaporation. The parent does most of the work here, so just keep the soil from drying out completely.
5
Check for roots after a full year
The following spring, gently scrape soil away from the buried section to look for white roots. A well-rooted layer has a tangled root mass 4 to 6 inches across spreading from the wound.
6
Sever and transplant
Cut the branch on the parent side of the new roots with sterile shears. Lift the rooted layer with as much soil as you can hold together, and replant in its new spot. Water deeply and shade for 2 weeks while it adjusts.
WATCH FOR
Soil washing away from the buried section after heavy rain, exposing the wound to dry air. Roots cannot form on a dry exposed cut. Re-bury immediately, re-pin, and pile a thicker mulch layer on top to anchor everything in place.
Stay on top of plant care
Get seasonal reminders for watering and fertilizing, personalized for your plants.
Try Greg Free
About This Article

Kiersten Rankel M.S.
Botanical Data Lead at Greg · Plant Scientist
Editorial Process
Propagation methods verified against Loropetalum chinense growth data from Greg's botanical database, cross-referenced with USDA hardiness zone data and published horticultural research.
650+ Greg users growing this plant
USDA hardiness zones 7a–10b