Plant Care
›
Propagation
›
Limelight Hydrangea
Hydrangea paniculata 'Limelight'
Reviewed by Kiersten Rankel M.S.
QUICK ANSWER
Softwood cuttings taken in June root within 4 to 6 weeks and are the fastest reliable method.
Ground layering of a low branch roots in one growing season and gives a planting-size shrub. Hardwood cuttings taken in late fall root over winter and produce a higher number of plants from a single shrub but at a moderate success rate.
Ground layering of a low branch roots in one growing season and gives a planting-size shrub. Hardwood cuttings taken in late fall root over winter and produce a higher number of plants from a single shrub but at a moderate success rate.
Stay on top of plant care
Get seasonal reminders for watering and fertilizing, personalized for your plants.
Try Greg Free
Pick your method
Tap one to jump to the walkthrough.
Softwood cuttings
Best in June for fastest rooting
Ground layering
Best for getting one strong new shrub
Hardwood cuttings
Best for making many plants over winter
Softwood cuttings
Time
4–6 weeks
Level
Beginner
Success rate
High
You'll need
Sterile pruners
Rooting hormone powder
4-inch pots with drainage
Equal-parts perlite and peat mix
Clear humidity dome or large plastic bag
Bright indirect light
1
Time the cutting to early summer
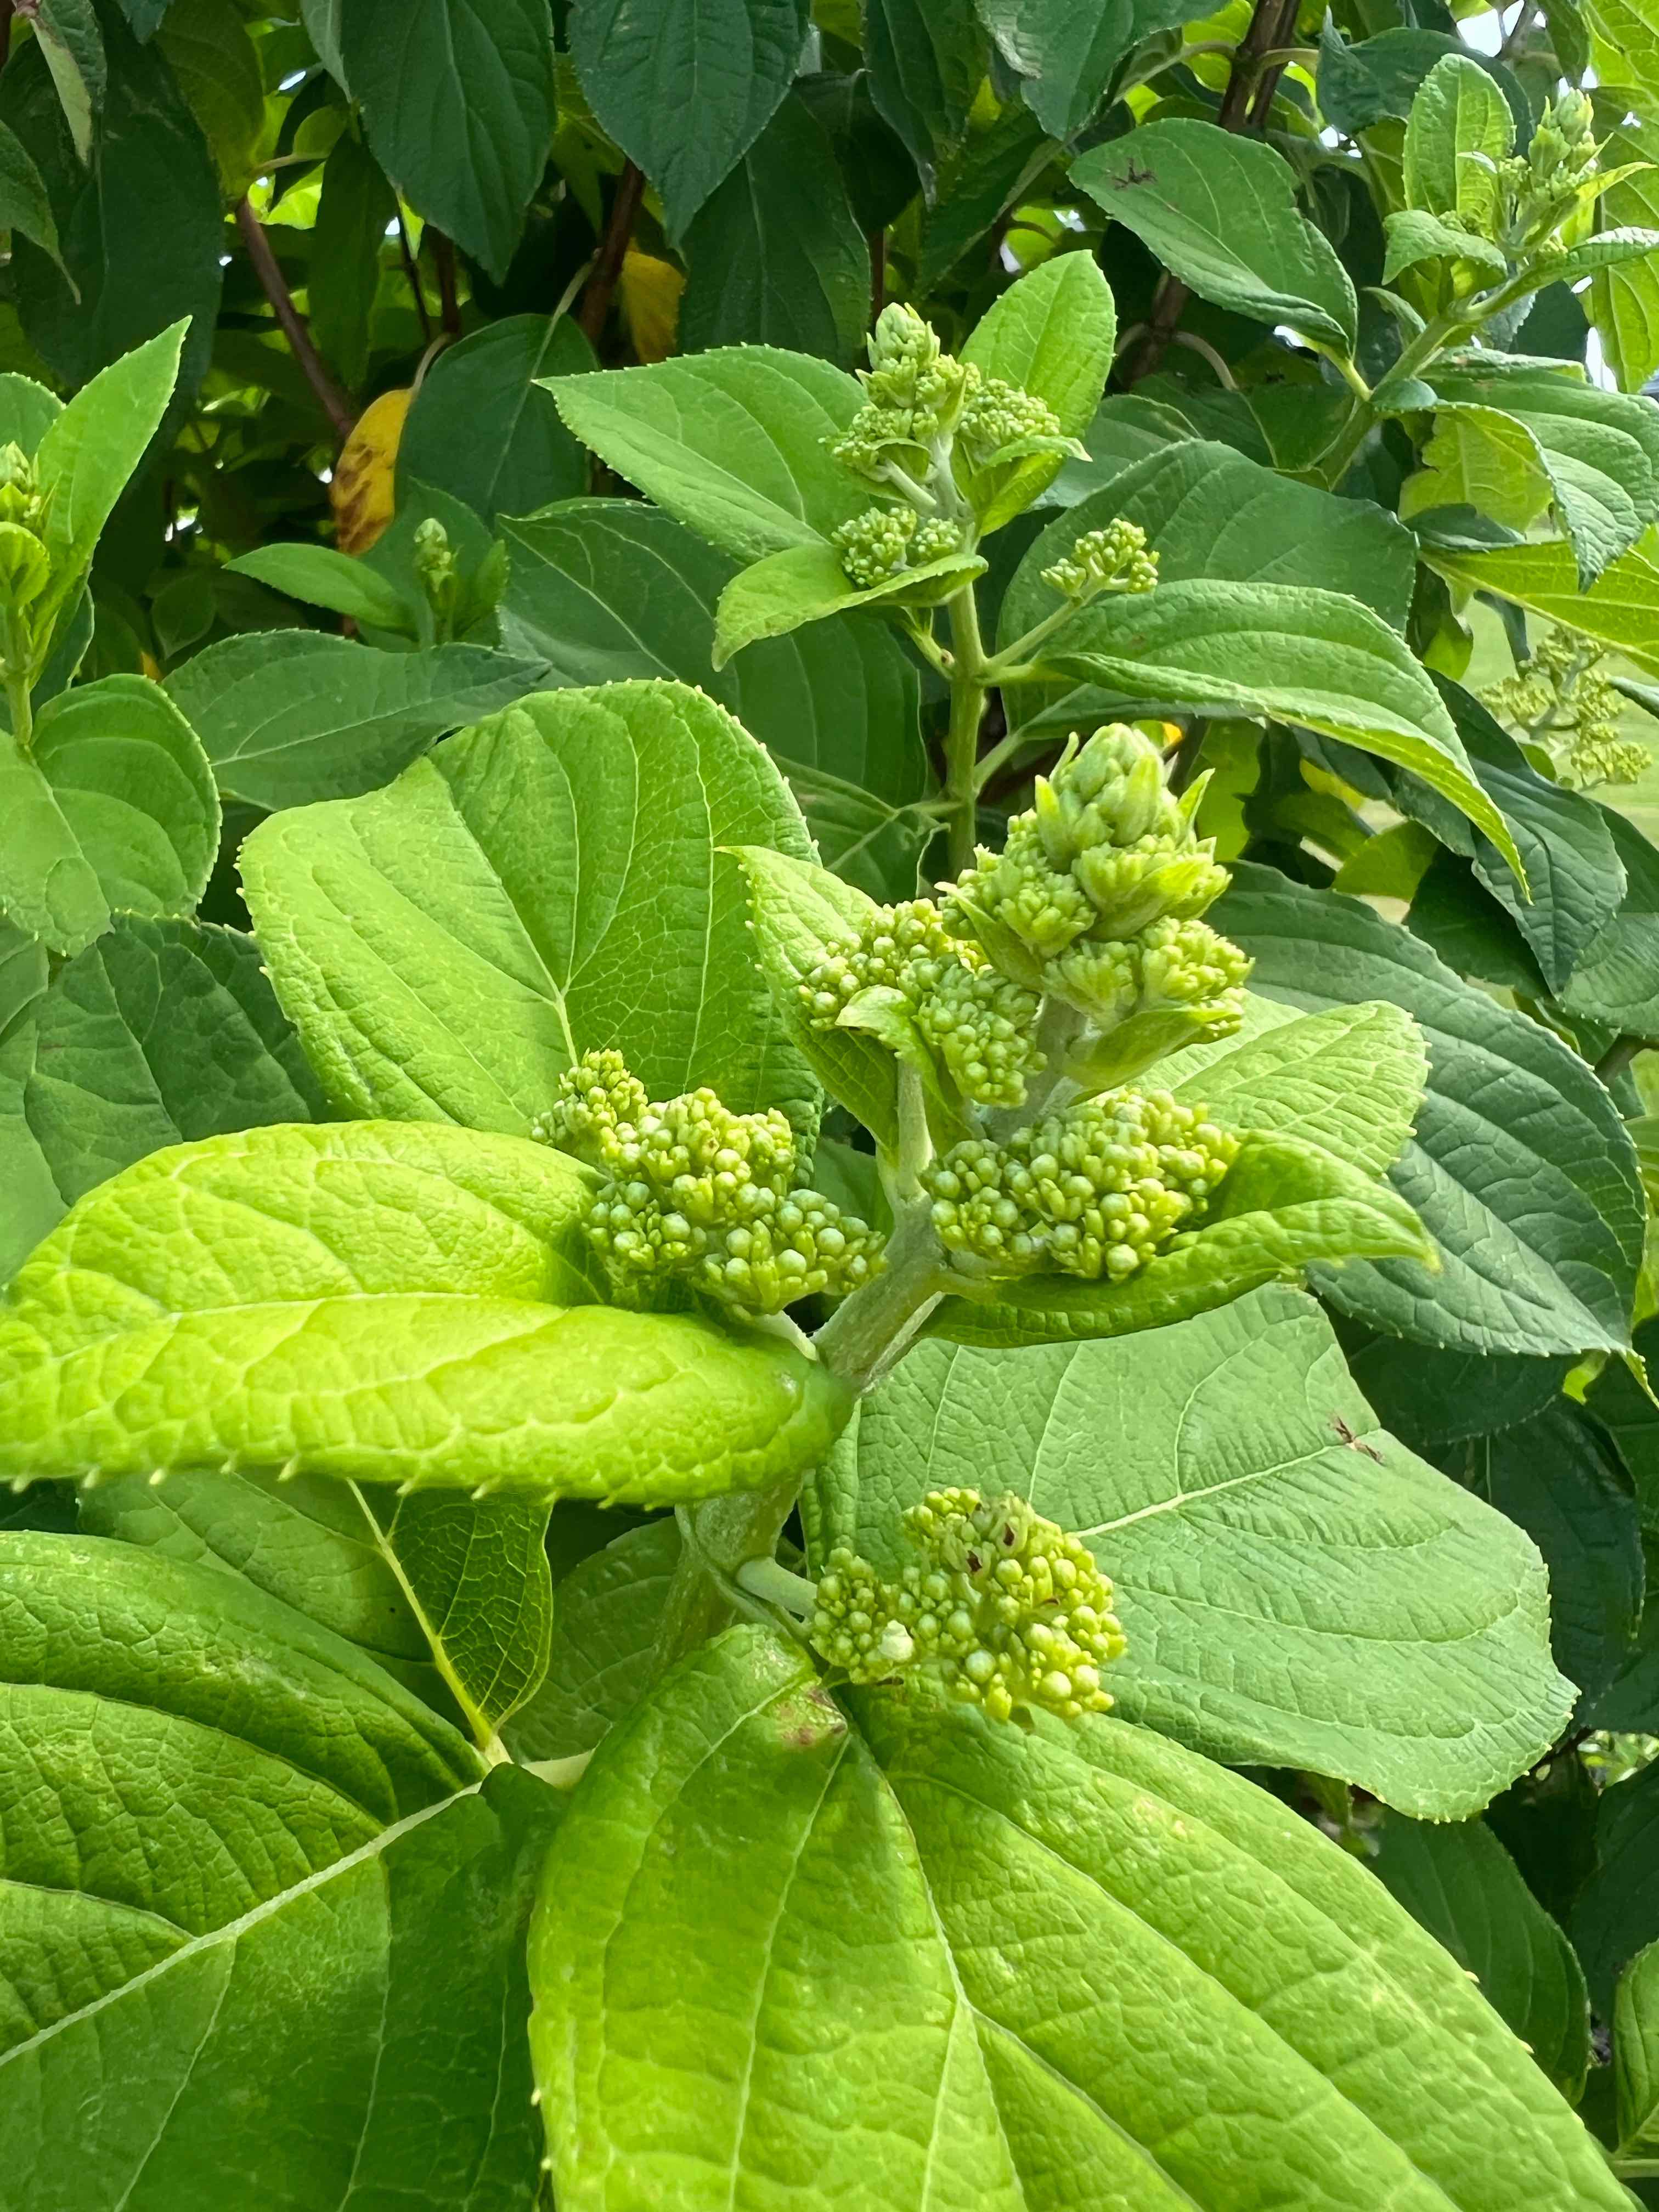
Take cuttings in mid to late June from new shoots that bend without snapping but feel firm at the base. Avoid stems that already have a flower bud. Non-flowering shoots root much more reliably than flowering ones.
2
Cut 5-inch tip pieces
Snip 5-inch tip cuttings each with 3 nodes. Strip the leaves from the lower two nodes. Leave the top two leaves but cut each one in half across to reduce moisture loss while the cutting roots.
3
Dust with rooting hormone
Tap the bottom inch in rooting hormone powder and shake off the excess. Limelight roots well even without hormone, but hormone bumps success rates from about 70 percent to over 90 percent.
Knock the cutting against the side of the container to remove excess powder. A heavy coating actually slows rooting.
Knock the cutting against the side of the container to remove excess powder. A heavy coating actually slows rooting.
4
Stick in perlite-peat mix
Push each cutting 2 inches deep into damp perlite-peat mix in a 4-inch pot. The lower two nodes need to be buried because that is where roots form. Three cuttings per pot is fine. Firm the mix and water in.
5
Cover and place in bright shade
Set the pot inside a clear dome or loose plastic bag. Place in bright indirect light at 70 to 75 degrees. Direct sun cooks the cutting through the plastic. A north-facing windowsill or shaded patio works well.
6
Vent at week 3 and pot up at week 6
Lift the dome for 30 minutes daily starting at week 3 to acclimate to lower humidity. By week 6, a gentle tug shows root resistance. Pot rooted cuttings into 1-gallon containers of standard potting soil and grow on through summer before planting out.
WATCH FOR
Leaves wilt severely within the first 48 hours and do not recover. The cutting was taken from wood that had already started to harden off, or the dome leaked humidity. Take fresh cuttings from softer green wood at the tips of new growth, recut the bottoms, and stick in a fully sealed dome. Cuttings that hold turgid leaves for the first week almost always root.
Ground layering
Time
6–12 months
Level
Beginner
Success rate
High
You'll need
Sterile knife
Landscape staple or U-shaped wire
Compost-amended soil
Mulch
Sterile pruners for severing
1
Pick a flexible low branch
In early spring before bud break, find a 1-year-old branch on the lower part of the shrub that bends to the ground without breaking. Strip the leaves from the section that will be buried. Pick a spot 12 inches back from the branch tip.
2
Wound the underside
Make a shallow 2-inch cut along the underside of the branch where it will be buried. Slice through the bark and into the cambium but not through the wood itself.
The wound is what triggers root formation. A toothpick wedged in the cut keeps it open.
The wound is what triggers root formation. A toothpick wedged in the cut keeps it open.
3
Pin the wound underground
Dig a 4-inch deep depression. Lay the wounded section in it with the cut facing down and pin it firmly with a landscape staple. The branch tip should curve back up out of the depression. Backfill with compost-amended soil.
4
Water in and mulch
Soak the buried section to settle the soil around the wound. Cover with 2 inches of mulch. Keep the area damp through the first growing season.
5
Leave it for one full season
Roots develop slowly over the summer and fall. Resist the urge to dig and check. By the following spring, the buried section will have a baseball-sized root system if soil moisture stayed steady.
6
Sever and transplant
The next spring, cut the branch between the parent and the rooted section with sterile pruners. Wait 2 weeks for the new plant to settle, then dig it up with a generous rootball and move to its permanent spot.
WATCH FOR
The branch pulls free of its staple after a heavy rain or curious wildlife. Without firm contact between the wound and the soil, no roots form. Re-pin the branch as soon as you notice it has lifted, add fresh soil to cover, and water again. One disturbance does not ruin the layer if you fix it within days.
Hardwood cuttings
Time
10–14 weeks
Level
Intermediate
Success rate
Moderate
You'll need
Sterile pruners
Rooting hormone powder
Deep nursery pots or a sand-filled trench
Coarse sand or perlite-soil mix
Mulch
1
Cut in late fall after leaf drop
Take 8-inch sections of pencil-thick wood from the current season's growth in November after the shrub drops its leaves. Each cutting needs 3 to 4 nodes. Cut just below a node at the bottom and a half inch above one at the top.
2
Mark which end is up
Cut the bottom flat and the top at an angle so you can tell orientation. Hardwood cuttings stuck upside down never root.
Do this even on a small batch. By February you will not remember which end was which.
Do this even on a small batch. By February you will not remember which end was which.
3
Dust with rooting hormone
Tap the bottom inch in rooting hormone powder. Limelight hardwood cuttings root at about 60 to 70 percent without hormone and over 80 percent with it. Shake off the excess.
4
Stick in sand or trench
Push cuttings into a sand-filled trench or deep nursery pot so two-thirds of each is buried. Space cuttings 4 inches apart. Firm the medium and water in once.
5
Mulch heavily and overwinter
Cover with 4 inches of mulch and leave outside through winter. Cold dormancy is what triggers callus formation at the base before roots emerge. Heated indoor conditions force leaves before roots and the cutting fails.
6
Lift in late spring
By May, rooted cuttings have leafed out and resist a gentle tug. Lift carefully with a fork, pot up into 1-gallon containers, and grow on for one season before planting out the following spring.
WATCH FOR
Cuttings push leaves in March but collapse by May. That is top growth running ahead of root growth. Hardwood cuttings sometimes leaf out before they have rooted if temperatures spike early. Mulch heavier and provide afternoon shade through the first warm spell of spring. Cuttings that hold their leaves into June have rooted properly.
Stay on top of plant care
Get seasonal reminders for watering and fertilizing, personalized for your plants.
Try Greg Free
About This Article

Kiersten Rankel M.S.
Botanical Data Lead at Greg · Plant Scientist
Editorial Process
Propagation methods verified against Hydrangea paniculata 'Limelight' growth data from Greg's botanical database, cross-referenced with USDA hardiness zone data and published horticultural research.
20+ Greg users growing this plant
USDA hardiness zones 3a–8b