Plant Care
›
Propagation
›
Crossvine
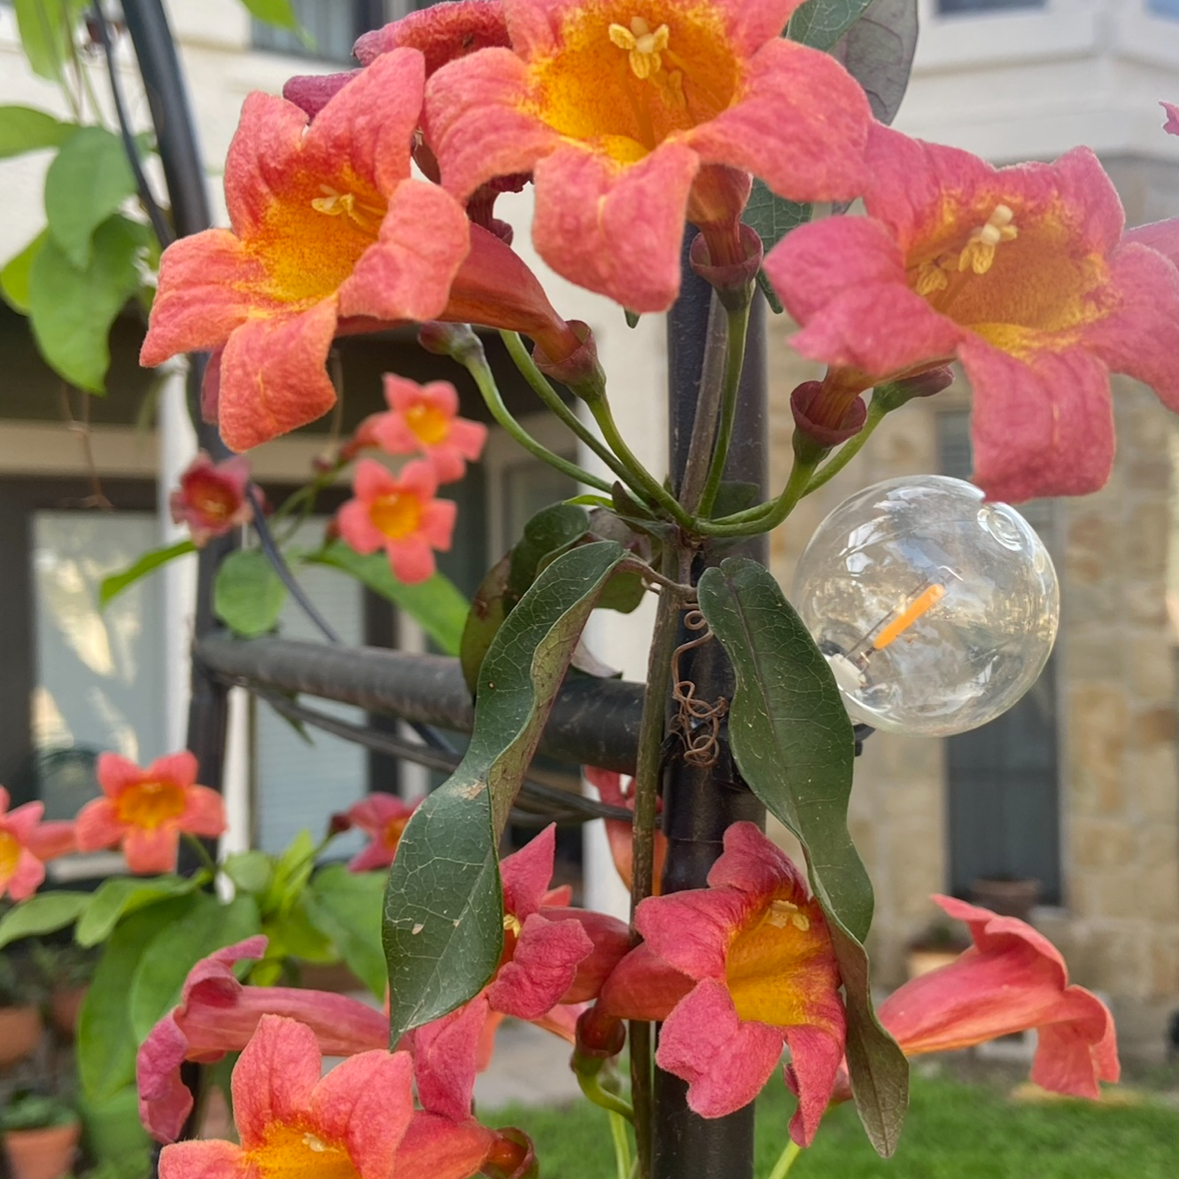
Bignonia capreolata
Reviewed by Kiersten Rankel M.S.
QUICK ANSWER
Softwood cuttings taken in early summer root in 4 to 8 weeks and produce a flowering vine in 2 years. Ground layering is the most reliable method but takes a full season. Division of an established crown gives an instant mature plant when you can dig up the parent. Seed sowing is easy but seedlings vary in flower color and bloom size.
Stay on top of plant care
Get seasonal reminders for watering and fertilizing, personalized for your plants.
Try Greg Free
Pick your method
Tap one to jump to the walkthrough.
Softwood cuttings
Best in early summer for fast clones with the same flowers
Ground layering
Best for a guaranteed-rooted clone with no special equipment
Division
Best when you can dig up a mature clump
From seed
Best for filling a fence cheaply with mixed-color vines
Softwood cuttings
Time
4–8 weeks
Level
Intermediate
Success rate
Moderate
You'll need
6 to 8 inch softwood tip cuttings
Sterile pruning shears
Rooting hormone (IBA 0.1 to 0.3 percent)
4-inch pots with 50/50 perlite and peat
Clear humidity dome
Bright shaded spot at 70 to 80 degrees F
1
Take cuttings in early summer
Cut 6 to 8 inch tips from this year's growth that bend without snapping. Take cuttings in the morning when the vine is fully turgid. Make a clean cut just below a node with sterile shears.
Avoid cuttings with flower buds or developing seed pods.
Avoid cuttings with flower buds or developing seed pods.
2
Strip lower leaves and tendrils
Remove leaves and tendrils from the bottom 3 inches and cut large remaining leaves in half. Crossvine leaves transpire heavily, so reducing leaf area is critical.
3
Dip in rooting hormone
Tap the cut end into IBA 0.1 to 0.3 percent powder and shake off excess. Hormone roughly doubles take rates for crossvine cuttings.
4
Insert into rooting mix
Push cuttings 2 inches deep into a 50/50 perlite and peat mix. Firm gently so the cutting stays upright. Space cuttings 2 inches apart in shared trays.
5
Cover and place in bright shade
Set the tray under a clear dome in bright filtered light, never direct sun. Mist the inside of the dome lightly each morning so condensation forms.
Vent for 10 minutes every other day to prevent mold.
Vent for 10 minutes every other day to prevent mold.
6
Pot up at week 6
Tug gently. Resistance means roots have formed. Move rooted cuttings to 4-inch pots with regular potting mix and harden off over 2 weeks before planting out.
WATCH FOR
Brown leaf edges and crispy tips within the first 2 weeks. That is desiccation from the dome opening too often or low ambient humidity. Mist the inside of the dome more often, only vent if mold appears, and keep the tray out of any direct sun. Crossvine cuttings have only their leaf reserves until roots form, so humidity is everything.
Ground layering
Time
4–6 months
Level
Beginner
Success rate
High
You'll need
A flexible low vine on an established plant
Garden trowel
Sterile knife or pruning shears
Landscape staple or U-pin
Loose garden soil or compost
Rooting hormone (optional)
1
Choose a flexible low stem
Find a long, low-growing vine that bends to the ground without snapping. Pick a section roughly 12 to 18 inches from the tip with a node at the bend point.
Layer in late spring or early summer for fastest rooting.
Layer in late spring or early summer for fastest rooting.
2
Wound the underside of the node
Use a clean knife to nick the underside of the chosen node. The wound exposes cambium and triggers rooting. A light dusting of rooting hormone in the wound speeds the process.
3
Pin to the soil and bury
Press the wounded node into a shallow trench and pin in place with a landscape staple. Cover with 2 inches of loose soil so the rest of the vine arches up out of the ground.
4
Keep moist through summer
Water the buried section weekly so the soil stays evenly damp. Drying out at any point delays rooting by weeks. Mulch lightly to slow evaporation.
Leaves from the buried section may yellow and drop, which is normal.
Leaves from the buried section may yellow and drop, which is normal.
5
Test for roots at month 4
Gently lift the soil to check. Once you see white roots an inch or longer, the layer is ready to separate. Cover back up and wait another 4 weeks if roots are sparse.
6
Sever and transplant
Cut the layer free of the parent vine with sterile shears. Lift the rooted section with as much soil as possible and move to a new spot or pot. Water in deeply.
WATCH FOR
Buried sections that turn black and feel soft. That is rot from a spot that stays too wet. Pull the failed layer, choose a higher and better-drained location, and try again with fresh stems. Crossvine layers most reliably in well-drained soil, not in low spots that pool water.
Division
Time
1 season
Level
Intermediate
Success rate
High
You'll need
An established crossvine, 3 or more years old
Sharp spade
Pruning saw
Sterile pruning shears
Compost
Mulch
1
Dig in early spring
Lift the parent in early spring before bud break. Crossvine wakes early in the south, so look for the moment when buds swell but haven't opened. Drive a sharp spade in a wide circle 12 inches out from the crown.
2
Lift and split
Pry the entire root mass out of the ground. Look for natural separations where multiple stems share a crown. Use a pruning saw or spade to slice between divisions, keeping each piece with its own roots and 2 or more healthy stems.
3
Trim aggressively
Cut all top growth back by half with sterile shears. Crossvine pushes more new growth than the smaller root system can support, so the prune-back balances things.
Damaged or hollow root sections should be removed entirely.
Damaged or hollow root sections should be removed entirely.
4
Replant immediately
Move divisions to new spots within an hour. Plant at the same depth as before and provide a sturdy trellis or support. Water in deeply.
5
Mulch and shade
Top with 2 inches of mulch to retain moisture. Shade with row cover or a temporary screen if you divided in late spring or summer.
Water deeply once a week through the first summer.
Water deeply once a week through the first summer.
6
Skip fertilizer the first year
Let divisions rebuild roots before adding nitrogen. Expect light flowering year 2 and full bloom by year 3.
WATCH FOR
Divisions that leaf out vigorously and then collapse during the first heatwave. That is transplant shock from the canopy outpacing the reduced root system. Cut all stems back another 30 percent, water deeply twice a week, and keep shaded until cooler weather. The plant survives if you reduce demand on its roots.
From seed
Time
2–4 weeks germination
Level
Beginner
Success rate
High
You'll need
Mature seed pods (long flat brown pods)
Seed-starting tray with humidity dome
Standard seed-starting mix
Spray bottle
Bright window or grow light at 70 to 80 degrees F
1
Collect or buy fresh seed
Harvest the long flat pods in late summer once they turn brown but before they split open. Each pod holds dozens of papery winged seeds.
Use seeds within a year for best germination.
Use seeds within a year for best germination.
2
Sow shallow
Surface-sow seeds onto damp seed-starting mix and cover with just a quarter inch of mix. The papery wings often stick to the surface, which is fine.
Mist the surface gently.
Mist the surface gently.
3
Cover and keep warm
Place under a humidity dome at 70 to 80 degrees F in bright indirect light. Mist when the surface dries. Germination starts at 2 weeks and continues for several more.
4
Vent and grow on
Once seedlings emerge, vent the dome to harden them gradually. Move to bright filtered sun and let the surface dry slightly between waterings.
5
Pot up at 4 true leaves
Move seedlings to 3-inch pots with regular potting mix once they have 4 true leaves. Continue bright light and even moisture.
6
Plant out and trellis
Transplant after the last frost with a sturdy support nearby. Expect the first flowers in year 2 or 3, with flower color sometimes varying from the parent.
WATCH FOR
Seedlings that fall over with a thin pinched stem at soil level. That is damping off from too-wet, stagnant conditions. Increase airflow by venting the dome more often, water from below by setting the tray in a shallow dish, and discard affected seedlings to stop the spread.
Stay on top of plant care
Get seasonal reminders for watering and fertilizing, personalized for your plants.
Try Greg Free
About This Article

Kiersten Rankel M.S.
Botanical Data Lead at Greg · Plant Scientist
Editorial Process
Propagation methods verified against Bignonia capreolata growth data from Greg's botanical database, cross-referenced with USDA hardiness zone data and published horticultural research.
131+ Greg users growing this plant
USDA hardiness zones 6a–9b