Plant Care
›
Propagation
›
Blue Porterweed
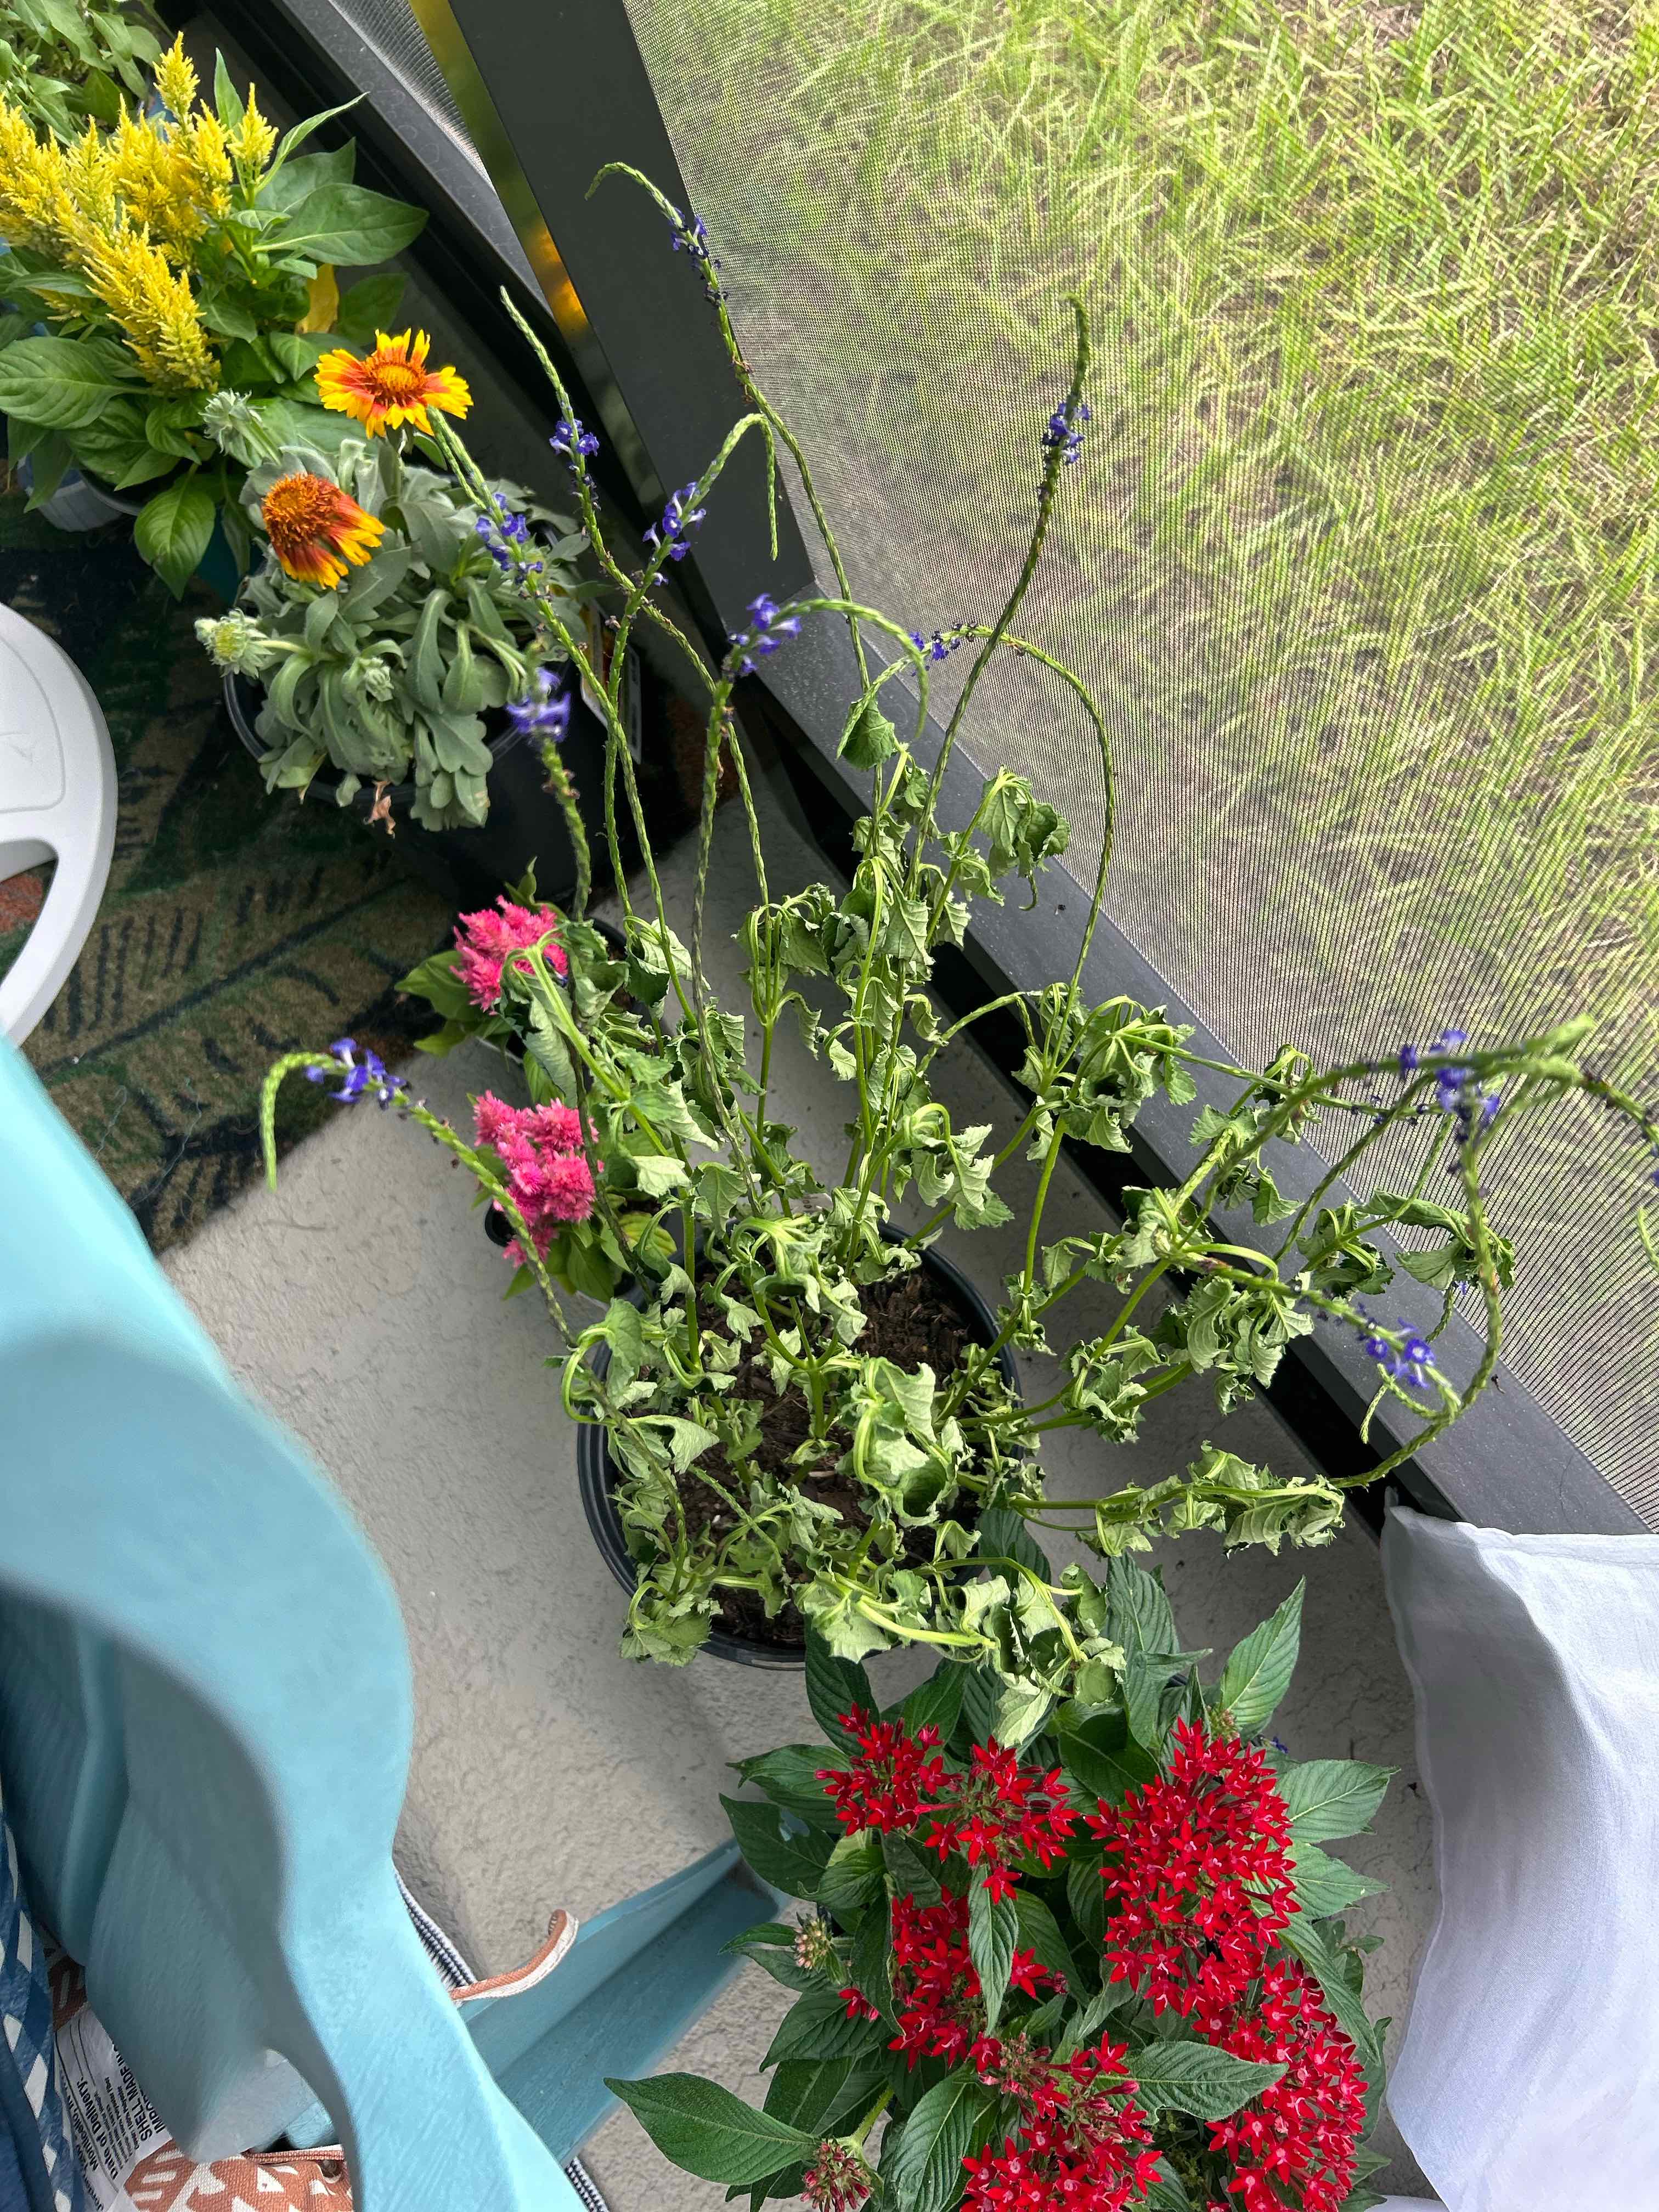
Stachytarpheta jamaicensis
Reviewed by Kiersten Rankel M.S.
QUICK ANSWER
Softwood cuttings root in water or soil within 2 to 3 weeks and are the fastest path to a flowering plant. Seed sowing germinates in 2 to 4 weeks and is best for filling a butterfly garden cheaply. Ground layering takes 4 to 6 weeks but works without removing the parent stem and gives the highest take rate.
Stay on top of plant care
Get seasonal reminders for watering and fertilizing, personalized for your plants.
Try Greg Free
Pick your method
Tap one to jump to the walkthrough.
Softwood cuttings
Best for quick clones with the same flower color as the parent
From seed
Best for filling a pollinator garden cheaply
Ground layering
Best when you want a guaranteed root system before separating
Softwood cuttings
Time
2–3 weeks
Level
Beginner
Success rate
High
You'll need
4 to 6 inch tip cuttings
Sterile pruning shears
Clear glass jar of water OR 4-inch pot with potting mix
Bright indirect light
Filtered or rainwater
1
Take tip cuttings
Snip 4 to 6 inch lengths from soft, actively growing stem tips in the morning. Avoid woody lower stems and any flower spikes. The best cuttings have at least 3 leaf nodes.
2
Strip the lower leaves
Remove leaves from the bottom 2 inches of each cutting so only the top 2 leaf pairs remain. Pinch off any flower buds so the cutting puts energy into roots instead of blooms.
3
Place in water or soil
For water, submerge the bare stem in a clear jar with the leaves above the rim. For soil, push the bare stem 2 inches into damp potting mix and firm gently.
Blue porterweed roots equally well either way, so pick whichever you can keep an eye on.
Blue porterweed roots equally well either way, so pick whichever you can keep an eye on.
4
Set in bright indirect light
Place out of direct sun, where the cutting gets several hours of bright filtered light. Direct sun cooks unrooted cuttings in a day.
5
Refresh water or check moisture
Change the water every 3 to 4 days to keep oxygen levels up. For soil, water when the top half inch dries out. Roots appear at week 2 in water and week 3 in soil.
6
Pot up rooted cuttings
Once water roots reach 2 inches, move to a 4-inch pot with regular potting mix. Soil-rooted cuttings can stay put. Water in well and gradually move into morning sun over a week.
WATCH FOR
Cuttings that wilt and droop within the first 3 days. That is normal water stress as the leaves transpire faster than the bare stem can drink. Move to deeper shade and tent loosely with a clear plastic bag for 2 to 3 days, then remove. If wilting persists past day 5 the cutting was too woody, try again with softer growth.
From seed
Time
2–4 weeks germination
Level
Beginner
Success rate
High
You'll need
Mature seed spikes from a parent plant
Seed-starting tray with humidity dome
Standard seed-starting mix
Spray bottle
Warm spot at 75 to 85 degrees F
1
Collect ripe seed spikes
Wait until flower spikes turn brown and seeds darken. Strip seeds from the spike by running your thumb along the length. Each spike yields dozens of seeds, more than enough for a small garden.
2
Surface sow
Sprinkle seeds onto damp seed-starting mix and press in lightly. Cover with just a dusting of mix or vermiculite. Blue porterweed seeds need light to germinate, so do not bury deeply.
3
Cover and keep warm
Set the tray under a humidity dome in a spot that stays 75 to 85 degrees F. A heat mat speeds germination by a week.
Mist twice daily so the surface never dries out.
Mist twice daily so the surface never dries out.
4
Watch for sprouts
Seedlings emerge in 14 to 28 days. Once you see green, vent the dome and reduce misting. Move to bright indirect light or a sunny window.
5
Pot up at 4 true leaves
When seedlings have 4 true leaves, transplant to 3-inch pots with regular potting mix. Water gently and keep in morning sun.
6
Plant out after frost
Move to the garden once nights stay above 60 degrees F. Expect first flowers 8 to 12 weeks after transplant.
WATCH FOR
Seedlings that pop up and then fall over with a brown spot at soil level. That is damping off from too-wet conditions. Increase airflow by venting the dome more often, water from below, and discard affected seedlings to stop the spread.
Ground layering
Time
4–6 weeks
Level
Beginner
Success rate
High
You'll need
A flexible low stem on a parent plant
Garden trowel
Landscape staple, U-pin, or rock
Loose garden soil or compost
Sterile pruning shears
1
Pick a flexible side stem
Find a long, low stem on the parent plant that bends to the ground without snapping. Choose a section about 6 to 12 inches from the tip.
2
Wound the stem lightly
Use clean shears to nick the bottom of the stem at a leaf node. The wound triggers root formation at that spot.
3
Pin to the soil and cover
Press the wounded section into a shallow 1-inch trench and pin it down with a landscape staple. Cover with soil so only the leafy tip sticks out.
Water deeply to settle the soil around the buried stem.
Water deeply to settle the soil around the buried stem.
4
Keep moist for a month
Water the layered area weekly so the soil stays evenly moist but not soggy. Roots form at the buried node within 4 to 6 weeks.
5
Test for roots
Gently lift the soil to check. Once you see white roots an inch long, the layer is ready to separate.
6
Sever and pot up
Cut the layered stem from the parent with sterile shears, dig up the rooted section, and move to its new spot or a 1-gallon pot. Water in well.
WATCH FOR
A buried stem section that turns black or feels soft when you check for roots. That is rot from soggy soil and usually means the spot stays too wet. Pull the failed layer, let the area dry, and try again with a stem in a higher, better-drained location.
Stay on top of plant care
Get seasonal reminders for watering and fertilizing, personalized for your plants.
Try Greg Free
About This Article

Kiersten Rankel M.S.
Botanical Data Lead at Greg · Plant Scientist
Editorial Process
Propagation methods verified against Stachytarpheta jamaicensis growth data from Greg's botanical database, cross-referenced with USDA hardiness zone data and published horticultural research.
153+ Greg users growing this plant
USDA hardiness zones 9a–11b