Plant Care
›
Propagation
›
Song of India
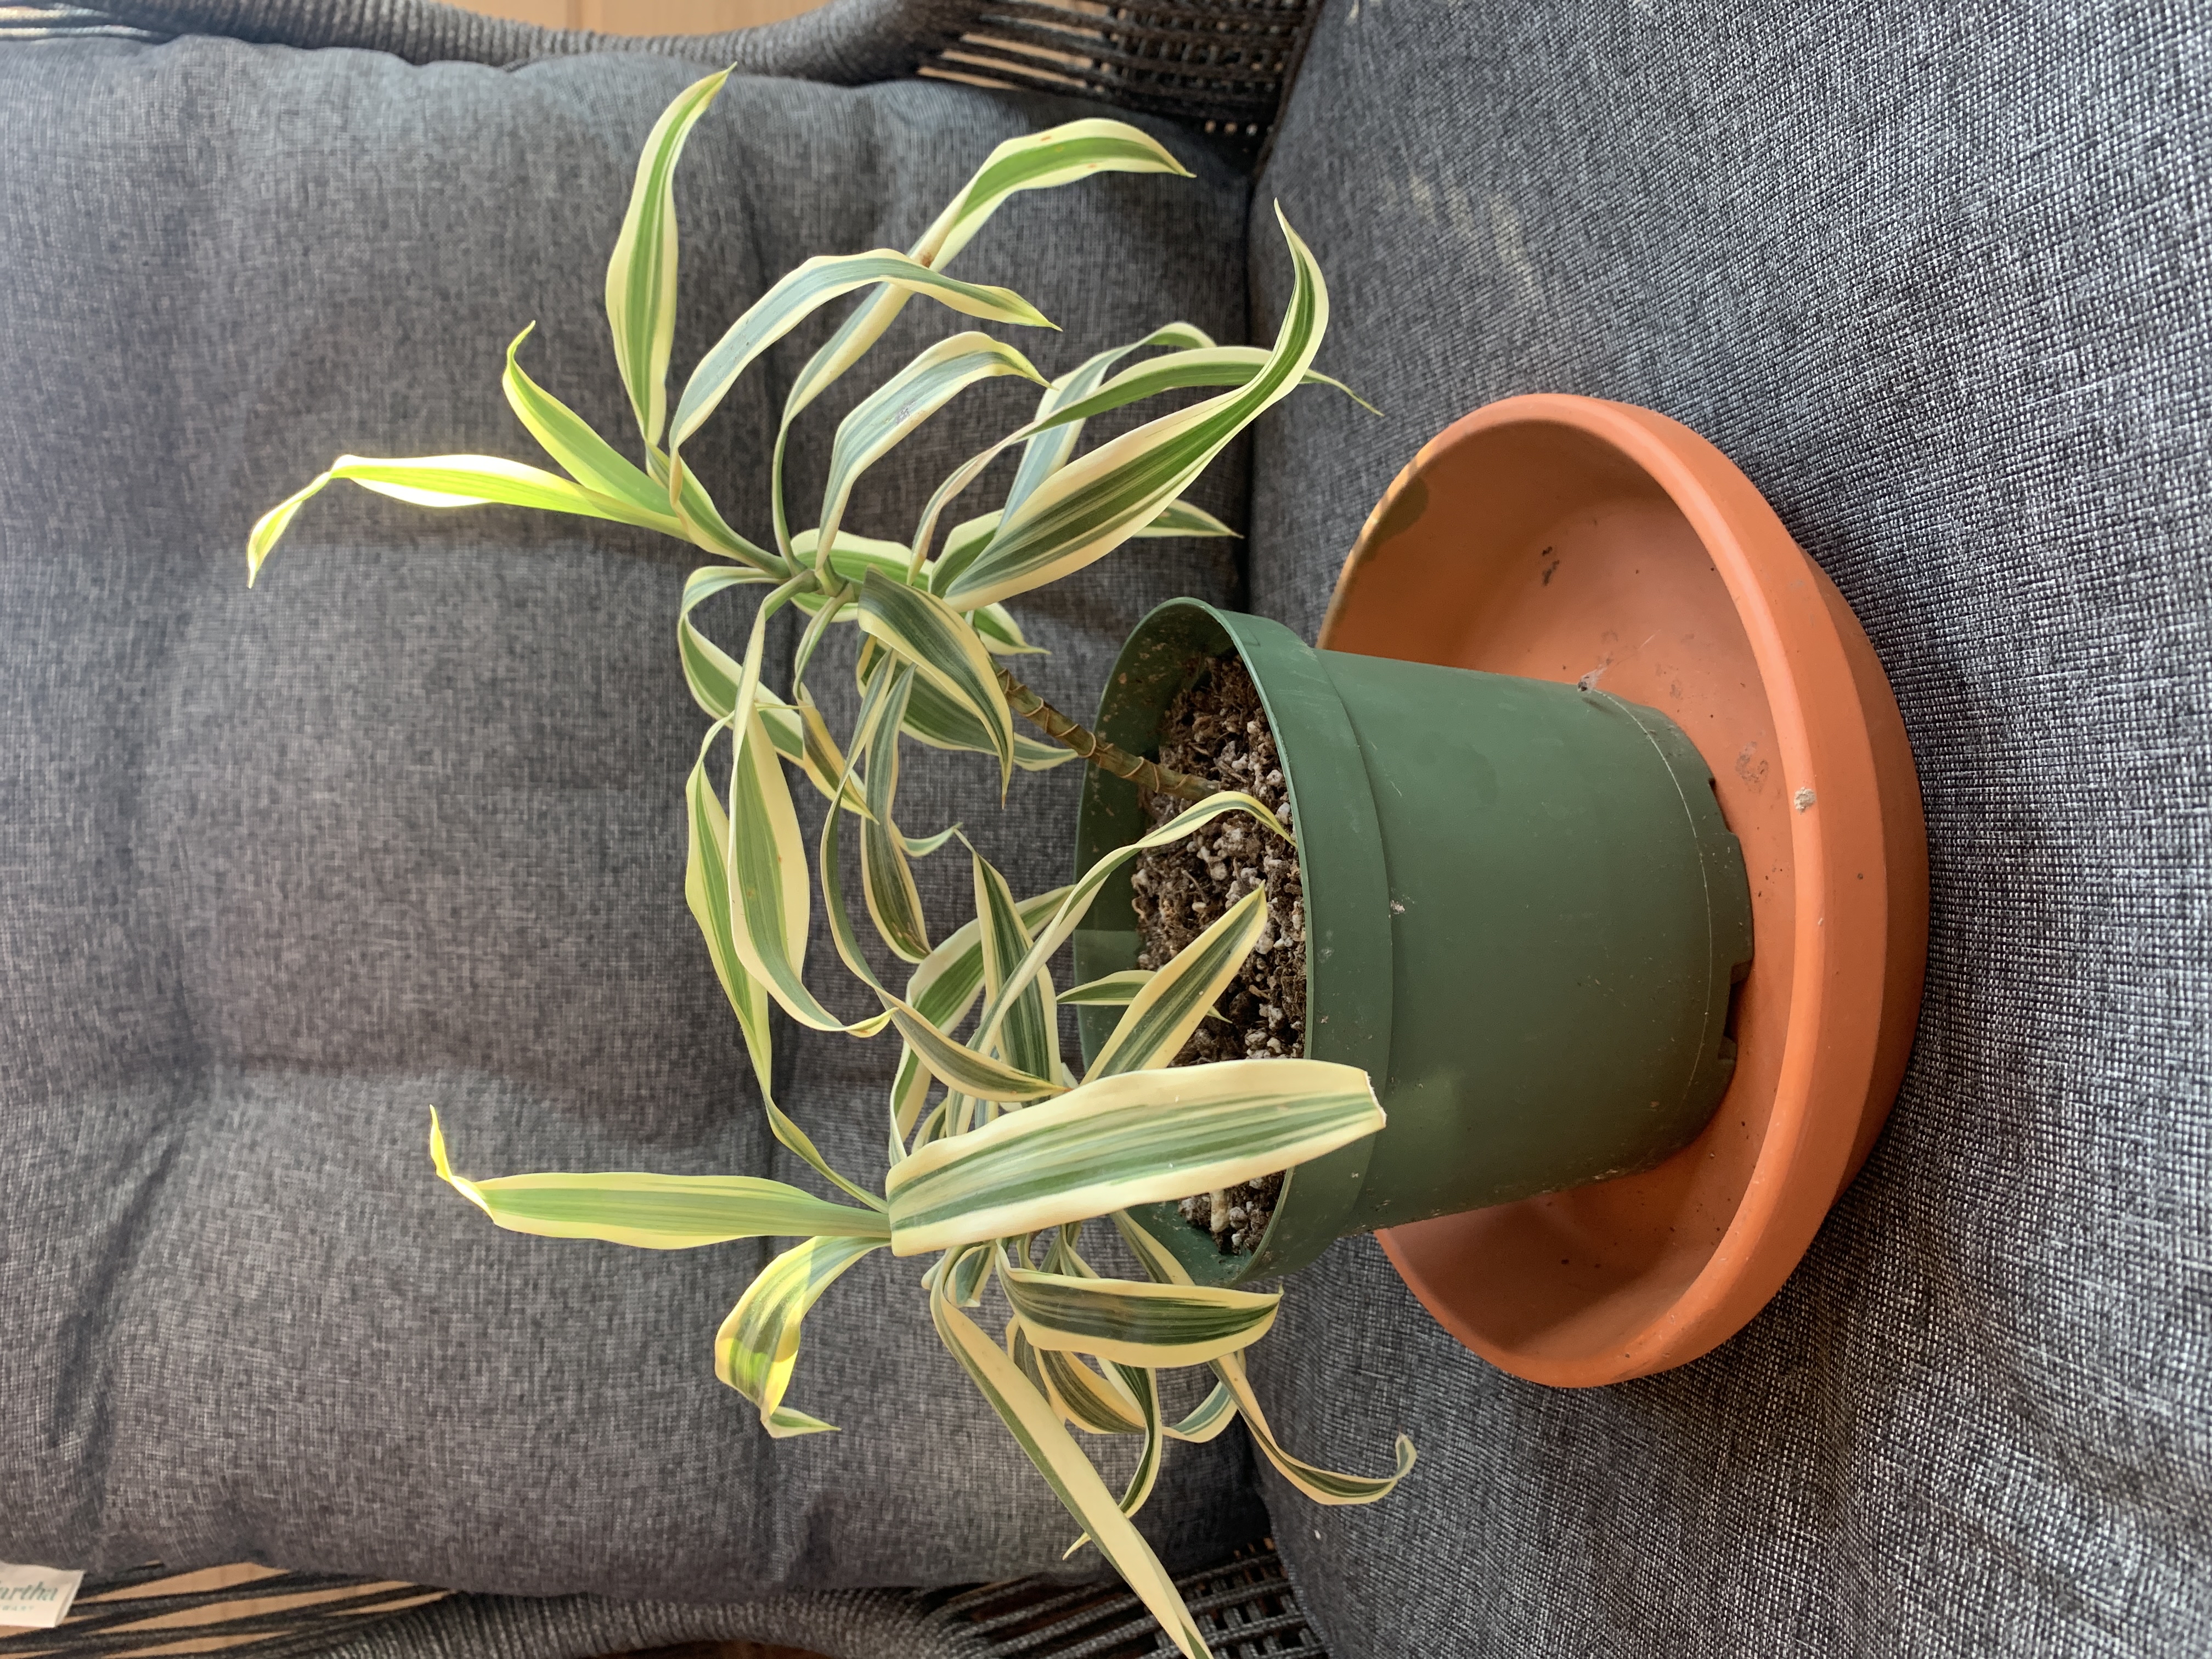
Dracaena reflexa
Reviewed by Kiersten Rankel M.S.
QUICK ANSWER
Water cuttings are the easiest method and root in 4 to 6 weeks because you can watch progress in clear glass. Soil cuttings root in 6 to 8 weeks and skip the risky water-to-soil transition.
Air layering produces a large rooted plant in 8 to 12 weeks and is the only method that handles a tall leggy stem without losing height.
Air layering produces a large rooted plant in 8 to 12 weeks and is the only method that handles a tall leggy stem without losing height.
Stay on top of plant care
Get seasonal reminders for watering and fertilizing, personalized for your plants.
Try Greg Free
Pick your method
Tap one to jump to the walkthrough.
Water propagation
Best for beginners who want to watch roots form
Soil propagation
Best for skipping the risky water-to-soil transition
Air layering
Best for a tall leggy plant when you want a large new plant fast
Water propagation
Time
4–6 weeks
Level
Beginner
Success rate
High
You'll need
Sterile shears or a sharp knife
A clear glass jar or vase
Filtered water (or tap left to sit 24 hours)
Bright indirect light
1
Cut a 4 to 6 inch tip cutting
Choose a healthy stem with at least two whorls of striped leaves. Cut cleanly with sterile shears just below a node, which is a slightly swollen ring on the stem. Strip off the bottom whorl of leaves to expose 2 inches of bare stem.
2
Place the cutting in clean water
Fill a glass jar with room-temperature filtered water. Submerge at least one node and the bare 2 inches of stem. Keep all leaves above the water line. Submerged leaves rot fast and contaminate the whole jar.
3
Set in bright indirect light
Place the jar in a spot with bright filtered light, away from direct sun. Direct sun heats the water and grows algae. Room temperature between 70 and 80 degrees Fahrenheit speeds rooting.
4
Refresh the water weekly
Change the water every 5 to 7 days, rinsing the jar to keep it clean. The cut end will form pale knobby bumps within 2 weeks, then thin white roots within 4 weeks. Healthy roots stay white or cream colored.
5
Wait until roots reach 2 inches
Pot up only when several roots are at least 2 inches long. Shorter roots are fragile and break during transfer. Patience here is the difference between a smooth transition and a setback.
6
Pot up into well-draining soil
Move to a 4-inch pot with houseplant mix and water thoroughly. Keep the soil slightly moist for the first 2 weeks while the cutting adjusts.
Water roots are not identical to soil roots, so you may see one or two leaves yellow during this transition. New growth at the top within a month confirms successful adjustment.
Water roots are not identical to soil roots, so you may see one or two leaves yellow during this transition. New growth at the top within a month confirms successful adjustment.
WATCH FOR
Mushy brown tissue at the submerged cut end. That is stem rot from contaminated water or a bruised cut. Re-cut half an inch above the damage with a sterile blade and start over in fresh water. Dracaena recovers well from a single re-cut.
Soil propagation
Time
6–8 weeks
Level
Beginner
Success rate
High
You'll need
Sterile shears or a sharp knife
A 4-inch pot with drainage
Light, well-draining houseplant mix
Rooting hormone (optional)
A clear plastic bag
1
Take a 4 to 6 inch tip cutting
Cut a healthy stem just below a node with sterile shears. Strip the lower whorl of leaves to expose 2 inches of bare stem. Pick a stem with leaves that are fully expanded, not new soft ones, because firm tissue roots better.
2
Dip in rooting hormone (optional)
Tap the bare stem into rooting hormone powder and shake off excess. Hormone is not required for this species but can speed rooting by a week or two. Skip it if you do not have any on hand.
3
Plant the cutting 2 inches deep
Fill the pot with houseplant mix and water lightly so the soil is just damp. Push the bare stem 2 inches into the soil. Press the soil firmly so the cutting stands on its own.
4
Cover with a clear bag
Slip a clear plastic bag over the pot to hold humidity around the leaves. Prop the bag up with chopsticks so it does not touch the foliage. The bag prevents the leaves from wilting while roots are still forming.
5
Keep warm and check moisture weekly
Place in bright indirect light at room temperature. Open the bag once a week for an hour to refresh air, and water only if the soil feels dry an inch down. Roots form within 6 to 8 weeks.
6
Test for roots and remove the bag
After 6 weeks, give the cutting a gentle tug. Resistance means roots have anchored. Remove the bag and let the cutting acclimate to room humidity for a week before resuming standard care.
New growth at the top within 2 to 3 weeks of bag removal confirms a fully rooted plant.
New growth at the top within 2 to 3 weeks of bag removal confirms a fully rooted plant.
WATCH FOR
Lower leaves yellow and drop while the stem stays firm. That is normal and expected, the cutting is conserving energy for roots. Stop watching for top growth and check the stem instead. As long as the stem stays firm and green, the cutting is fine. A soft mushy stem at soil level means rot from overwatering, and that cutting will not recover.
Air layering
Time
8–12 weeks
Level
Intermediate
Success rate
High
You'll need
A sharp clean knife
A handful of damp sphagnum moss
Plastic wrap (clear)
Twist ties or string
Rooting hormone (optional)
1
Pick a spot on the stem
Look for a section of woody stem at least 12 inches below the top whorl of leaves. The new plant will be the section above your chosen spot, so plan for the height you want. Use a 1 inch length of bare stem with no leaves attached.
2
Wound the stem cleanly
Make two parallel cuts an inch apart all the way around the stem with a sharp knife, slicing just deep enough to peel off the bark in a clean ring. Scrape the green layer underneath gently to expose pale wood. Dust with rooting hormone if you have it.
3
Wrap the wound with damp sphagnum
Soak a handful of sphagnum moss in water and squeeze out excess so it is damp but not dripping. Pack the moss into a fist-sized ball around the wounded section, completely covering the bare wood.
4
Seal with plastic wrap
Wrap the moss ball tightly with clear plastic wrap, twisting both ends and securing with twist ties or string. The seal must be airtight to hold moisture, and clear plastic lets you watch for roots without unwrapping.
5
Wait 8 to 12 weeks for roots
Leave the plant in its normal spot. Check the moss ball monthly through the plastic for white roots. Roots fill the moss ball completely when the cutting is ready. If the moss looks dry, inject a tablespoon of water through the plastic with a syringe.
6
Sever and pot up the rooted top
Once the moss ball is full of roots, cut the stem just below the moss with sterile shears. Unwrap the plastic carefully, leaving the moss attached to the roots. Pot the new plant into a 6-inch container of houseplant mix and water thoroughly.
The parent stump usually pushes new shoots within a few months, so you end up with two plants from one.
The parent stump usually pushes new shoots within a few months, so you end up with two plants from one.
WATCH FOR
No roots visible after 12 weeks. That means the wound healed over instead of rooting, usually because the cut did not go deep enough or because the moss dried out. Unwrap, re-wound an inch above the original spot, and rewrap with fresh damp moss. Healthy air layers show their first roots by week 6.
Stay on top of plant care
Get seasonal reminders for watering and fertilizing, personalized for your plants.
Try Greg Free
About This Article

Kiersten Rankel M.S.
Botanical Data Lead at Greg · Plant Scientist
Editorial Process
Propagation methods verified against Dracaena reflexa growth data from Greg's botanical database, cross-referenced with USDA hardiness zone data and published horticultural research.
6,619+ Greg users growing this plant
USDA hardiness zones 10a–12b