Plant Care
›
Propagation
›
Ming Aralia
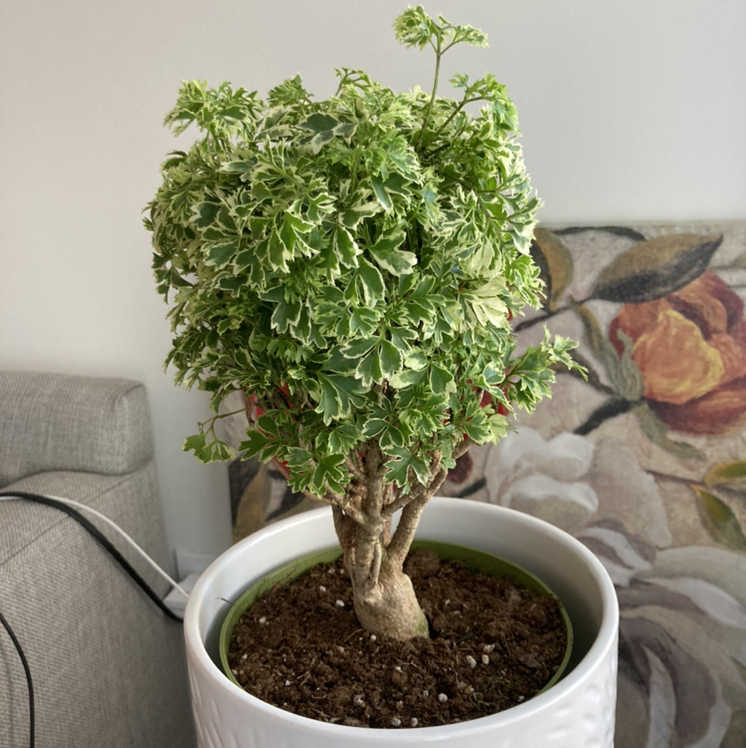
Polyscias fruticosa
Reviewed by Kiersten Rankel M.S.
QUICK ANSWER
Stem cuttings in soil are the most reliable home method and root in 6 to 10 weeks with bottom heat. Water cuttings let you watch roots form but transition poorly because Ming Aralia roots prefer airy soil from day one.
Air layering is best when your plant has gone leggy and you want to keep the existing canopy, and produces a rooted top in 8 to 12 weeks.
Air layering is best when your plant has gone leggy and you want to keep the existing canopy, and produces a rooted top in 8 to 12 weeks.
Stay on top of plant care
Get seasonal reminders for watering and fertilizing, personalized for your plants.
Try Greg Free
Pick your method
Tap one to jump to the walkthrough.
Soil propagation
Best for the highest success rate on this slow rooter
Water propagation
Best when you want to confirm the cutting is alive
Air layering
Best for saving a leggy plant with a bare lower stem
Soil propagation
Time
6–10 weeks
Level
Intermediate
Success rate
Moderate
You'll need
Sterile shears or a sharp knife
Rooting hormone powder (recommended)
4-inch pot with drainage holes
Airy mix of peat and perlite (50/50)
Clear plastic bag or humidity dome
Heat mat (optional but speeds rooting)
1
Take a semi-hardwood tip cutting
Choose a 4 to 6 inch tip from a healthy branch where the wood has firmed up but is not fully woody. Cut just below a leaf node with a clean angled slice.
Ming Aralia roots best from semi-hardwood, not soft new growth. Soft tips wilt before they can root.
Ming Aralia roots best from semi-hardwood, not soft new growth. Soft tips wilt before they can root.
2
Strip the lower leaves
Remove all leaflets from the bottom two thirds of the stem. Leave only two or three small leaflets at the top.
Less foliage means less water loss while the cutting has no roots to replace it.
Less foliage means less water loss while the cutting has no roots to replace it.
3
Dust the cut end with rooting hormone
Tap the freshly cut base into rooting hormone powder and shake off the excess. Ming Aralia is one of the slow rooters that benefits clearly from hormone, not one where it is optional.
4
Insert into pre-moistened mix
Push the cutting 2 inches deep into a 50/50 peat and perlite mix that has been watered and drained. Firm the mix gently around the stem so the cutting stands upright on its own.
5
Cover and warm
Tent a clear plastic bag over the pot or use a humidity dome. Keep the pot at 75 to 80 degrees Fahrenheit, ideally on a heat mat.
Ming Aralia rooting stalls below 70 degrees. Warmth is the single biggest factor in success.
Ming Aralia rooting stalls below 70 degrees. Warmth is the single biggest factor in success.
6
Check for roots at 8 weeks
Give a gentle tug at week 8. Resistance means roots have anchored. Lift the dome for a few hours each day to acclimate the cutting, then pot up into regular houseplant mix once new growth appears.
WATCH FOR
Lower stem turning black and shriveling. That is rot from cold soil or overly wet mix. Re-cut half an inch above the damage with a sterile blade, dust again with hormone, and restart in fresh mix on a heat mat.
Water propagation
Time
8–12 weeks
Level
Intermediate
Success rate
Low
You'll need
Clear glass jar
Filtered water (or tap left to sit 24 hours)
Sterile shears or a sharp knife
Bright indirect light location
Rooting hormone gel (optional)
1
Cut a 4 to 6 inch semi-hardwood tip
Take a tip cutting from firmed-up wood, not soft green growth. Slice cleanly below a node with sterile shears.
2
Strip lower leaflets
Remove every leaflet that would sit below the waterline. Submerged foliage rots fast and fouls the water for the whole jar.
3
Place the stem in clean water
Set the cutting in a clear jar with the cut end and one or two bare nodes submerged. Keep the jar in bright indirect light at room temperature, never direct sun.
Direct sun heats a glass jar quickly and cooks the cut end.
Direct sun heats a glass jar quickly and cooks the cut end.
4
Refresh the water every 5 days
Pour out the old water, rinse the jar, and refill with room-temperature filtered water. Stagnant water is the leading cause of failure for woody cuttings like Ming Aralia.
5
Wait for roots over 8 to 12 weeks
Ming Aralia is a slow rooter in water. The first nubs appear at week 6 to 8 and reach an inch by week 10 to 12.
Do not move to soil before roots are at least 1 to 2 inches long. Shorter roots fail in the transition.
Do not move to soil before roots are at least 1 to 2 inches long. Shorter roots fail in the transition.
6
Pot up carefully
Move into a small pot of airy houseplant mix once roots are 2 inches long. Keep humidity high for the first two weeks by tenting a bag over the pot, since water roots are fragile and can shrivel in dry indoor air.
WATCH FOR
Slimy or darkening cut end. That is bacterial rot from stagnant water. Pull the cutting, rinse in clean water, trim half an inch above the damage with a sterile blade, and restart in fresh water with a more frequent change schedule.
Air layering
Time
8–12 weeks
Level
Advanced
Success rate
Moderate
You'll need
Sharp sterile knife
Rooting hormone powder
Damp sphagnum moss
Clear plastic wrap
Twist ties or plant tape
Toothpick (to hold the wound open)
1
Pick a spot on a leggy stem
Choose a section of bare upper stem about 12 inches below a healthy leafy crown. The wood should be at least pencil thickness for layering to work.
Thinner stems heal over the wound before roots can form.
Thinner stems heal over the wound before roots can form.
2
Make an upward cut into the stem
Slice upward at a 45-degree angle about a third of the way through the stem. Wedge a toothpick into the cut to keep it propped open.
3
Apply rooting hormone to the wound
Dust the inside of the cut with rooting hormone powder. Coverage matters more than quantity since the hormone has to contact the cambium layer where roots emerge.
4
Wrap the wound in damp sphagnum
Squeeze excess water from a handful of sphagnum moss until it is damp but not dripping. Pack it firmly around the wound in a ball about the size of a tennis ball.
5
Seal with plastic wrap
Wrap clear plastic around the moss ball and secure both ends with twist ties. The seal should be tight enough to hold moisture but allow you to see through to monitor root development.
Roots show through the moss when they are ready, which is your cue to harvest.
Roots show through the moss when they are ready, which is your cue to harvest.
6
Sever and pot when roots fill the moss
Once white roots are visible through the plastic, usually at 10 to 12 weeks, cut the stem just below the moss ball. Unwrap the plastic but leave the moss in place and pot the rooted top into airy houseplant mix.
WATCH FOR
Moss drying out before roots form. Bone-dry moss stops root development cold. Inject 1 to 2 tablespoons of water into the bundle every two weeks with a syringe through a small slit, then re-tape the slit.
Stay on top of plant care
Get seasonal reminders for watering and fertilizing, personalized for your plants.
Try Greg Free
About This Article

Kiersten Rankel M.S.
Botanical Data Lead at Greg · Plant Scientist
Editorial Process
Propagation methods verified against Polyscias fruticosa growth data from Greg's botanical database, cross-referenced with USDA hardiness zone data and published horticultural research.
2,365+ Greg users growing this plant
USDA hardiness zones 10a–11b