Plant Care
›
Propagation
›
Yaupon
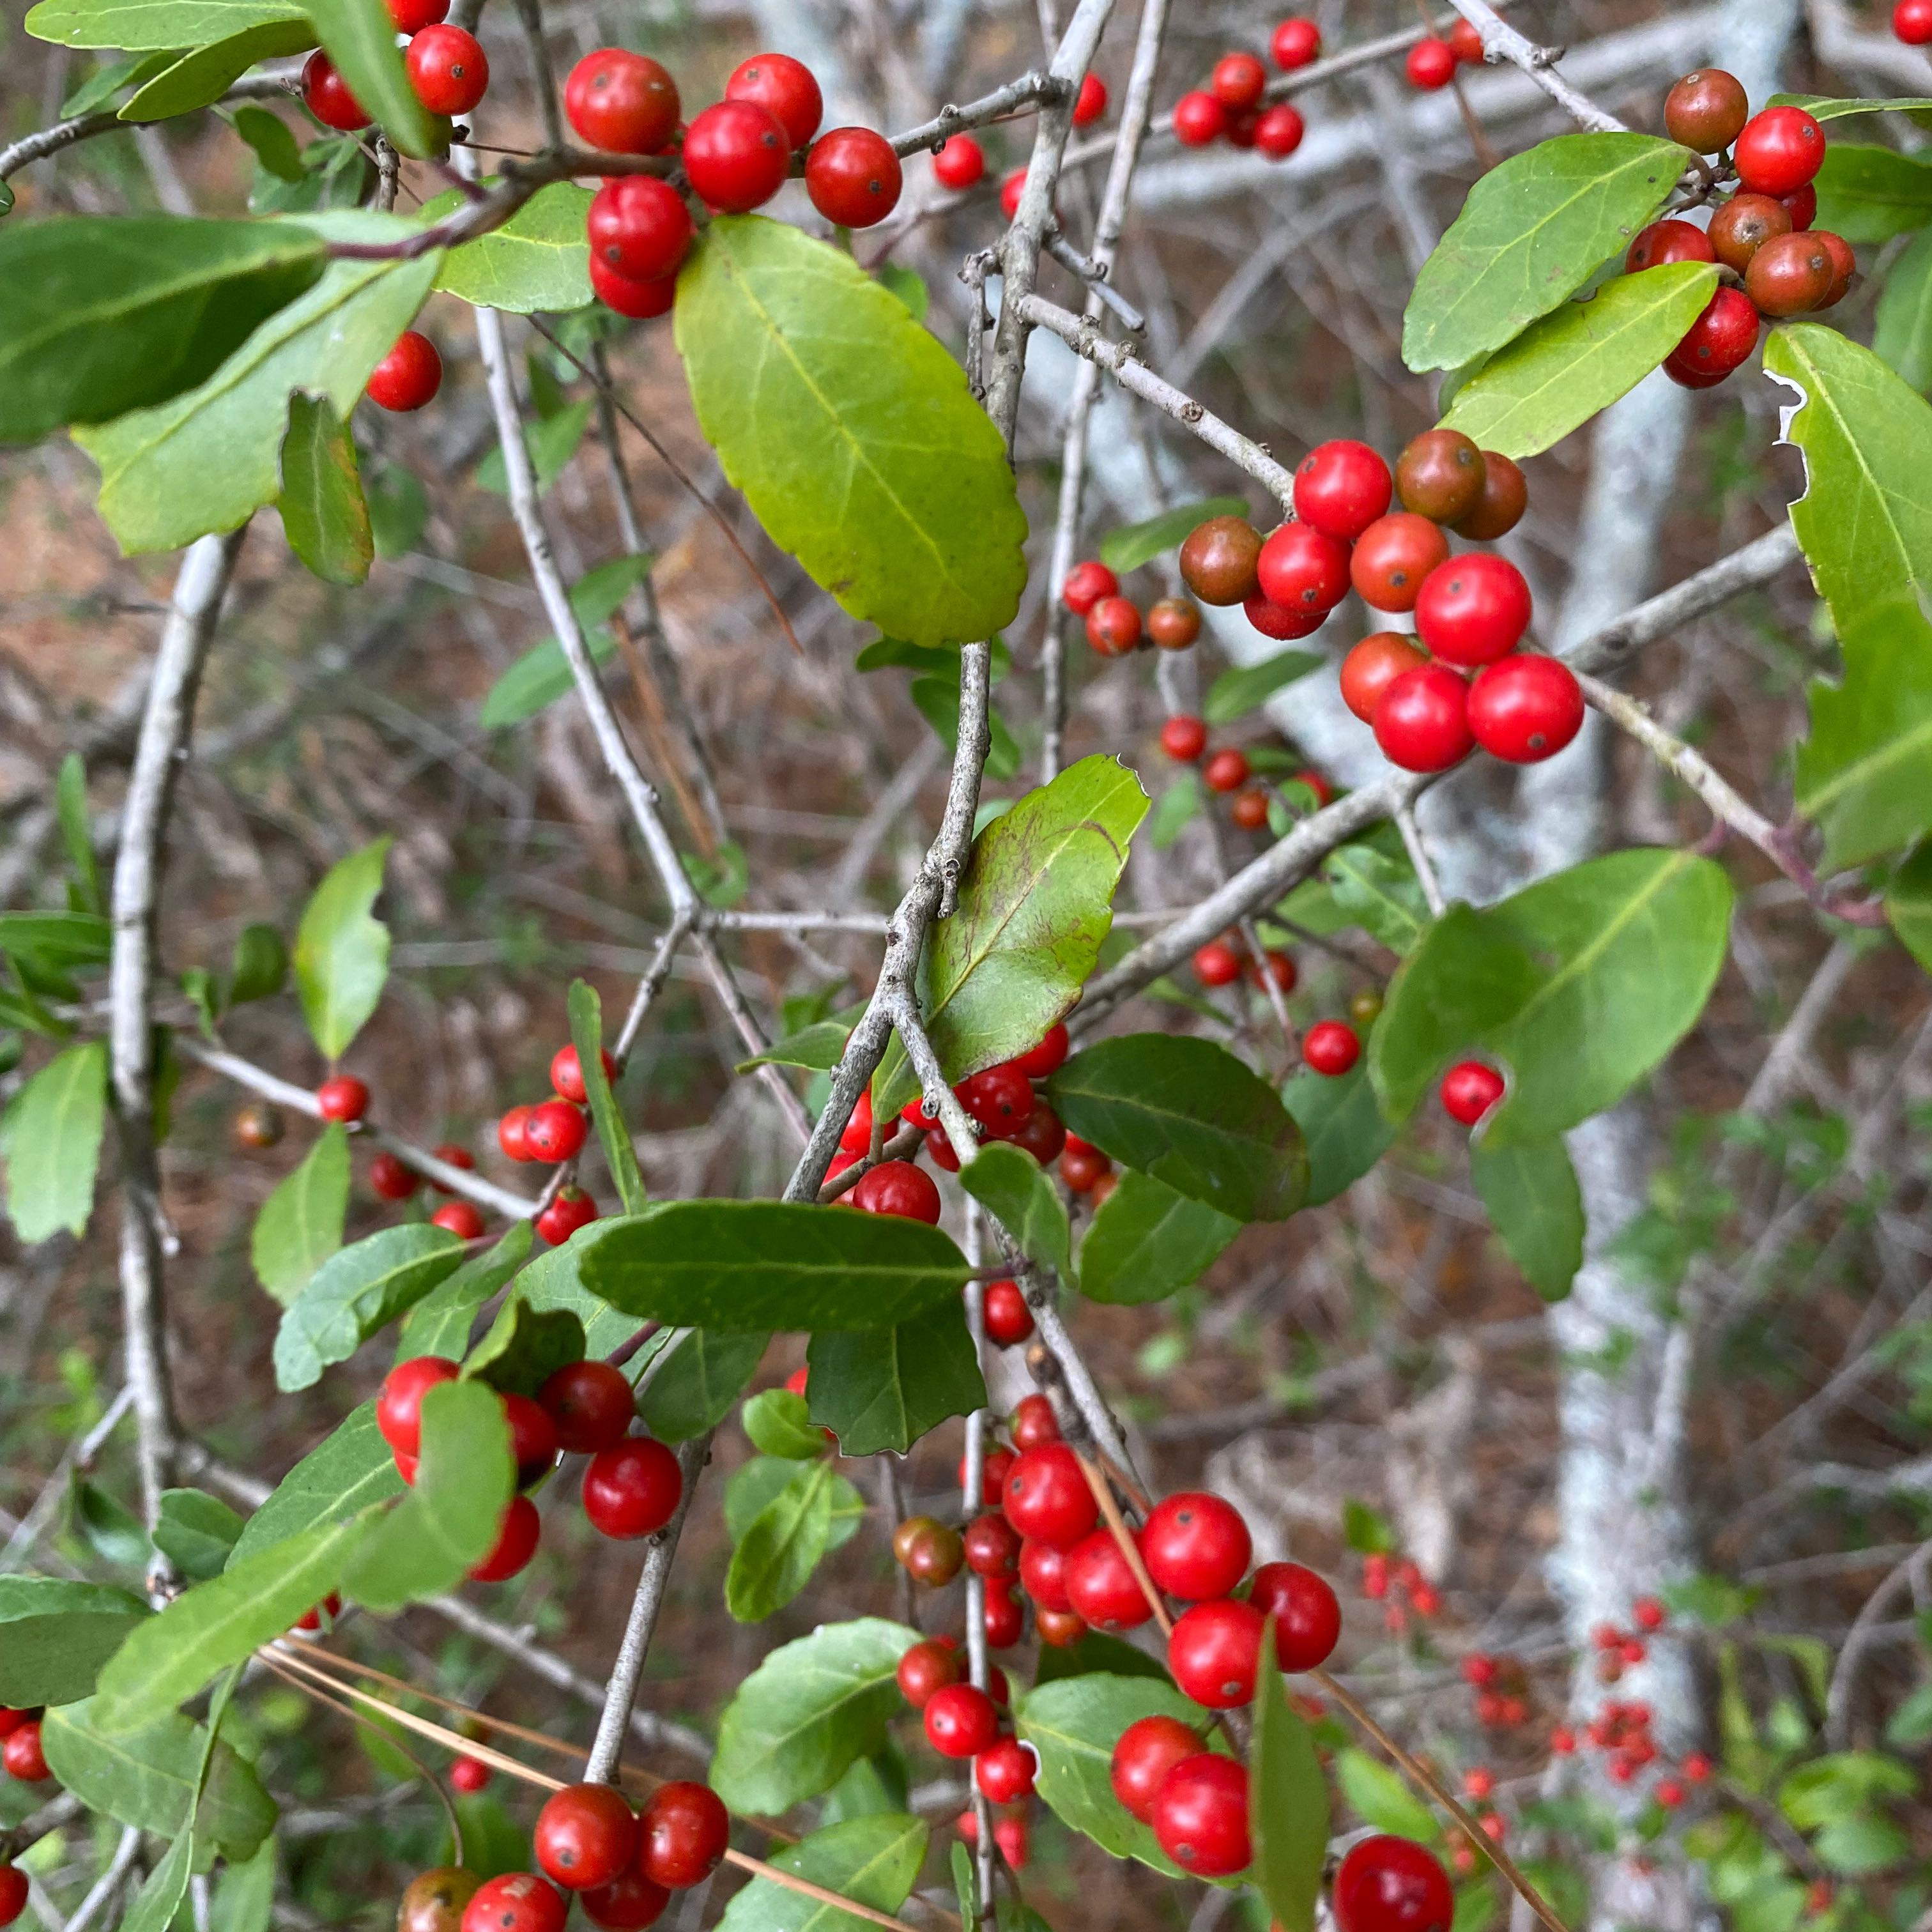
Ilex vomitoria
Reviewed by Kiersten Rankel M.S.
QUICK ANSWER
Semi-hardwood stem cuttings are the most reliable home method and root in 4 to 8 weeks when taken in early summer. Seed propagation works but the berries need a long warm-then-cold treatment and germination can take 1 to 3 years.
Root cuttings taken in late winter sprout new shoots in 6 to 10 weeks and are the fastest way to clone a known female berry-producing plant.
Root cuttings taken in late winter sprout new shoots in 6 to 10 weeks and are the fastest way to clone a known female berry-producing plant.
Stay on top of plant care
Get seasonal reminders for watering and fertilizing, personalized for your plants.
Try Greg Free
Pick your method
Tap one to jump to the walkthrough.
Semi-hardwood cuttings
Best in early summer for cloning a known female plant
From seed
Best for growing a new genetic line from native berries
Root cuttings
Best in late winter for the fastest clone of a mature plant
Semi-hardwood cuttings
Time
4–8 weeks
Level
Intermediate
Success rate
Moderate
You'll need
Sterile pruning shears or a sharp knife
Rooting hormone (recommended, IBA powder or gel)
4-inch pots with drainage holes
Coarse perlite mixed 50/50 with peat or pine bark
Clear plastic dome or large zip-top bag
Bright indirect light or shaded outdoor bench
1
Take cuttings in early summer
Wait until the current season's growth has started to firm up but is not yet fully woody. In most of the South this lands in June or early July. The wood should bend slightly before snapping and the bark should still be green near the tip.
2
Cut 4 to 6 inch tip pieces
Use sterile shears and cut just below a leaf node. Take cuttings from the outer canopy of a healthy plant, not from weak interior shoots. If you want berries on the resulting plant, take cuttings only from a known female plant.
Keep cuttings cool and moist in a damp paper towel until you can stick them, ideally within an hour.
Keep cuttings cool and moist in a damp paper towel until you can stick them, ideally within an hour.
3
Strip lower leaves and wound the base
Pull off all leaves from the bottom half of each cutting. Leave 3 to 4 leaves at the tip. With a clean blade, scrape a half-inch sliver of bark off one side of the base to expose the cambium layer. This wounding step roughly doubles rooting success on Yaupon Holly.
4
Dip in rooting hormone and stick
Tap the wounded base into IBA rooting hormone and shake off the excess. Stick the cutting 1.5 to 2 inches deep into pre-moistened perlite-peat mix. Firm the medium gently around the stem so the cutting stands up on its own.
5
Cover and place in bright shade
Tent a clear plastic bag or dome over the pot to hold humidity near 90 percent. Set the pot in bright indirect light or under 50 percent shade cloth outdoors. Keep the medium consistently moist but not soggy and mist the cuttings every few days when the dome dries out.
Bottom heat around 75 degrees F speeds rooting if you have a heat mat available.
Bottom heat around 75 degrees F speeds rooting if you have a heat mat available.
6
Check for roots at 6 weeks and pot up
Give a gentle tug at 6 weeks. Resistance means roots have formed. Once roots reach an inch or two, transplant into a 1-gallon pot of regular potting mix and acclimate to open air over a week. Grow on in part shade for the first season before planting out in full sun.
WATCH FOR
Leaves dropping within the first 2 weeks. This usually means the dome lost humidity or the cutting dried out before rooting. Re-mist, reseal the dome, and check that the medium is still damp at depth.
If the base turns black and mushy, the cutting rotted from too-wet medium. Pull failed cuttings, let the others breathe for a day, and lighten your watering.
If the base turns black and mushy, the cutting rotted from too-wet medium. Pull failed cuttings, let the others breathe for a day, and lighten your watering.
From seed
Time
12–36 months
Level
Advanced
Success rate
Low
You'll need
Ripe red berries collected in late fall or winter
Mesh strainer and a bowl for cleaning pulp
Sealable plastic bags with damp peat or sand
Seed-starting flat with drainage
Coarse seed-starting mix
Warm spot at 70 to 80 degrees F, then refrigerator space at 40 degrees F
1
Collect and clean the berries
Harvest fully ripe red berries between November and February. Mash them in a strainer under running water to separate the four small pyrenes (stony seeds) inside each berry from the pulp. Discard any seeds that float, as they are usually empty.
The red berries are toxic to humans, so wear gloves and keep them away from kids and pets while you process them.
The red berries are toxic to humans, so wear gloves and keep them away from kids and pets while you process them.
2
Warm-stratify for 60 days
Mix the cleaned seeds with damp peat or coarse sand in a labeled plastic bag. Hold the bag at room temperature, around 70 to 80 degrees F, for 8 to 10 weeks. This warm period softens the hard seed coat and starts breaking embryo dormancy.
3
Cold-stratify for 90 days
Move the same bag to the refrigerator at roughly 40 degrees F for 12 to 16 weeks. Check every few weeks and re-moisten the medium if it dries out. Yaupon Holly seeds need this full warm-then-cold cycle to germinate and skipping either step can stall them for an extra year.
4
Sow into a covered flat
After the cold period, sow seeds about a quarter inch deep in a flat of coarse seed-starting mix. Set the flat outdoors in a sheltered shady spot or under lights at 65 to 75 degrees F. Keep the surface evenly moist.
5
Wait patiently for germination
Some seedlings appear within 3 to 6 months of sowing. Many do not germinate until the second spring after sowing, and a few wait until year three. Do not throw the flat out early. Keep it weeded, watered, and protected through the wait.
6
Pot up and grow on
Once seedlings have 3 to 4 true leaves, lift them carefully and pot into 4-inch containers of regular potting mix. Grow in part shade through the first summer and protect from hard freezes the first winter. Sex of the seedling will not be obvious until the plant flowers, usually after 4 to 6 years.
WATCH FOR
A flat of soil with no green for 6 months can feel like failure but is normal for this species. Resist the urge to dump the flat. Yaupon Holly seedlings appear in flushes over 1 to 3 years.
If the surface grows moss or weeds, scrape the top quarter inch off and topdress with fresh mix to keep the seedbed visible.
If the surface grows moss or weeds, scrape the top quarter inch off and topdress with fresh mix to keep the seedbed visible.
Root cuttings
Time
6–10 weeks
Level
Intermediate
Success rate
Moderate
You'll need
Sharp sterile pruning knife or shears
Trowel or hand fork to expose surface roots
Flat or wide pot at least 4 inches deep
Coarse sandy potting mix
Bright indirect light or cold frame
Pencil or chopstick for marking root orientation
1
Lift surface roots in late winter
Work in February or early March while the plant is still dormant. Gently scrape soil away from the drip line of an established Yaupon Holly until you find pencil-thick roots an inch or two below the surface. Avoid damaging the main trunk or large structural roots.
2
Cut 2 to 4 inch root sections
Snip pencil-thick root pieces 2 to 4 inches long. Make a flat cut at the end closest to the trunk and a slanted cut at the end farther from the trunk. The orientation matters because the flat end is the top and must be planted upward.
Replace soil over the parent plant's remaining roots and water it in to settle the disturbed area.
Replace soil over the parent plant's remaining roots and water it in to settle the disturbed area.
3
Plant cuttings vertically
Fill a flat or pot with coarse sandy mix. Push each root section in vertically with the flat (top) end level with the soil surface. Space them about 2 inches apart. Top with a quarter inch of coarse sand to keep the tops from drying out.
4
Hold in a cool bright spot
Place the flat in a cold frame, unheated greenhouse, or shaded porch where temperatures stay between 40 and 60 degrees F. Keep the medium just barely moist. Too much water at this stage rots the root pieces before they can shoot.
5
Watch for green shoots at 6 to 10 weeks
New shoots emerge from the top end of each root section in spring. Once shoots reach 2 to 3 inches and the piece has formed feeder roots of its own, lift carefully and pot into a 1-gallon container of regular potting mix.
6
Grow on through the first season
Keep new plants in part shade for the first summer and water regularly until they establish. By fall they are ready to plant out or move to a larger pot. Plants from root cuttings carry the exact genetics of the parent, including its sex.
WATCH FOR
Root pieces that turn soft and brown without ever shooting. This is rot from medium that was kept too wet during the cool establishment period.
Dial the watering back so the surface dries between waterings. Cuttings that dry to a shriveled brown stick instead failed from low humidity or a too-warm location, so move the flat to a cooler shaded spot for the next batch.
Dial the watering back so the surface dries between waterings. Cuttings that dry to a shriveled brown stick instead failed from low humidity or a too-warm location, so move the flat to a cooler shaded spot for the next batch.
Stay on top of plant care
Get seasonal reminders for watering and fertilizing, personalized for your plants.
Try Greg Free
About This Article

Kiersten Rankel M.S.
Botanical Data Lead at Greg · Plant Scientist
Editorial Process
Propagation methods verified against Ilex vomitoria growth data from Greg's botanical database, cross-referenced with USDA hardiness zone data and published horticultural research.
145+ Greg users growing this plant
USDA hardiness zones 7a–9b