Plant Care
›
Propagation
›
Evergreen clematis
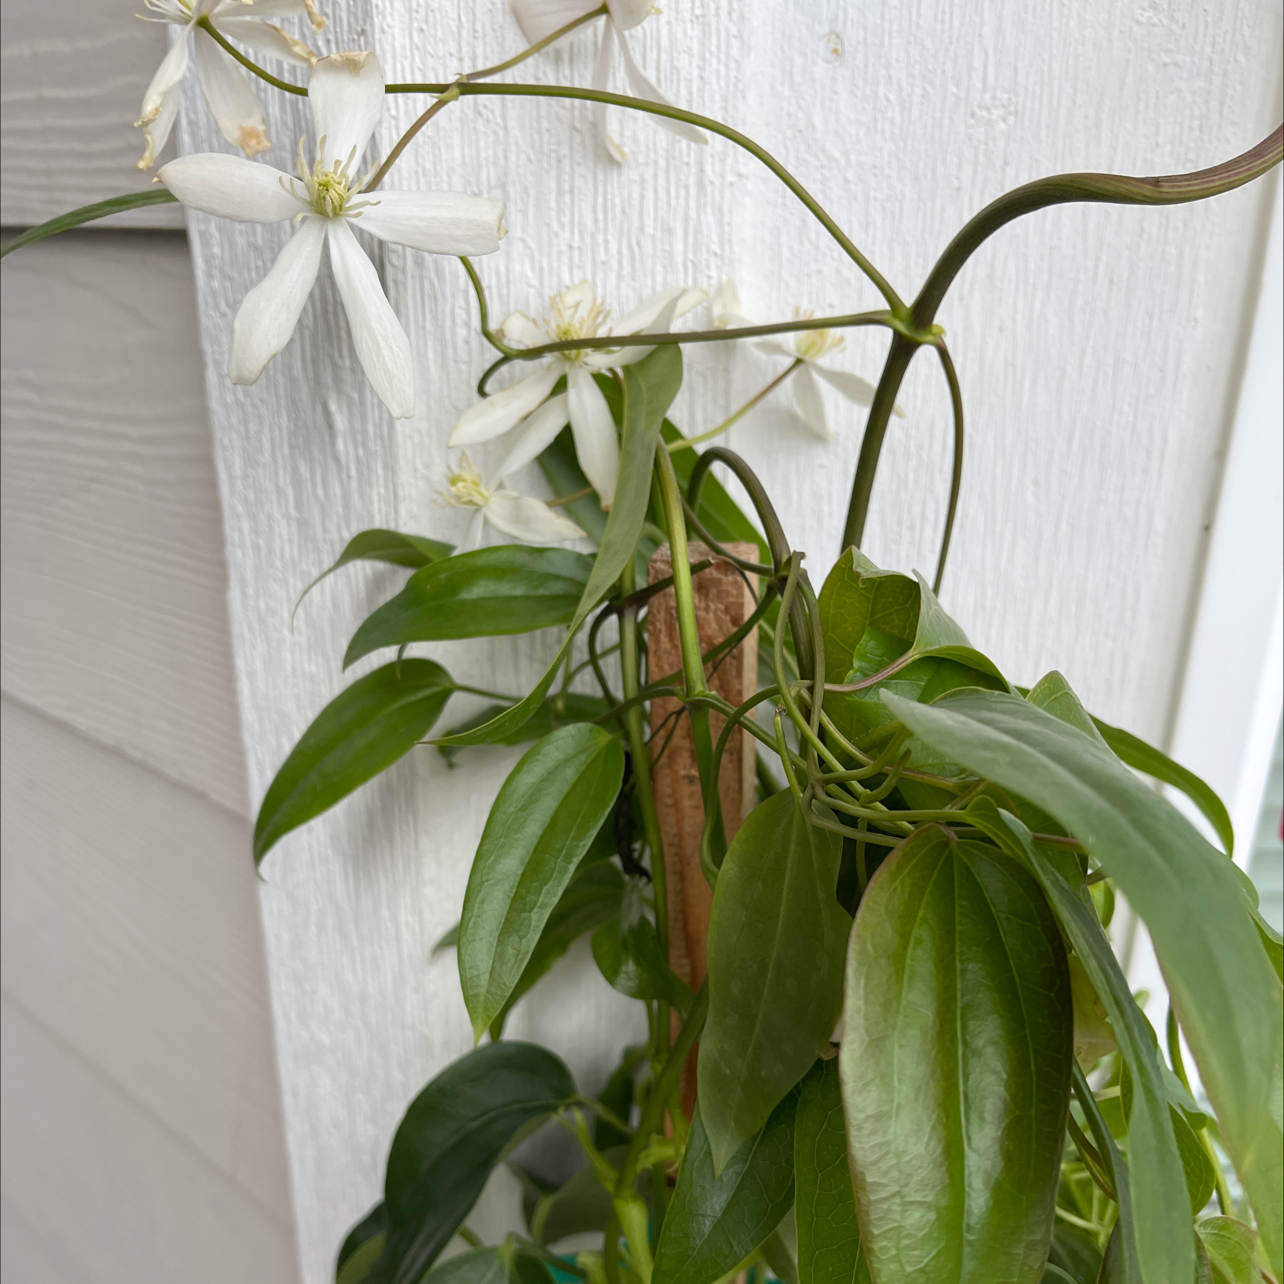
Clematis armandii
Reviewed by Kiersten Rankel M.S.
QUICK ANSWER
Layering a long flexible vine into a shallow trench is the highest-success method for clematis and gives you a rooted clone in 8 to 12 weeks.
Softwood cuttings taken in late spring root in 6 to 10 weeks under high humidity. Hardwood cuttings taken in winter root over the following spring at 30 to 50 percent. Seed needs 90 days of cold stratification and produces flowering plants in 2 to 3 years.
Softwood cuttings taken in late spring root in 6 to 10 weeks under high humidity. Hardwood cuttings taken in winter root over the following spring at 30 to 50 percent. Seed needs 90 days of cold stratification and produces flowering plants in 2 to 3 years.
Stay on top of plant care
Get seasonal reminders for watering and fertilizing, personalized for your plants.
Try Greg Free
Pick your method
Tap one to jump to the walkthrough.
Layering
Best when you can pin a long vine to the soil
Softwood cuttings
Best in late spring when this year's growth is still flexible
Hardwood cuttings
Best in late winter while the plant is dormant
From seed
Best for growing many plants from a single seed head
Layering
Time
8–12 weeks
Level
Beginner
Success rate
High
You'll need
Established Clematis vitalba with long flexible vines
Sharp knife
Rooting hormone (recommended)
Wire pin or a brick
Compost-amended soil
Mulch and a watering can
1
Pick a long flexible vine in spring
Choose a 1 to 2 year old vine long enough to reach the ground from where it grows. Travellers Joy throws very long vines, so most plants offer several options. Avoid old gray-barked vines, they layer poorly.
2
Wound the vine underside
About 12 to 18 inches back from the tip, scrape a 2 inch strip of bark from the underside of the vine with a sharp knife. Dust the wound with rooting hormone.
The wound is the trigger for rooting. An unwounded vine just keeps growing along the ground.
The wound is the trigger for rooting. An unwounded vine just keeps growing along the ground.
3
Pin the vine into a shallow trench
Dig a 3 inch deep trench under the wound. Lay the wounded section in the trench and pin it down with a wire staple or a brick. Bend the tip upward so 6 inches of leafy growth points to the sky.
4
Cover and mulch
Backfill with compost-amended soil and add 2 inches of mulch. Water deeply to settle the soil around the buried section.
5
Check for roots at week 10
Gently scrape soil away from the buried section. Roots emerging from the wound mean the layer is ready to sever. No roots, leave it for another month, clematis layers can take 14 weeks in a cool spring.
6
Sever and pot up the rooted layer
Cut the layered vine free between the roots and the parent. Lift the rooted section with as much soil as possible. Pot up in a 2 gallon container or transplant directly. Water in deeply and shade for a week.
WATCH FOR
The exposed tip wilting in midsummer with no recovery overnight. That usually means the buried section is dry, which stalls root formation. Soak the layered zone with at least a gallon of water and add another inch of mulch. If the tip dies back, secondary buds along the buried portion often take over and produce a rooted clone anyway.
Softwood cuttings
Time
6–10 weeks
Level
Intermediate
Success rate
Moderate
You'll need
Sterile sharp pruners
Rooting hormone (recommended)
Perlite or 50/50 perlite-peat mix
4 inch pots with drainage holes
Clear plastic dome or bag with stakes
Bright shade, 65 to 75 degrees Fahrenheit
1
Take internodal cuttings in late May or June
Clematis is one of the few plants that roots best from internodal cuttings, not from cuts at a node. Take 4 inch sections of this year's growth with one full leaf pair at the top and 1 to 2 inches of bare stem below the leaves.
2
Trim leaves and dip in hormone
Cut each remaining leaf in half horizontally to reduce water loss. Dip the bottom inch of the cutting in rooting hormone.
Clematis cuttings without hormone root at under 30 percent. With hormone, expect 50 to 70 percent.
Clematis cuttings without hormone root at under 30 percent. With hormone, expect 50 to 70 percent.
3
Stick into moist perlite
Push each cutting 1 inch into pre-moistened perlite, leaving the leaf node just at the soil surface. Firm the medium so cuttings stay vertical. Space cuttings 2 inches apart.
4
Cover and keep humid
Tent the pot with a clear dome or a bag held off the leaves with stakes. Cuttings need near-saturated air for the first 4 weeks. Mist inside the dome daily.
5
Vent the dome at week 6
Open the dome for an hour the first day, doubling daily for a week. Tug a cutting at week 8. Resistance and small new green growth mean roots are forming.
6
Pot up rooted cuttings
Once roots are 1 to 2 inches long, move each cutting to a 4 inch pot of regular potting mix. Grow on through summer in bright shade. Plant out the following spring.
WATCH FOR
Black streaks running down the stem from the cut end. That is rot from saturated medium or contaminated tools. Discard affected cuttings, sterilize the dome with diluted bleach, and stick fresh cuttings in clean perlite. Yellow leaf drop without stem blackening usually means low humidity, mist the dome more often.
Hardwood cuttings
Time
4–5 months
Level
Intermediate
Success rate
Moderate
You'll need
Sterile pruners
Pencil-thick stems from this year's growth
Rooting hormone (recommended)
Sandy loam or 50/50 sand-compost mix
Deep nursery pots or trench
Mulch for protection
1
Cut hardwood in February or early March
Take 8 to 10 inch sections of pencil-thick wood from last year's growth. Cut straight across at the bottom and at an angle at the top so you can tell ends apart.
2
Wound the base and treat with hormone
Score the bottom inch with two shallow vertical cuts through the bark. Dip the wounded end in rooting hormone.
3
Bury two thirds of the cutting
Push each cutting into a sandy trench or a deep pot leaving 2 inches above the soil. The buried portion is where roots form, the exposed buds will leaf out in spring.
Mulch the trench 3 inches deep with straw to prevent freeze-thaw heave through the rest of winter.
Mulch the trench 3 inches deep with straw to prevent freeze-thaw heave through the rest of winter.
4
Wait for spring leaf-out
Surviving cuttings push leaves in April or May. Leaves alone do not prove rooting, the cutting can leaf out on stored sugars and die later in summer.
5
Confirm rooting in early summer
By June, give each cutting a gentle tug. Resistance plus continued growth means roots have formed. Lift rooted cuttings in early autumn or leave them in place to grow on for another year.
WATCH FOR
Buds opening in spring and then collapsing without further growth. That is a cutting that broke dormancy without forming roots, sustained by stored sugars only. Keep the trench moist through summer in case secondary buds activate, but plan to discard non-rooters by the end of August.
From seed
Time
9–12 months
Level
Intermediate
Success rate
Moderate
You'll need
Mature fluffy seed heads (autumn-collected)
Damp peat moss or vermiculite
Sealed bag or container
Refrigerator space at 35 to 40 degrees Fahrenheit
Seedling tray with drainage
Light potting mix
1
Collect ripe seed in autumn
The fluffy seed heads of Travellers Joy are unmistakable in November. Pull them apart, the actual seed is the small dark teardrop at the base of each silky tail. The fluff can stay attached, it does not interfere with germination.
2
Cold stratify for 90 days
Mix seed with damp peat or vermiculite and seal in a labeled bag in the refrigerator at 35 to 40 degrees Fahrenheit. Check monthly that the medium has not dried out.
Clematis vitalba seed without cold stratification germinates poorly, expect under 20 percent without it.
Clematis vitalba seed without cold stratification germinates poorly, expect under 20 percent without it.
3
Sow in early spring
After the cold period, sow seed a quarter inch deep in a tray of moist potting mix. Set the tray under bright indirect light at 60 to 70 degrees Fahrenheit. Germination is uneven and may stretch over 8 to 16 weeks.
4
Prick out at 2 inches tall
Once seedlings have 4 true leaves, move each to a 4 inch pot. Grow on through summer in bright shade with consistent moisture.
5
Pot up to 1 gallon by autumn
Repot to a 1 gallon container in early fall. Overwinter in a sheltered spot, the roots are not yet hardy enough for harsh exposure.
6
Plant out in year 2 spring
Move plants to a permanent spot in spring of year 2. Expect first flowers in year 2 to 3. Travellers Joy is very vigorous once established and can become invasive in some regions, choose the planting spot with that in mind.
WATCH FOR
Seedlings collapsing at the soil line within the first 3 weeks of germination. That is damping off, caused by saturated soil and poor airflow. Switch to bottom watering, run a small fan in the room, and water with diluted chamomile tea as a mild antifungal. Remove visibly affected seedlings before the fungus spreads.
Stay on top of plant care
Get seasonal reminders for watering and fertilizing, personalized for your plants.
Try Greg Free
About This Article

Kiersten Rankel M.S.
Botanical Data Lead at Greg · Plant Scientist
Editorial Process
Propagation methods verified against Clematis armandii growth data from Greg's botanical database, cross-referenced with USDA hardiness zone data and published horticultural research.
14+ Greg users growing this plant
USDA hardiness zones 7a–9b