Plant Care
›
Propagation
›
Garlic
Allium sativum
Reviewed by Kiersten Rankel M.S.
QUICK ANSWER
Planting individual cloves in autumn is the only reliable home method and produces a full bulb in 8 to 9 months. One head split into 8 to 12 cloves gives 8 to 12 new plants the next summer.
Bulbils from the flower scapes of hardneck garlic also grow new plants but take 2 to 3 years to size up. True seed almost never works at home and is not worth attempting.
Bulbils from the flower scapes of hardneck garlic also grow new plants but take 2 to 3 years to size up. True seed almost never works at home and is not worth attempting.
Stay on top of plant care
Get seasonal reminders for watering and fertilizing, personalized for your plants.
Try Greg Free
Pick your method
Tap one to jump to the walkthrough.
Clove planting
Best for a full bulb harvest in one season
Bulbil propagation
Best for multiplying disease-free seed stock from hardneck varieties
Clove planting
Time
8–9 months
Level
Beginner
Success rate
High
You'll need
Fresh seed garlic heads (not grocery store)
Loose well-drained garden soil or deep raised bed
Compost or aged manure
Straw or shredded leaf mulch
Trowel
1
Choose seed garlic, not grocery cloves
Buy seed garlic from a nursery or save your largest heads from last year's crop. Grocery store garlic is often treated to suppress sprouting and may carry diseases your soil does not have yet. Pick the biggest head with no soft spots or mold.
2
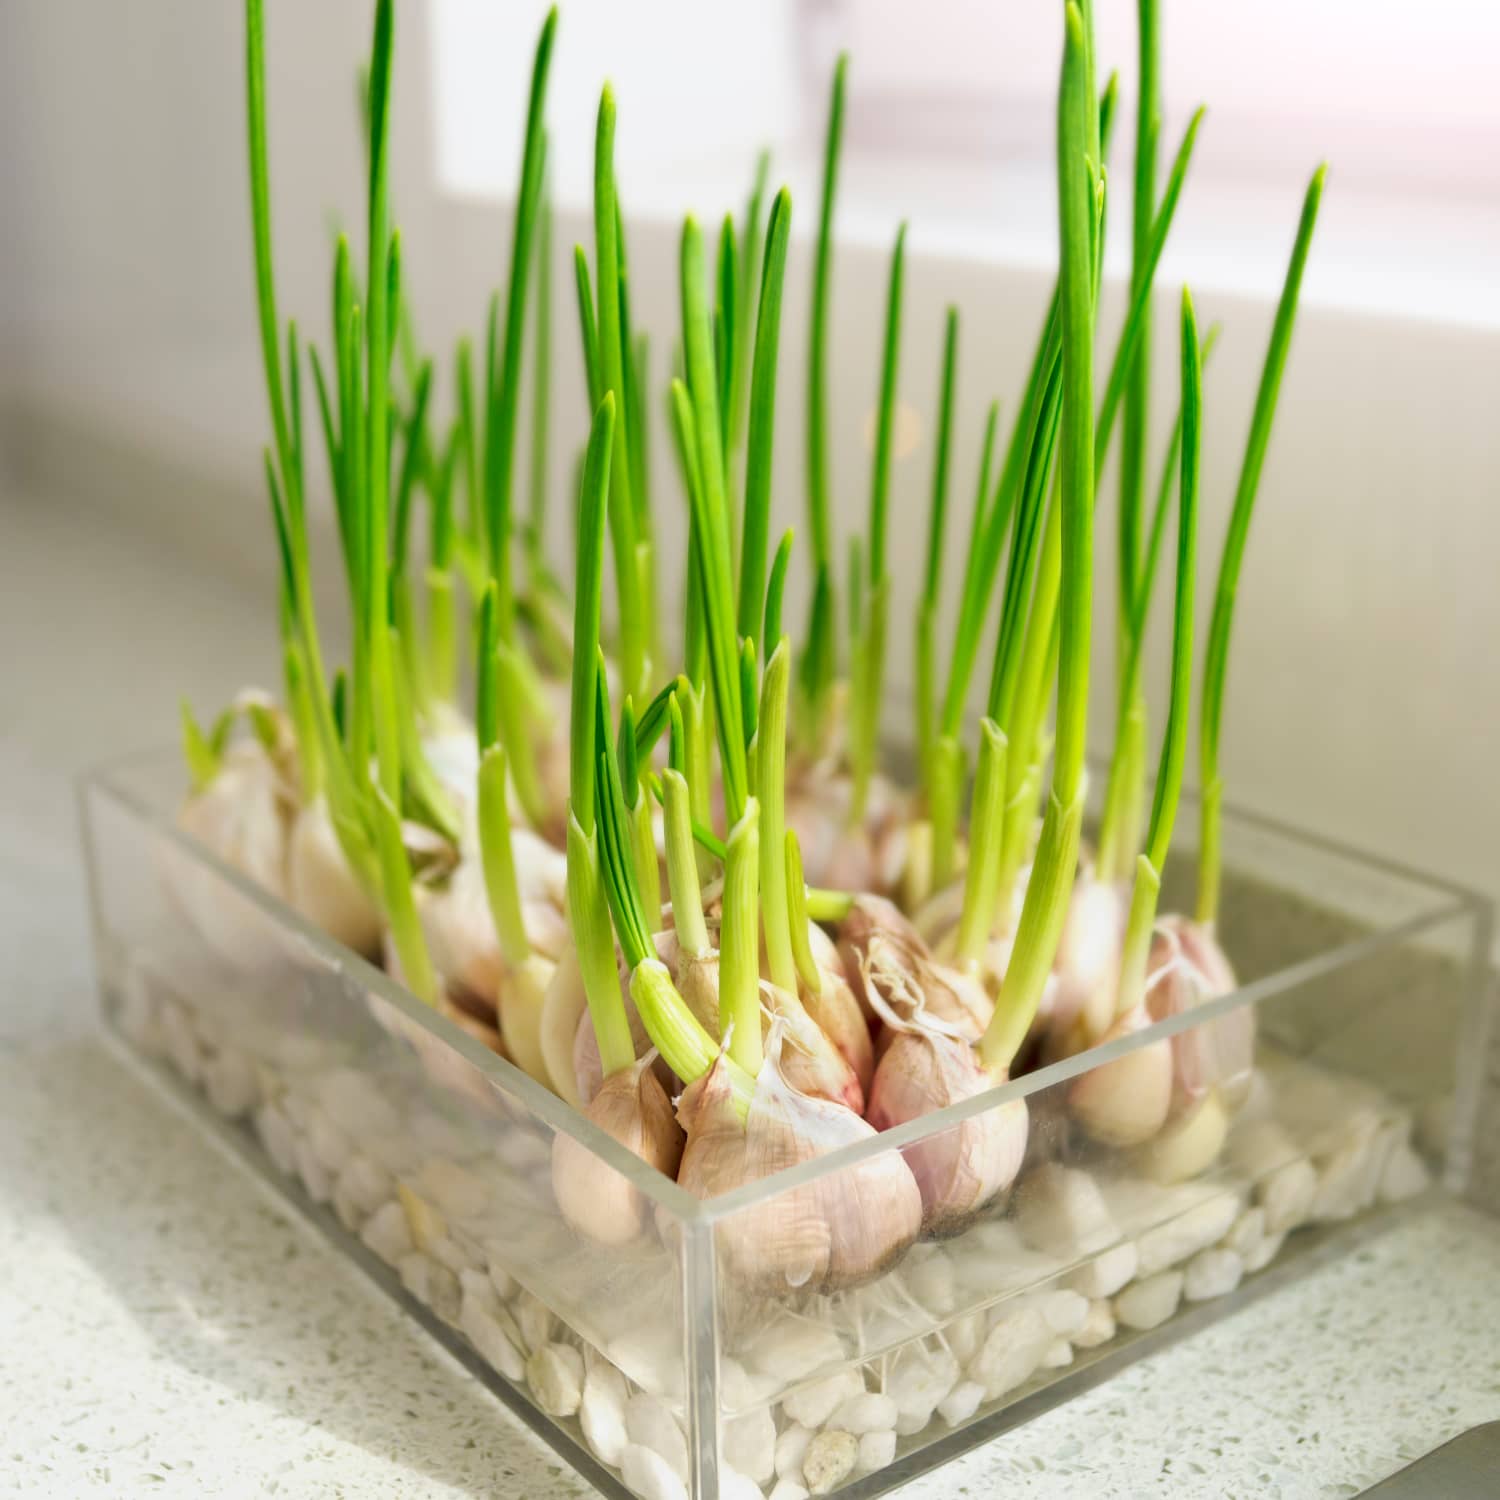
Break the head into cloves
Within 24 hours of planting, peel the head apart into individual cloves. Keep the papery skin on each clove and leave the basal plate, the flat bottom where the clove was attached, fully intact.
The basal plate is where roots grow. A clove with a damaged base will rot before it can root.
The basal plate is where roots grow. A clove with a damaged base will rot before it can root.
3
Plant 4 to 6 weeks before hard frost
Push each clove pointed end up, 2 inches deep and 6 inches apart, into loose soil enriched with compost. In zones 3 to 7, plant in October. In zones 8 to 9, plant in November or early December. Garlic needs a cold period of about 6 weeks to trigger bulb formation.
4
Mulch heavily for winter
Cover the bed with 4 to 6 inches of straw or shredded leaves. Mulch insulates the new roots through freeze-thaw cycles and stops weeds in spring. Hardneck types in cold climates especially need this thick blanket.
5
Cut scapes from hardneck plants
In late spring, hardneck varieties send up curly flower stalks called scapes. Snap or cut them off as soon as they curl. Removing scapes redirects energy from flowering into bulb growth and adds 25 percent to final bulb size.
The scapes are edible and taste like mild garlic.
The scapes are edible and taste like mild garlic.
6
Harvest when half the leaves brown
Stop watering 2 weeks before harvest. When 4 to 5 lower leaves have turned brown but 4 to 5 upper leaves are still green, lift bulbs gently with a fork. Cure in a dry shaded airy spot for 2 to 3 weeks before trimming and storing.
WATCH FOR
Cloves rotting in wet soil over winter with mushy bases and no spring growth. The bed drained poorly or cloves were planted upside down. Replant in a raised bed amended with coarse sand or grit, and double-check that the pointed end faces up before backfilling.
Bulbil propagation
Time
2–3 years to full size
Level
Intermediate
Success rate
Moderate
You'll need
Mature hardneck garlic plants with scapes
Loose well-drained soil
Compost
Mulch
Patience for the multi-year cycle
1
Let scapes flower on a few plants
Instead of cutting scapes off as you would for bulb harvest, leave 5 to 10 scapes on the strongest hardneck plants. The scape will swell at the tip into a papery capsule full of small bulbils, which look like tiny garlic cloves the size of grains of rice or peas depending on variety.
2
Harvest dry capsules in midsummer
When the capsule turns papery and the leaves on the parent plant brown, cut the scape just below the bulbil head. Hang upside down in a dry airy spot for 2 weeks until the capsule splits open.
3
Plant bulbils in fall
In October or November, plant individual bulbils 1 inch deep and 2 inches apart in a nursery row. Treat them like cloves but spaced tighter, since they will only produce small plants the first year.
Bulbils carry no soil-borne diseases from the parent. This makes the method useful for cleaning up an infected garlic patch.
Bulbils carry no soil-borne diseases from the parent. This makes the method useful for cleaning up an infected garlic patch.
4
Harvest small rounds the next summer
After one growing season, each bulbil produces a small single-clove bulb called a round. Lift these in summer when leaves brown, cure for 2 weeks, and store in a cool dry place.
5
Replant rounds the second fall
In autumn, replant the rounds at standard spacing of 6 inches. By the end of the second summer, most rounds size up into a normal multi-clove garlic head, though some varieties take a third year.
WATCH FOR
Bulbils not sprouting in spring with the planting row staying bare. They were planted too shallow and froze, or they were too small to carry stored energy through winter. Plant only bulbils larger than a grain of rice and bury them 1 inch deep with thick mulch on top.
Stay on top of plant care
Get seasonal reminders for watering and fertilizing, personalized for your plants.
Try Greg Free
About This Article

Kiersten Rankel M.S.
Botanical Data Lead at Greg · Plant Scientist
Editorial Process
Propagation methods verified against Allium sativum growth data from Greg's botanical database, cross-referenced with USDA hardiness zone data and published horticultural research.
959+ Greg users growing this plant
USDA hardiness zones 3a–9b