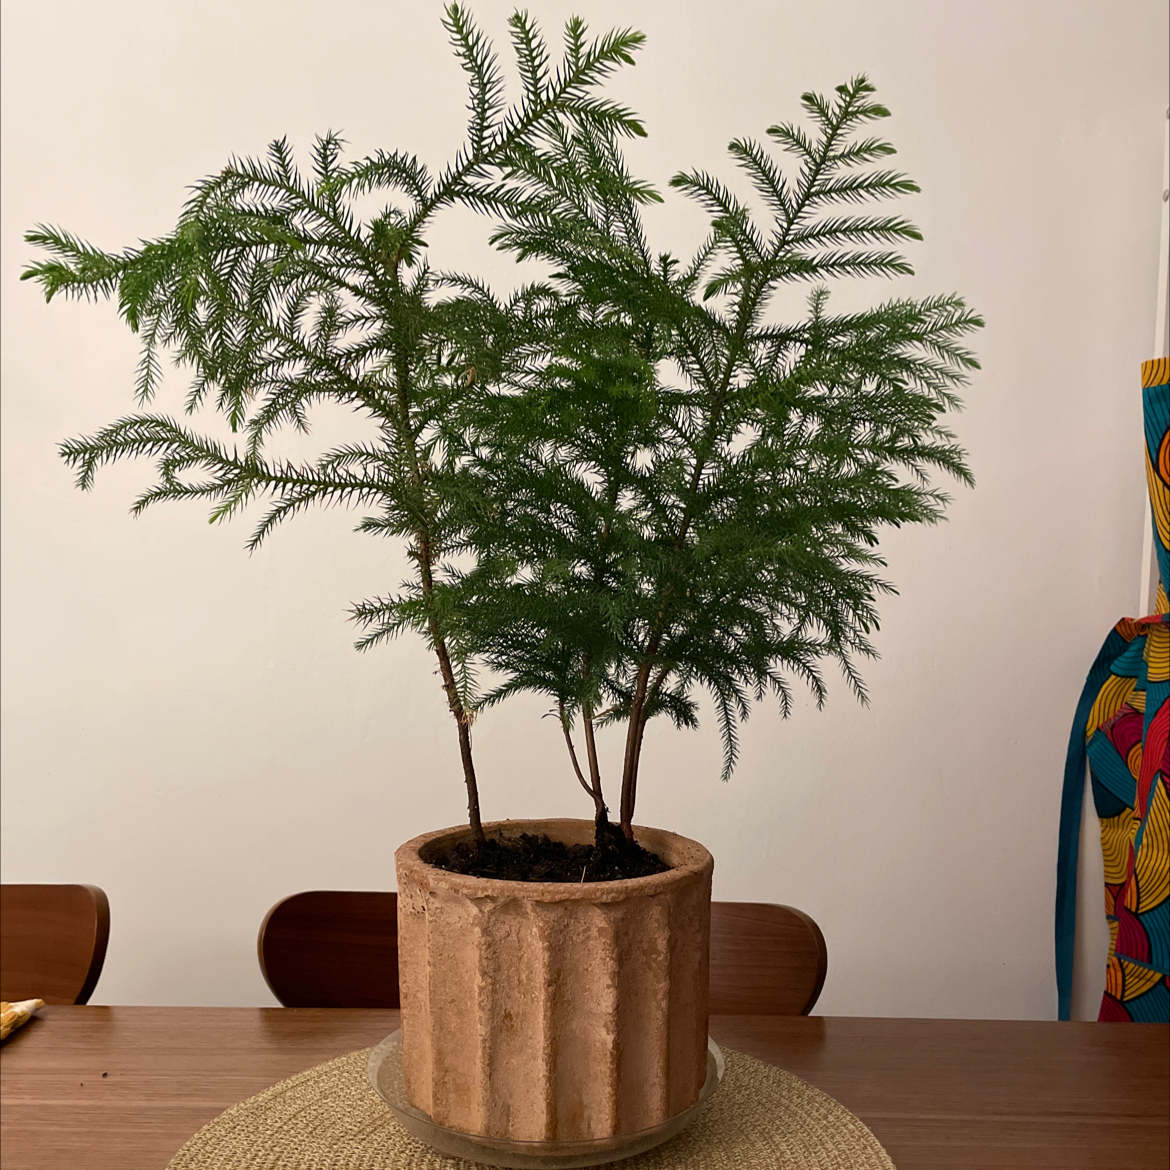
How to Plant a Norfolk Island Pine
Plant your Norfolk Island Pine in a pot just one to two inches wider than the nursery container, with drainage holes and a chunky well-draining mix. Place it in bright indirect light, three to six feet from a sunny window, and aim for moderate humidity around fifty percent. Water only when the top inch of mix is dry, and keep water off the central trunk base. Expect fresh light-green growth at the top within four to six weeks.
Where to put it
Norfolk Island Pine is a subtropical conifer that lives outdoors in the ground only in zones 10 and 11, places like south Florida, Hawaii, and frost-free coastal California. Almost every reader is growing this plant as an indoor tabletop tree, and the indoor success rules are very specific. Bright light is the first non-negotiable. Aim for a spot three to six feet from a south, east, or west-facing window where the plant gets several hours of bright indirect light each day. A little direct morning sun is fine, but harsh afternoon sun through glass scorches the soft needles.
Room temperature between 60°F and 75°F suits the plant year-round. Avoid placing it directly above heating vents, against a cold window in winter, or in the blast of an air-conditioning duct. Dry indoor air, especially in winter, causes brown needle tips and the slow loss of lower branches, so the plant does best in a room with moderate humidity around fifty percent. A pebble tray, a nearby humidifier, or grouping with other plants all help.
Give the plant horizontal breathing room of at least a foot on every side. The branches grow out in soft horizontal whorls, and crowding against a wall or another plant deforms the symmetry that makes this tree look the way it should.
Planting from a nursery transplant
Give your Norfolk Island Pine two to three weeks in its nursery pot before repotting. Moving it the day it comes home stacks transplant shock on top of the change from greenhouse to your home. The single most important rule for this plant is to keep the central trunk base dry. The crown where the trunk meets the soil rots easily, and once the lower whorls of branches drop, they do not grow back.
-
1Pick the right pot and mix Choose a pot only one to two inches wider than the nursery container and confirm it has drainage holes. Oversized pots hold extra wet mix around a small root system and are the fastest path to rot for this plant. For the mix, blend two parts orchid bark, one part perlite, and one part peat-based potting mix so water drains through quickly while still holding some moisture for the roots.
-
2Slide the plant out and check the roots Tip the nursery pot sideways and squeeze the sides gently to loosen the root ball, then slide the plant out by lifting the base of the trunk, not the branches. The branches are soft and snap easily under their own weight. Look at the roots. Healthy roots are pale tan and fibrous, soft brown mushy roots are rotting and should be trimmed off with clean scissors before potting.
-
3Add mix and set the plant at the same depth Pour an inch or two of fresh mix into the bottom of the new pot, set the plant on top, and check that the top of the root ball sits about half an inch below the rim. The trunk base must end up at the same depth it was in the nursery pot, never buried deeper. Burying the trunk traps moisture against the crown and starts the rot pattern that kills lower branches first.
-
4Backfill and firm the sides Fill in around the root ball with fresh mix, pressing it down gently with your fingertips as you go to remove large air pockets without compacting the mix. Stop filling when the mix reaches the top of the original root ball, leaving a small reservoir for watering. Keep the mix off the trunk itself, brushing any stray bits down so the bark stays clean and dry at the base.
-
5Water in around the edges, not the trunk Water slowly around the edges of the pot until it runs out of the drainage holes, then let the pot drain fully before returning it to its spot. Do not pour water directly down the central trunk. Set the plant in its bright indirect spot and let the mix dry to the touch on the surface before the next watering, which usually lands every seven to ten days at room humidity.
The first month and a half
The first six weeks after potting are a quiet recovery period for your Norfolk Island Pine. The roots are settling into the new mix and the plant is acclimating to the light and humidity of your home, so visible top growth is minimal. Expect the existing branches to hold steady rather than push new tips right away.
The most common new-grower mistake is reading the lack of visible growth as a need for more water or fertilizer. Both backfire on this plant. Soggy mix at the trunk base is the single fastest way to lose the lower whorls of branches, and fertilizer pushes weak growth before the root system can support it. Stick to watering only when the top inch of mix is dry and skip fertilizer entirely for the first six weeks.
Healthy first-month signs are simple. The trunk stays firm to the touch, the existing branches hold their soft green color without yellowing or dropping, and by the end of the period a fresh light-green tip begins to push from the central leader at the top of the tree.
What can go wrong
-
Lower branches turning brown and dropping
Lost lower whorls almost always trace back to a wet trunk base, low humidity, or too little light. The lower branches give up first when any of these conditions are off. Check that the top inch of mix is drying between waterings, that water never sits against the trunk, and that the plant gets several hours of bright indirect light each day. Dropped whorls do not grow back, so the goal is preserving what is left rather than recovering what is gone. -
Soft or mushy trunk base
A trunk base that feels soft, smells sour, or shows dark wet patches at the soil line is in active crown rot. This usually follows overwatering, a buried trunk, or a pot without drainage. Unpot the plant, brush mix away from the trunk, trim off any mushy roots with clean scissors, and repot in dry fresh mix at the correct depth. Hold off on watering until the new mix is barely damp and the surface has dried again, and accept that recovery is uncertain once the trunk itself is affected. -
Brown crispy needle tips
Dry indoor air is the most common cause, especially in winter when heating drops home humidity into the twenties. Move the plant away from any heating vent, set up a pebble tray or small humidifier nearby, and group it with other plants to raise the local humidity. Brown tips that have already formed will not turn green again, but new growth comes in clean once humidity is steady around fifty percent. -
Pale yellowing across the whole plant
Whole-plant yellowing in the first weeks usually means either too little light or root strain from waterlogged mix. Move the plant closer to a bright window, three to six feet from south, east, or west-facing glass. If the mix feels soggy a knuckle deep, let it dry out fully before the next watering and check that the drainage holes are not blocked. Recovery shows first in the next flush of growth at the top. -
Leaning toward the light
Norfolk Island Pine grows toward its strongest light source and develops a permanent lean if it sits in one orientation for months. The fix is preventive. Rotate the pot a quarter turn every week or two so every side gets equal exposure, and the tree stays symmetrical as it grows. A lean already in place will not straighten, but consistent rotation keeps the new growth balanced. -
No visible new growth after six weeks
If no fresh light-green tip has appeared at the central leader by the end of week six, the plant is signaling that something basic is off. Light is the first place to check, since growth stalls without enough of it. Test the mix moisture too. Mix that is constantly damp slows root activity, while mix that has been bone dry for stretches stresses the plant in the opposite direction. Aim for evenly slightly damp once a week. -
Branches drooping or losing their horizontal shape
Soft drooping branches that lose their flat horizontal arrangement point to weak light or recent overwatering. The branches need turgor pressure from healthy roots and visual cues from bright light to hold their shape. Move the plant brighter, check that the root ball is not waterlogged, and avoid the temptation to stake the branches up. Once roots and light are right, new branches grow in horizontally on their own. -
Fungus gnats around the pot
Tiny black flies hovering at the surface of the mix mean the top of the mix is staying wet too long. The gnats themselves are mostly a nuisance, but their presence is a warning the plant is at risk of root rot. Let the top inch of mix dry out fully between waterings, top the surface with a thin layer of horticultural sand or fine gravel to break the gnat life cycle, and consider sticky yellow traps near the pot to catch the adults.
About This Article
