How to Grow Jack Herer
Plant Jack Herer in full sun outdoors in zones 5 to 10, or under high-intensity grow lights indoors. Switch the indoor light cycle to 12 hours on, 12 hours off to trigger flowering. Top the main stem during the vegetative phase to control the 5 to 7 foot sativa growth. Expect 10 to 11 weeks of flowering before harvest.
Where to plant
Jack Herer can be grown outdoors in USDA zones 5 through 10 from late spring through fall, or indoors year-round under controlled lights. The cultivar is tall and sativa-dominant, so the spot needs vertical headroom.
Light
Outdoors, the plant wants full sun for at least eight hours a day. South-facing exposures produce the heaviest yields. Less than six hours of direct sun produces airy buds and lower yields.
Indoors, plan on a high-intensity grow light over the canopy with at least 400 watts of LED draw or equivalent HPS output per 2 by 2 foot footprint. Hang the light 18 to 30 inches above the canopy depending on the fixture rating, and dim down if leaves curl or bleach.
Air circulation
Jack Herer's dense bud structure makes the plant vulnerable to mildew and bud rot if airflow stalls. A constant gentle breeze from a clip-on or oscillating fan helps strengthen stems and dries leaf surfaces between waterings. Indoors, add an exhaust fan to vent warm humid air out of the room.
Soil or growing medium
In ground or pot, use a loose, well-drained medium amended with compost or worm castings. Coco coir, peat-based mixes, and living soil all work well for container growing.
Space
Outdoors, give each plant at least 3 to 5 feet of clear space in every direction, since Jack Herer grows wide as well as tall. Indoors, plan on at least a 3 by 3 foot footprint per plant in a 5 to 7 gallon container.
How to plant
Start from seed or rooted clone. Seeds give you a fresh start each season, while clones produce a copy of a known mother plant and skip the seedling stage.
-
1Germinate seeds in a moist paper towel Fold seeds inside a damp paper towel and seal in a plastic bag in a warm dark spot. Check daily. Most seeds crack and push a small white taproot within 2 to 5 days. Plant once the taproot is about a quarter inch long.
-
2Set seedlings or clones into the final container Transplant straight into the final 5 to 7 gallon container with the soil mix. Avoid repeated repotting, which slows the plant. Bury the seedling so the cotyledons are just above the soil line.
-
3Water lightly and keep humid Mist or water gently to settle the soil. Young plants prefer moderate humidity around 60 to 70 percent and a temperature of 70°F to 80°F. Avoid soaking the medium, since cannabis seedlings rot quickly in saturated soil.
-
4Begin the vegetative light cycle Indoors, set lights to 18 hours on and 6 hours off, or 24 hours on for the first 2 to 3 weeks. Outdoors, plant after the last frost when day length exceeds 14 hours.
-
5Top the main stem to control height Once the plant has 4 to 6 sets of true leaves, cut the top of the main stem just above the next pair of growing tips. This forces the plant to grow two main colas instead of one. Top a second time a few weeks later for a 4-cola plant. Tying down side branches with soft ties also opens up the canopy.
-
6Switch to the flowering light cycle After 4 to 8 weeks of vegetative growth, switch indoor lights to 12 hours on and 12 hours off to trigger flowering. Outdoors, flowering starts on its own as nights lengthen past midsummer. The plant doubles or triples in height during the stretch phase that follows, so factor that into your headroom.
Watering and feeding
Watering
Water when the top inch of the medium feels dry, soaking until water runs from the drainage holes. In a 5 to 7 gallon container, this works out to every 2 to 4 days during vegetative growth and every 2 to 3 days during flowering. Underwatering is safer than overwatering, since the roots need oxygen between waterings.
Use filtered or rain water if you can. Heavily chlorinated tap water hurts the soil microbiome over time and slows root development.
Feeding
Feed lightly through the vegetative phase using a balanced nutrient mix at quarter to half strength. Increase to full strength gradually only if the plant shows signs of underfeeding (pale lower leaves, slow growth).
Switch to a low-nitrogen bloom formula at the light flip and through the first 6 weeks of flowering. Cut feeding entirely during the last 2 weeks (the flush) and water with plain water to clear residual nutrients from the buds.
Pruning and support
Jack Herer's tall sativa habit benefits from training during the vegetative phase and support during flowering, when bud weight pulls branches down.
Topping and low-stress training
Top the main stem at 4 to 6 nodes to break apical dominance. Tie down side branches with soft plant ties to keep the canopy flat and even. This produces more bud sites at the canopy level rather than one dominant top.
Avoid topping past the third week of flowering. Once the plant is in stretch, recovery is too slow and stress can trigger hermaphroditism.
Defoliating during stretch
Remove large fan leaves shading lower bud sites in weeks 2 and 3 of flowering. This brings light to the developing colas and improves airflow. Avoid heavy defoliation in later flowering, when the plant cannot recover the lost photosynthesis fast enough.
Staking and trellis support
Set stakes or a trellis net at the start of flowering. As the buds gain weight in weeks 5 to 8, the long branches bend under the load and may snap. A scrog net stretched over the canopy at the light flip catches the colas as they stretch through it and holds the structure together.
Harvest
Jack Herer finishes flowering at 10 to 11 weeks from the light flip indoors, or in late September to mid October outdoors in most US zones. Harvest timing affects both yield and the chemical profile of the buds.
When to harvest
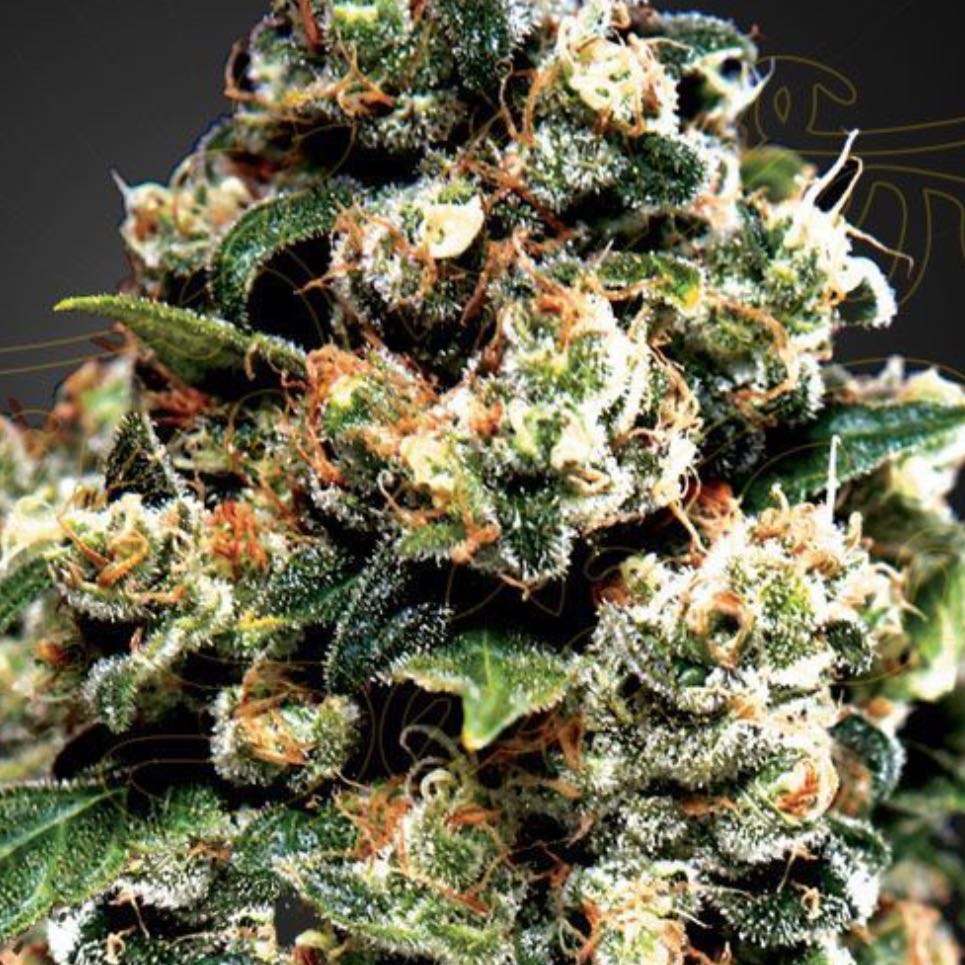
Inspect the trichomes (the small resin glands on the buds and surrounding leaves) under a jeweler's loupe or USB microscope. Trichomes start clear, turn milky white, and finally turn amber. For a more energetic effect, harvest when most trichomes are milky with a few amber. For a more sedative effect, wait until amber is more common.
Pistils (the small hairs on the buds) shift from white to orange or amber over flowering. When 70 to 80 percent of the pistils have darkened, harvest is close, but trichome color is the more reliable signal.
Cutting and drying
Cut the plant at the base and hang whole or in large branches upside down in a dark room with temperatures around 60°F to 70°F and humidity around 55 to 60 percent. Dry for 7 to 14 days, until small stems snap rather than bend.
Curing in jars
Trim dried buds and place them in airtight glass jars filled about three-quarters full. Open the jars once or twice daily for the first week (the burp) to release moisture. After 2 to 4 weeks of curing, the buds reach their final flavor and burn quality. Store cured buds in a cool dark place.
Common problems and pests
Most Jack Herer issues come from environmental stress or watering mistakes. The sativa-dominant structure also makes the plant vulnerable to mildew in humid rooms.
Drooping leaves with wet soil
Overwatering, the most common mistake for new growers. The roots cannot get enough oxygen between waterings. Hold off watering until the top inch of the medium is dry and the pot feels light when lifted. Skip a few waterings to let the medium dry out.
Yellow leaves climbing from the bottom
Usually nitrogen deficiency during veg, which is normal once flowering progresses. If yellowing is rapid or hits during veg, increase nitrogen at the next feeding. If the deficiency is happening late in flowering, this is the expected fade and not a problem.
Crispy brown leaf tips
Nutrient burn from too-strong feeding. Flush the medium with plain water, running plenty through until the runoff comes out clear. Resume feeding at half the previous strength.
White powdery film on leaves
Powdery mildew, common in humid rooms with poor airflow. Improve ventilation, lower humidity below 50 percent during flowering, and spray foliage with a horticultural oil or potassium bicarbonate solution. Remove badly affected leaves entirely.
Webbing under leaves and tiny moving dots (spider mites)
Spider mites build up fast in hot dry rooms. Spray the undersides of the leaves with a strong jet of water every few days. Apply insecticidal soap or neem oil to thorough leaf coverage. Stop neem applications at least 3 weeks before harvest.
Brown rotting spots inside buds (bud rot)
Botrytis fungal infection that destroys the interior of dense buds in humid conditions. Cut affected buds out immediately along with surrounding healthy tissue and discard them away from the grow area. Lower room humidity below 50 percent during flowering and increase airflow.
Bananas appearing inside buds (hermaphroditism)
Yellow banana-shaped pollen sacs form when a female plant is stressed during flowering. They self-pollinate and produce seedy buds. Pluck them out as soon as you see them. Address the root stress (heat, light leaks, irregular light cycle, nutrient lockout) to prevent more from forming.
Small black flies hovering over the medium (fungus gnats)
Adults breed in wet soil and the larvae chew root hairs. Let the top inch of medium dry between waterings to break their cycle. A layer of sand or grit on the soil surface blocks adults from laying eggs. Yellow sticky traps catch adults.
Bleached or curled top leaves (light burn)
Too much light intensity at the canopy. Raise the light or dim it down. The damaged leaves do not recover, but new growth above will be healthy once light levels are corrected.
About This Article
