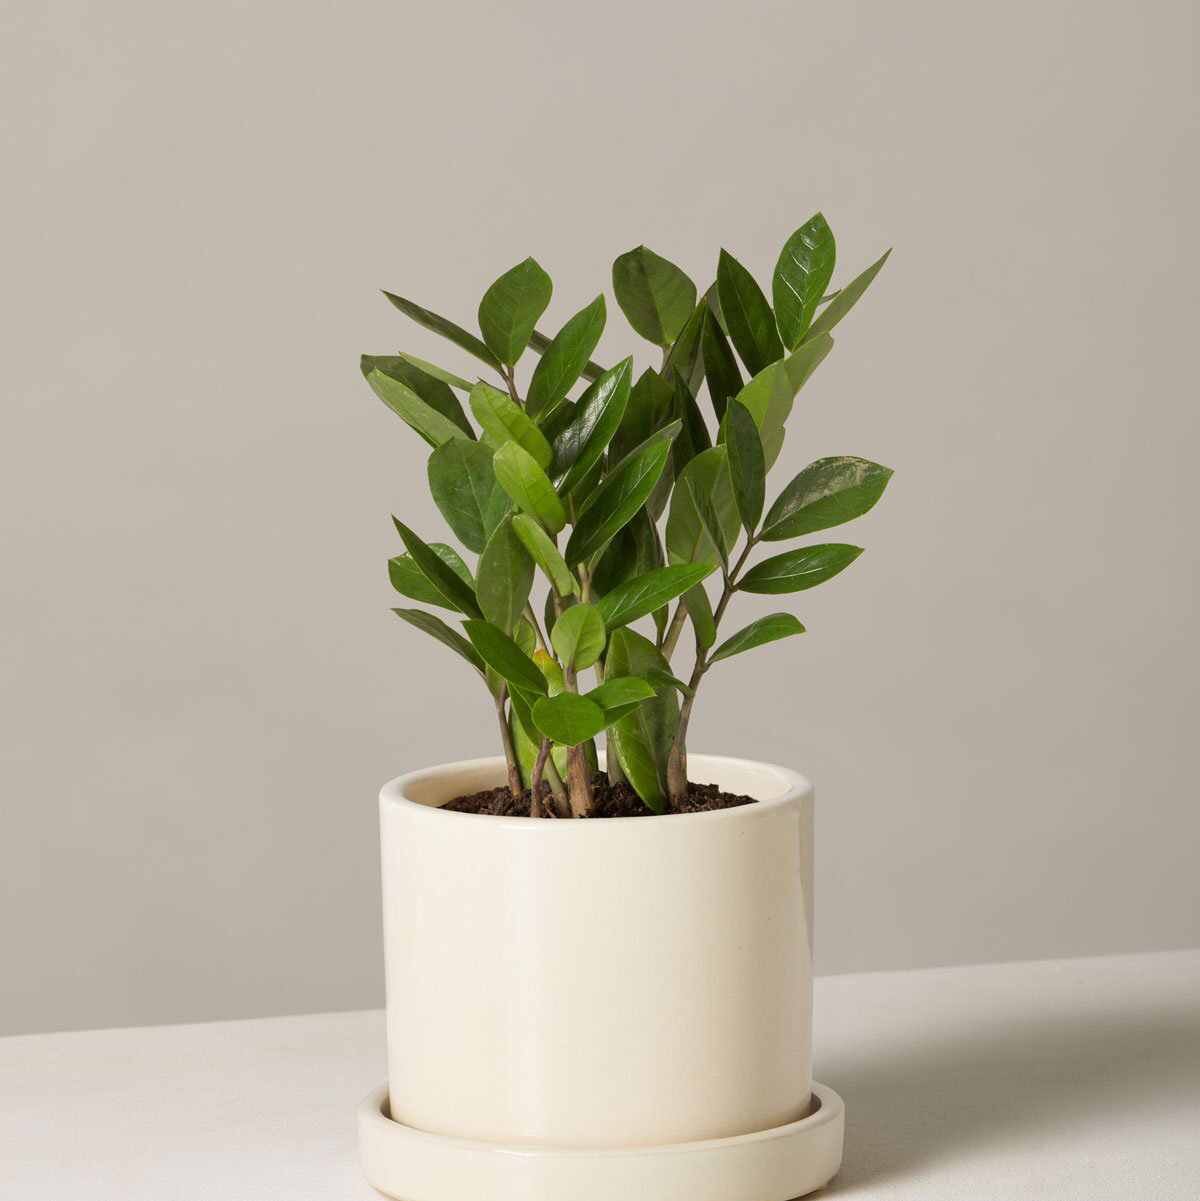
How to Repot a ZZ Plant
Repot a ZZ Plant every 4 to 6 years into a pot that's 1 to 2 inches wider than the current pot. Use a standard potting mix with a generous handful of perlite for fast drainage. Wait about a week before the first watering so the freshly cut roots can callus over.
How to Know It's Time to Repot
ZZ Plants grow slowly and store water in thick underground stems, so they happily stay snug in their pots for years. The signs of a truly outgrown pot are dramatic when they finally appear.
-
1The underground stems are pressing against the pot wall hard enough to bulge or crack it.
-
2The pot has been pushed out of round, or the plant has lifted itself above the soil line.
-
3New stalks coming up are noticeably shorter and weaker than the established ones.
-
4Soil drains poorly because the mix has broken down into compacted dust.
ZZ Plants tolerate cramped roots better than almost any houseplant, so don't repot just because the pot looks small. Wait until at least two of these signs are present, and expect a new pot only every 4 to 6 years for a mature plant.
The Best Time of Year to Repot
ZZ Plants recover slowly, so it's best to repot during their active growing season when warmth and longer days speed up root recovery. Late spring through early fall is the window.
Avoid repotting in winter, when the plant is essentially dormant and the freshly cut roots are very slow to heal. Use the map below to find your window.

How to Choose a Pot and Soil Mix
Pot Size
Move up to a pot that's 1 to 2 inches wider than the current pot. ZZ Plants prefer a snug fit, so resist the urge to jump several sizes up — too much wet soil around the swollen underground stems is the easiest way to rot them.
Pot Material
Terracotta is the best choice for ZZ Plants. The walls breathe, so the soil dries evenly between waterings instead of staying soggy around the swollen underground stems.
Plastic and glazed ceramic work too, but you'll need to water even less often to compensate for the slower drying. Whichever material you pick, make sure the pot has drainage holes. ZZ Plants rot fast in standing water.
Soil Mix
Mix two parts standard potting soil with one part perlite or pumice for the well-draining blend ZZ Plants want. A pre-mixed cactus or succulent blend works well too, since both prioritize fast drainage.
Skip moisture-control formulas and dense peat-heavy mixes. Both hold too much water for these underground stems and lead to rot.
How to Repot a ZZ Plant, Step by Step
-
1Let the soil dry out. Stop watering a week or two before you plan to repot. Dry soil falls away from the underground stems cleanly, makes any rotted sections easier to spot, and gives the freshly cut roots a chance to callus before they meet new soil.
-
2Pick the new pot. Choose a pot that's 1 to 2 inches wider than the current pot, with drainage holes. Layer an inch of fresh well-draining mix in the bottom so the underground stems will sit at the same height they did before.
-
3Lay the plant on its side. ZZ Plants are top-heavy and the stalks snap easily if you handle them upright. Lay the pot on its side and gently slide the root ball out. If it's stuck or the pot is cracked, you may need to break the pot off carefully with a hammer.
-
4Inspect the underground stems. Gently brush away the old soil so you can see the swollen underground stems and roots clearly. Trim away any sections that are black, mushy, or smell sour with a clean knife. Healthy underground stems are firm and pale tan or white.
-
5Set it in the new pot. Center the plant at the same depth it was growing before, with the underground stems just below the soil surface. Fill in around the sides with fresh mix, pressing gently as you go to keep the plant upright.
-
6Wait a week, then water. Do not water immediately. Let the freshly cut roots callus over in dry soil for about a week, then give the plant a thorough drink. Watering wet wounds is the fastest way to rot a ZZ Plant after a repot.
What to Expect After Repotting
Weeks 1 to 2
ZZ Plants are slow to show any change after a repot, so don't expect dramatic new growth right away. The leaves may look slightly duller than usual while the roots reestablish.
Keep the soil dry for the first week, then water normally. Give the plant bright indirect light and skip fertilizer for now.
Months 1 to 3
A new stalk pushing up from one of the underground stems is the signal that the plant has settled in. That can take a month or more, which is normal for this species.
Resume your normal watering rhythm and start light fertilizing when the next active season arrives, not by counting weeks. ZZ Plants only want fertilizer in spring or summer, and at half strength to start.
Got More Questions?
About This Article
