How to Repot a Peyote
Repot Peyote every 4 to 5 years into a deep pot that's 1 to 2 inches wider than the current pot. Use a very gritty, fast-draining cactus mix with at least half pumice or perlite. Wait at least two weeks before the first watering so the thick taproot can callus.
How to Know It's Time to Repot
Peyote is one of the slowest-growing cacti out there, so the signs of a truly outgrown pot are extremely quiet. Watch for these signals over the course of several seasons before deciding to repot.
-
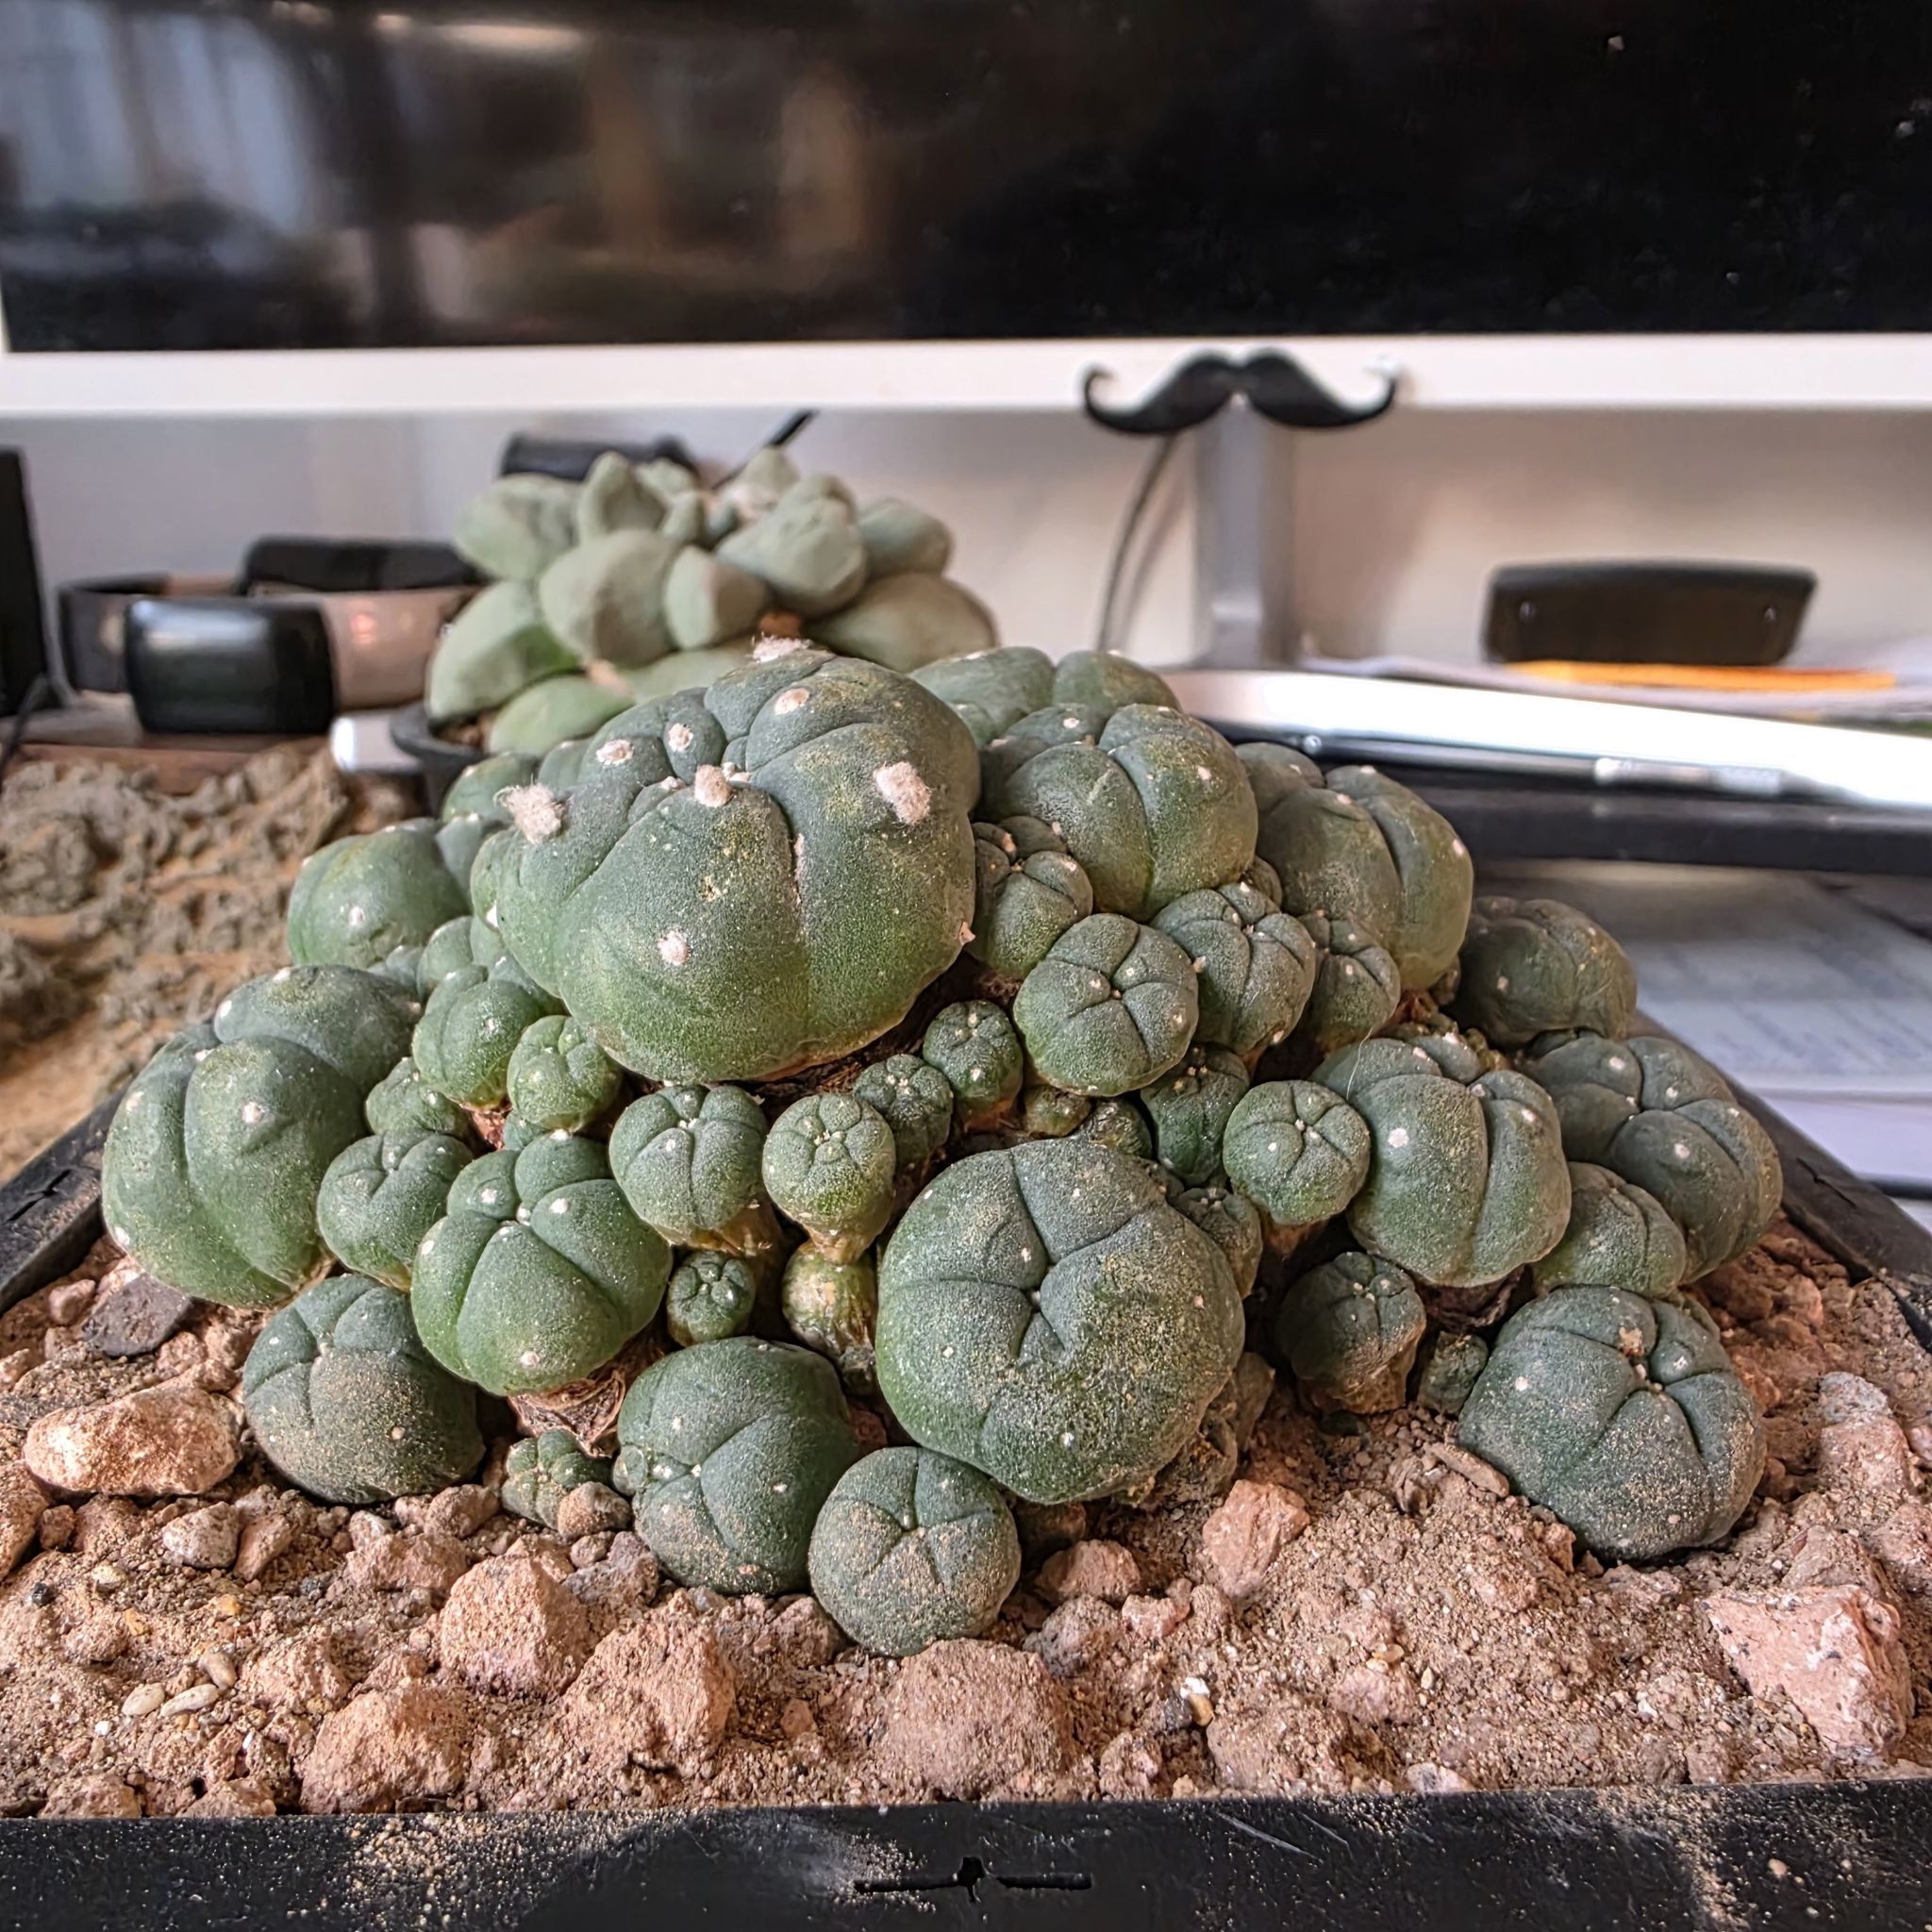
1Three or more new buttons have appeared since the last repot.
-
2The cluster has filled the pot from rim to rim with no soil visible.
-
3The taproot is pushing the plant up out of the soil or through the drainage hole.
-
4The soil has compacted into a brick that water runs straight off.
Peyote is happiest left undisturbed in the same pot for years, so don't repot unless you see clear signs the pot has been outgrown. Most Peyote plants only need a fresh pot every 4 to 5 years, and many go longer.
The Best Time of Year to Repot
Peyote grows in spring and fall and rests in the heat of summer and the cool of winter. Late spring, just as the plant is waking up and putting on fresh tissue, is the safest window for a repot.
Avoid repotting in the heat of midsummer or during winter rest, when fresh root growth slows to a halt. Use the map below to find your window.

How to Choose a Pot and Soil Mix
Pot Size
Move up to a pot that's 1 to 2 inches wider than the current pot, and pick one that's deep enough to accommodate the thick taproot. Peyote has a long, carrot-like root that needs vertical room. Too much extra width holds wet soil around the roots and rots them.
Pot Material
Terracotta is the best choice for Peyote. The breathable walls dry the soil evenly between waterings, which matches what these extremely rot-prone roots want.
Glazed ceramic and plastic work too, but you'll need to water even less often to keep up with the slower drying. Whichever material you pick, make sure the pot has drainage holes. Peyote rots at the first hint of standing water.
Soil Mix
Mix one part standard potting soil with two parts coarse pumice or perlite for the extra-gritty blend Peyote needs. A pre-mixed cactus soil amended with another half-portion of pumice also works. The finished mix should look mostly mineral, with just enough soil to hold it together.
Skip moisture-control formulas and any peat-heavy mix entirely. Both hold far too much water for a Peyote root system.
How to Repot a Peyote, Step by Step
-
1Let the soil dry out completely. Stop watering at least two weeks before you plan to repot, ideally a month. Bone-dry soil falls away from the thick taproot cleanly and gives the cuts the best chance to callus.
-
2Pick the new pot. Choose a deep pot that's 1 to 2 inches wider than the current pot, with drainage holes. Layer an inch of fresh gritty mix in the bottom so the top of the plant will sit at the same height it did before.
-
3Tip the plant out. Gently tip the pot on its side and slide the plant out. Wear gardening gloves to grip the soft body without bruising it. If it's stuck, run a thin knife around the inside edge of the pot to release it.
-
4Inspect the taproot. Gently brush the old soil off the taproot so you can see it clearly. Trim any black, mushy, or rotted sections with a clean blade. Healthy Peyote roots are firm, fleshy, and pale orange or tan.
-
5Set the taproot deep. Position the plant so the taproot runs straight down and the body sits with the top of the crown right at the soil line. Don't bury the body deeper than it grew before, or it will rot at the neck. Fill in around the sides with fresh gritty mix and press gently.
-
6Wait two weeks, then water lightly. Do not water immediately. Let the cuts callus over in dry soil for a full two weeks, then give the plant a small drink. Watering wet wounds is the most common way Peyote is killed after a repot.
What to Expect After Repotting
Weeks 1 to 4
Peyote shows almost no visible change in the first month after a repot, which is normal. The plant is quietly rebuilding its root system underground.
Keep the soil completely dry for the first two weeks, then start with a single light watering. Give the plant bright filtered light, easing into direct sun gradually, and skip fertilizer entirely.
Months 2 to 6
The clearest signal that the repot took is a fresh button beginning to swell at the edge of the crown in the next active season. With Peyote, that can take many months, which is fine.
Continue watering only when the body shows a slight wrinkle, never on a schedule. Hold off on any fertilizer until the next active growing season, since Peyote needs almost none and burns easily on fresh roots.
Got More Questions?
About This Article
