Best Pot for Venus Fly Trap
What Size Pot Does a Venus Fly Trap Need?
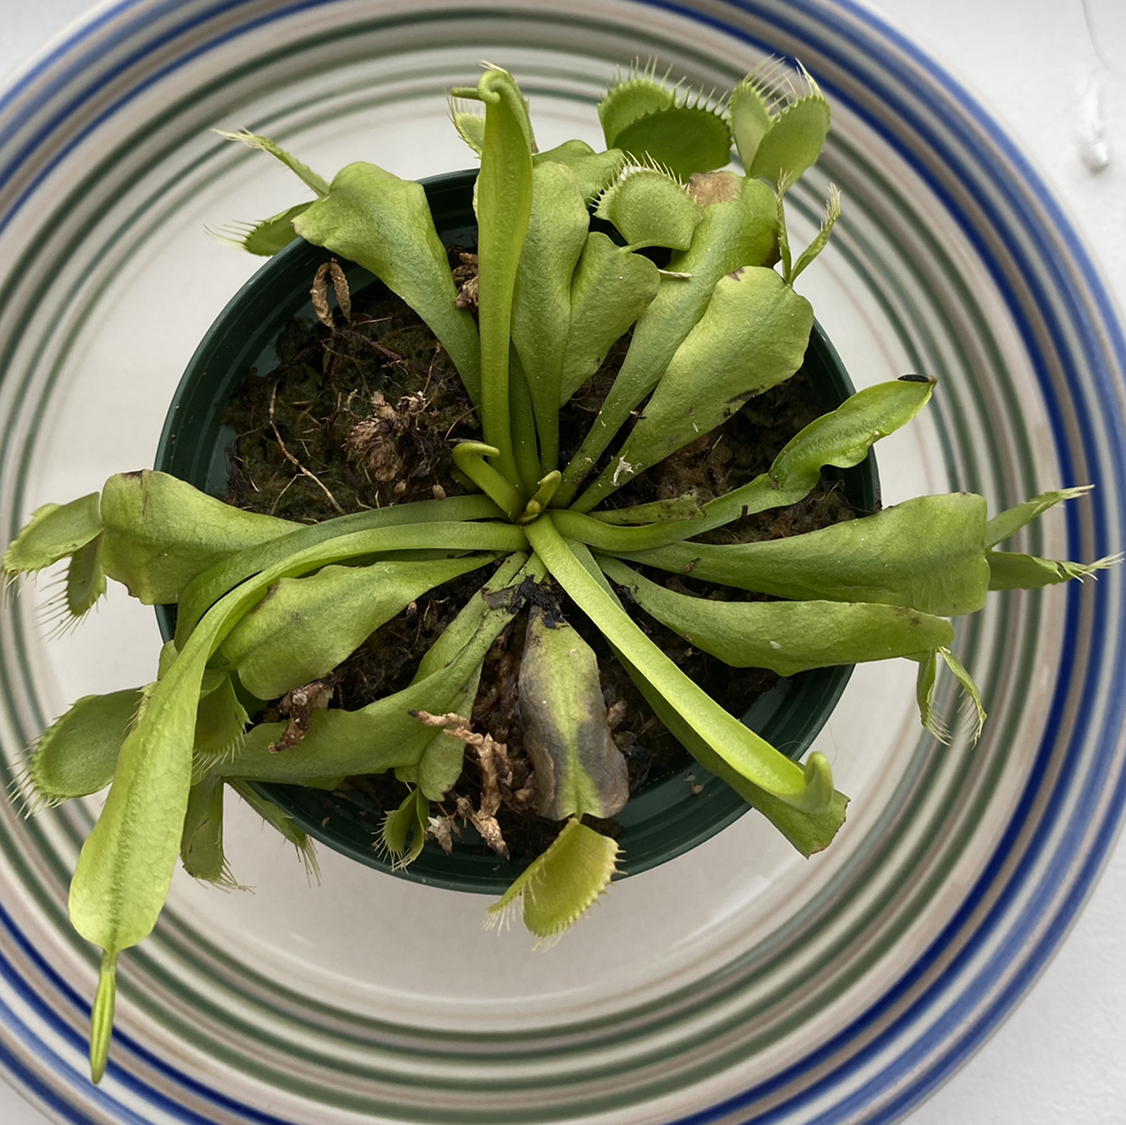
Venus Fly Traps stay small, topping out at about 5-6 inches across. A 3-5 inch pot is perfect for most plants. The pot should be at least 4 inches deep to give the roots room to grow downward, since Venus Fly Trap roots are surprisingly long for such a small plant.
Avoid oversized pots. A pot that's too big doesn't harm the plant the way it does with other species, but it wastes the special mineral-free soil mix that Venus Fly Traps require.
Many growers keep Venus Fly Traps in community pots with other carnivorous plants. If you do this, make sure all the plants share the same soil and water needs.
What Material Pot Is Best for Venus Fly Trap?
Venus Fly Traps are bog plants native to nutrient-poor Carolina wetlands. Their roots are extremely sensitive to dissolved minerals. This makes pot material a critical choice, because some materials leach minerals into the soil and slowly poison the plant.
The pot also needs to support consistently moist conditions. Venus Fly Traps should never dry out, so a material that retains moisture is a plus rather than a problem.
Venus Fly Traps are bog plants that need constantly moist soil, but they are extremely sensitive to minerals. This makes pot choice more important than for most plants.
Plastic is the most popular option because it is completely inert and holds moisture well. Glazed ceramic works great too, since the glaze prevents any minerals from leaching into the soil.
Avoid fabric (dries out far too fast for a bog plant), unglazed ceramic, wood, and metal. All of those materials can release trace minerals over time, which slowly poison these sensitive carnivorous plants.
Does My Venus Fly Trap Need Drainage Holes?
Yes, but the approach is different from most houseplants. Venus Fly Traps need drainage holes to prevent stagnant water from going anaerobic, but they also need to stay consistently wet. The standard method is the tray method: set the pot in a shallow tray of distilled or rain water so the soil wicks moisture up from below.
Keep the water level about halfway up the pot during the growing season. In winter dormancy, reduce to just damp soil. Never use tap water, as the minerals will accumulate and harm the plant.
When Should I Repot My Venus Fly Trap?
Repot your Venus Fly Trap every 1-2 years, ideally in late winter or early spring just as it comes out of dormancy. This timing lets the plant settle into fresh soil before the active growing season.
Use only a mix of peat moss and perlite (or long-fiber sphagnum moss) with no fertilizer or added nutrients. Standard potting soil will kill a Venus Fly Trap. Rinse the perlite before mixing to remove dust and mineral residue.
When repotting, you can divide clumps that have produced multiple rosettes. Each division should have its own root system.
When Can I Plant My Venus Fly Trap in the Ground?
Venus Fly Traps are native to a small region of the Carolinas and grow outdoors year-round in USDA zones 6a through 11b. They actually benefit from outdoor conditions, including a cold winter dormancy period. If you live in these zones, you can create a bog garden using pure peat and perlite in a lined bed that holds water.
Outside their range, container growing is easier to manage. Keep the pot outdoors in full sun from spring through fall and provide a cool dormancy spot (35-50F) in winter. A cold garage or unheated porch works well.
Got More Questions?
About This Article
