A glazed ceramic or plastic pot works best for Maidenhair Fern because these materials hold the consistent moisture this plant craves. Choose a wide, shallow pot 1-2 inches larger than the root ball, and make sure it has drainage holes to prevent waterlogging.
What Size Pot Does a Maidenhair Fern Need?
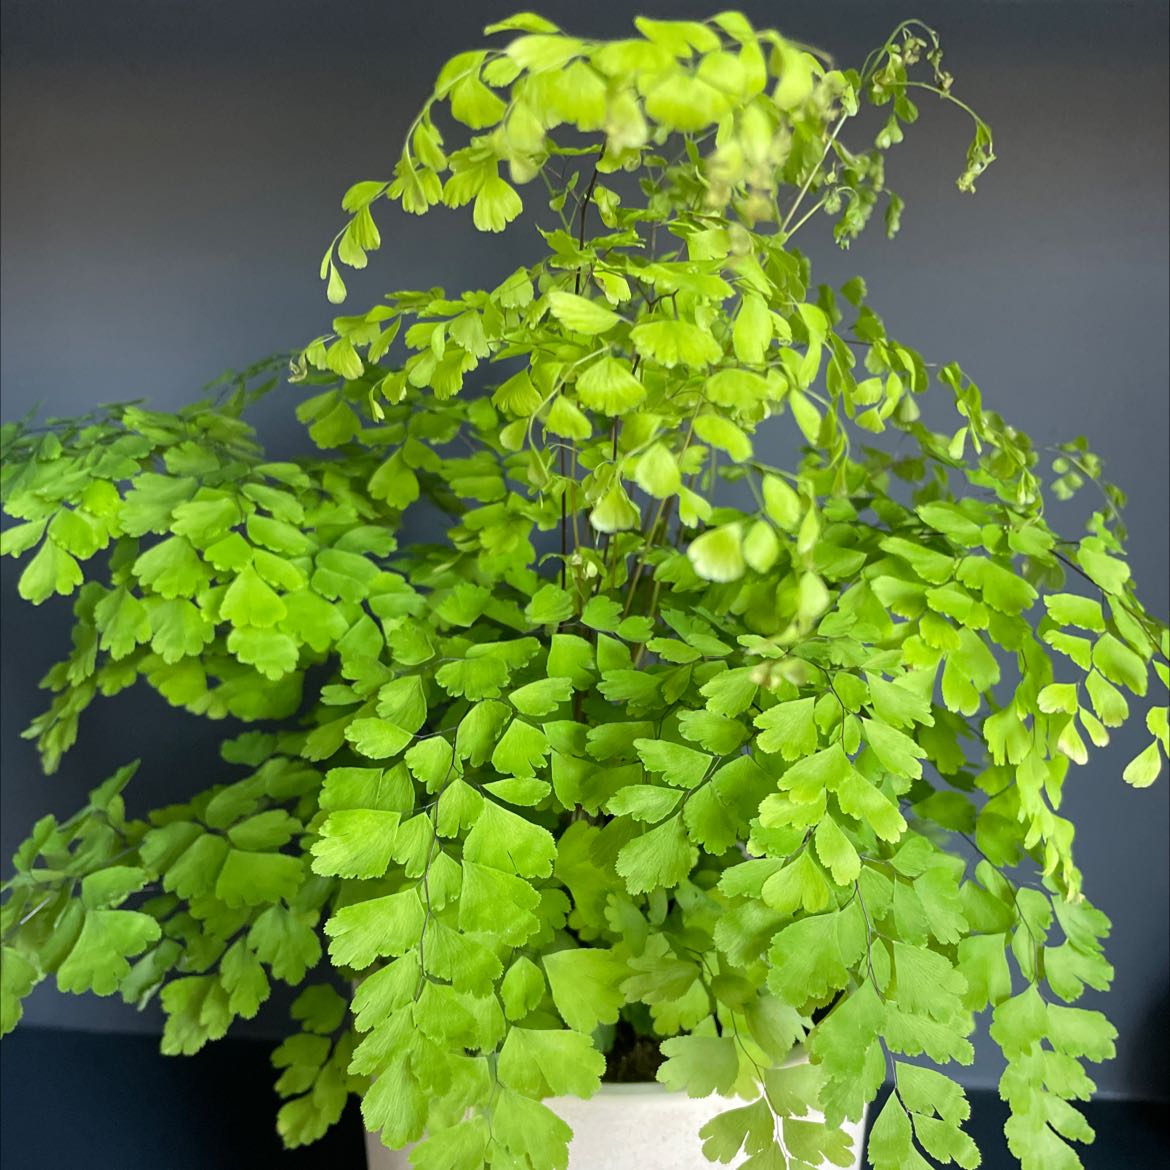
Maidenhair Fern has a shallow, clumping root system that spreads outward rather than downward. A wide, shallow pot suits it better than a tall, narrow one.
When repotting, go 1-2 inches wider than the current pot. Avoid jumping more than that, because excess soil around the edges stays soggy and can suffocate the fine roots.
If fronds start wilting within a day of watering or roots are matted at the surface, the plant has outgrown its pot. If the soil stays wet for more than a week, the pot is likely too large.
Young plant (under 6")4–5" wide pot
Medium plant (6–12")6–8" wide pot
Mature clump (12–18")8–10" wide pot
What Material Pot Is Best for Maidenhair Fern?
Maidenhair Fern has delicate, hair-thin roots that dry out quickly and cannot recover once fully desiccated. The roots need steady moisture without waterlogging, so a pot that retains some water while still allowing drainage is ideal.
Breathable materials that dry fast work against this plant. Keeping the soil evenly moist is the single biggest challenge with Maidenhair Fern, and the right pot makes it much easier.
Dries fastest → Slowest
FabricTOO FAST
Dries out far too quickly for Maidenhair Fern's moisture-hungry roots, leading to crispy fronds.
Unglazed Ceramic
Wicks moisture from the soil faster than this fern prefers. Workable with frequent watering but not ideal.
Best for Maidenhair Fern
Wood
Retains a bit more moisture than terracotta, which helps buffer against drying out.
Glazed Ceramic
A great choice. Holds moisture evenly and looks beautiful with the delicate fronds.
Plastic
Locks in moisture well, making it easier to keep soil consistently damp.
Metal
Retains moisture effectively. Just keep it out of direct sun to avoid heating the roots.
Maidenhair Ferns are the divas of the fern world when it comes to moisture. Their delicate fronds crisp up fast in dry soil, so this plant needs a pot that holds water well. Fabric dries far too fast, and even unglazed ceramic can be tricky.
The best choices are on the moisture-retaining side of the spectrum. Glazed ceramic is a favorite because it holds water evenly and looks beautiful with those lacy fronds. Plastic locks in moisture just as well and is the most practical, low-fuss option.
Wood and metal both retain enough moisture to work. Metal should stay out of direct sun to avoid heating the roots, but for an indoor Maidenhair Fern that's rarely an issue.
Stay on top of plant care
Get seasonal reminders for watering and fertilizing — personalized for your plants.
Yes. Even though Maidenhair Fern loves moisture, standing water at the bottom of a pot will rot the roots. Drainage holes let excess water escape while the soil stays evenly damp.
A pot with drainage paired with a saucer underneath is the safest setup. You can keep a small amount of water in the saucer to boost humidity, but never let the pot sit in standing water for more than an hour.
When Should I Repot My Maidenhair Fern?
Maidenhair Fern grows at a moderate pace and typically needs repotting every 1-2 years. The best time is in spring, when new fronds are just starting to unfurl.
When you repot, gently loosen the root ball without tearing the fine roots. Set the plant at the same depth it was growing before, and water thoroughly right after.
Avoid disturbing the roots more than necessary. Maidenhair Fern is sensitive to transplant shock, so keep it in a humid spot for a week or two after repotting to help it settle in.
Signs It's Time to Repot
Roots matted at the soil surface
Fronds wilt within a day of watering
Water runs straight through without soaking in
New fronds are smaller than older ones
Root ball holds the shape of the pot when removed
When Can I Plant My Maidenhair Fern in the Ground?
Maidenhair Fern can grow in the ground year-round in USDA zones 9a through 11b. Plant it in a shaded, sheltered spot with consistently moist, humus-rich soil. It does well along shaded walls, near water features, or under tree canopy.
In cooler zones, keep it in a container so you can bring it indoors before the first frost. Maidenhair Fern has zero tolerance for freezing temperatures, and even a light frost will kill the fronds back to the soil.
Got More Questions?
Can I use a pot without drainage holes for Maidenhair Fern?
It is risky. While this fern loves moisture, standing water causes root rot. A pot with drainage holes and a saucer is a much safer way to maintain humidity.
How do I know if my Maidenhair Fern's pot is too big?
If the soil stays soggy for more than a week after watering, the pot is too large. The fine roots cannot absorb water from a large volume of soil quickly enough, and they may rot.
Should I use a self-watering pot for Maidenhair Fern?
Self-watering pots can work well for this plant. They provide the steady moisture Maidenhair Fern craves without the risk of overwatering, making care much easier.
Can I grow Maidenhair Fern in a hanging basket?
You can, but hanging baskets dry out faster due to increased air circulation. Line the basket with moss or plastic to retain moisture, and expect to water more frequently.
Does Maidenhair Fern like to be root-bound?
It tolerates being slightly snug but does not prefer it. Once roots fill the pot, the soil dries out too quickly for this moisture-loving fern. Repot when roots crowd the container.
Stay on top of plant care
Get seasonal reminders for watering and fertilizing — personalized for your plants.
Kiersten Rankel holds an M.S. in Ecology & Evolutionary Biology from Tulane University. A certified Louisiana Master Naturalist, she has over a decade of experience in science communication, with research spanning corals, cypress trees, marsh grasses, and more. At Greg, she curates species data and verifies care recommendations against botanical research.
See Kiersten Rankel's full background on LinkedIn.
Editorial Process
Container guidance verified against Adiantum capillus-veneris growth data from Greg's botanical database, cross-referenced with USDA hardiness zone data and published horticultural research.