4 Tips for Propagating Your Erica
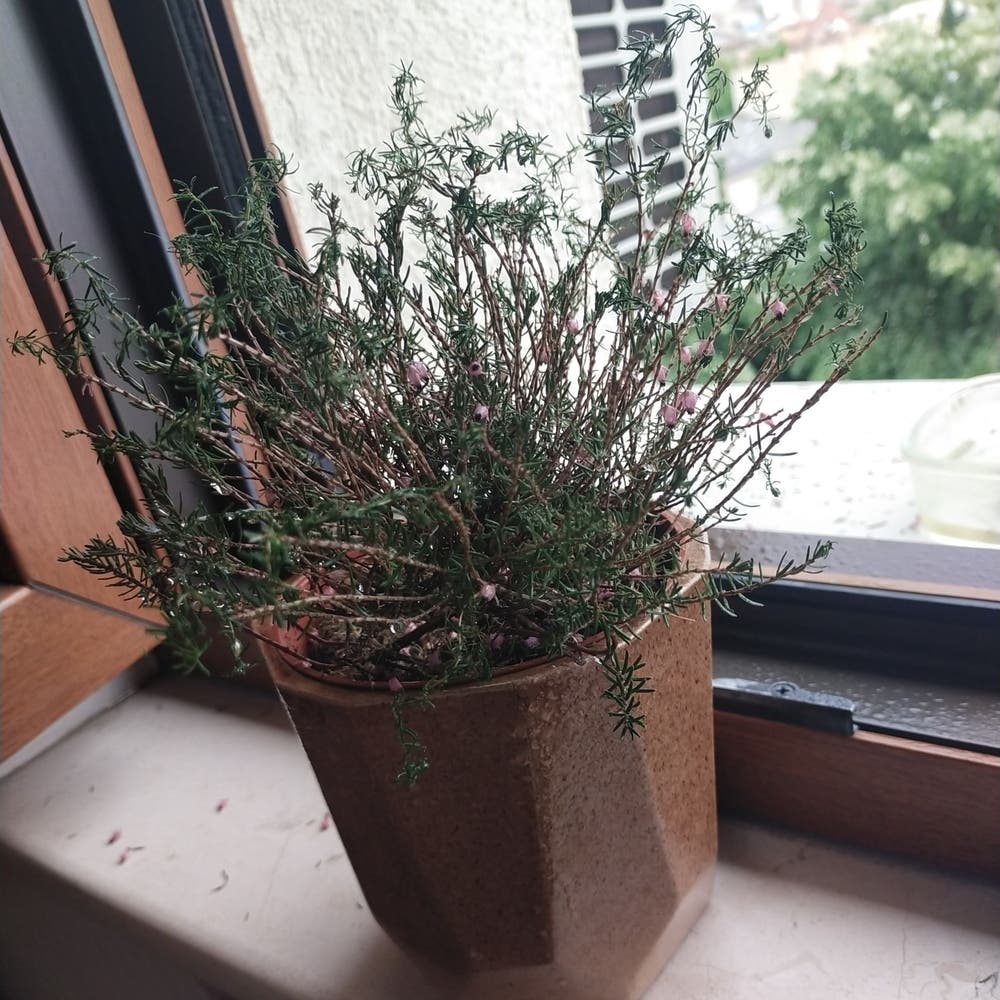
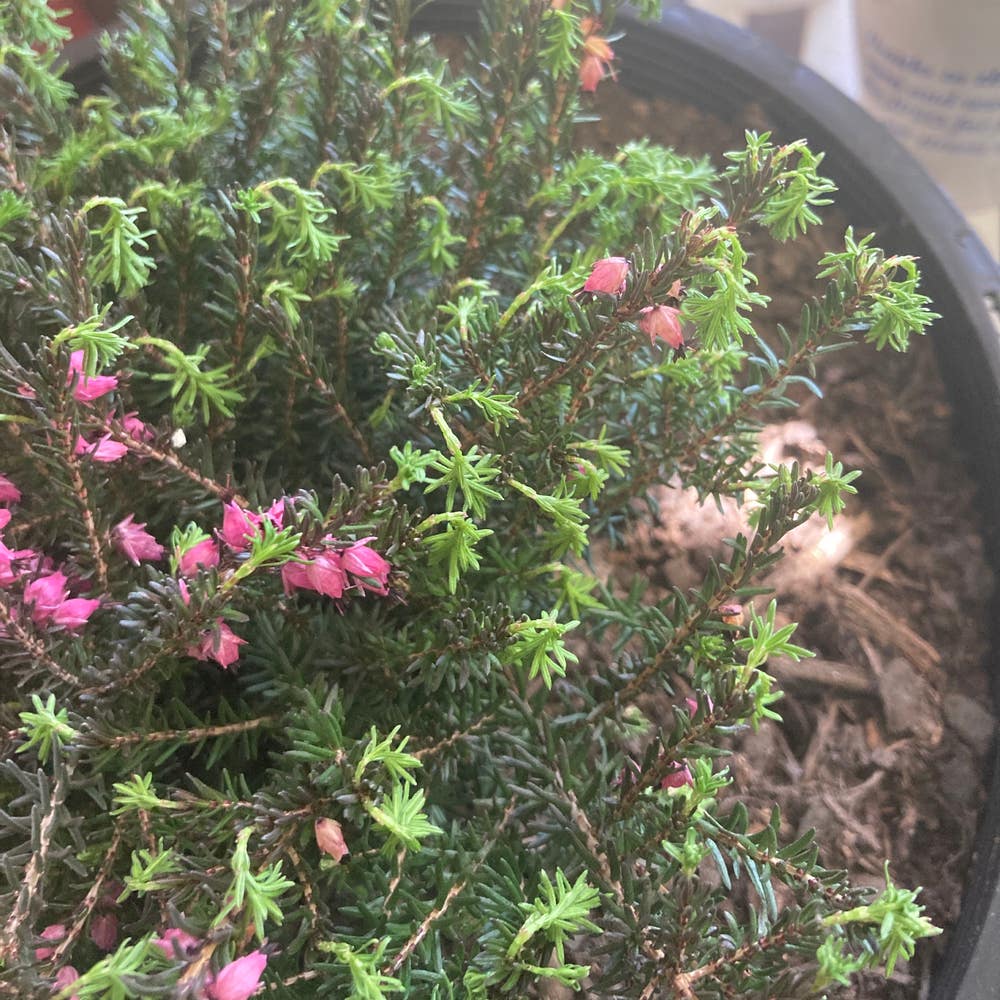
Erica scabriuscula
By the Greg Editorial Team
Nov 07, 2024•4 min read
This article was created with the help of AI so we can cover more plants for you. May contain errors. See one? Report it here.
Master Erica propagation 🌱 with these expert techniques to grow your garden effortlessly and thrive!
- 🌱 Use healthy, non-flowering stems for effective Erica propagation cuttings.
- ✂️ Sterilize tools to prevent disease when taking cuttings for best results.
- 💧 Maintain humidity and moisture for cuttings by covering them to encourage rooting.
Propagation Methods
🌱 Propagating from Cuttings
Step-by-step guide for tsoilg cuttings
To start propagating your Erica, select healthy, non-flowering stems that are about 4-6 inches long. Make a clean cut using sterilized prutemperature to prevent any disease from affecting your plant.
Next, remove the lower leaves by strippindirect sunlight bottom 2 inches of the cutting. This prepares the stem for rooting and reduces moisture loss.
Ideal time for taking cuttings
The best time to take cuttings is during late spring to early summer when the plant is actively growing. This timing well-drainingr chances of successful propagation.
Using rooting hormone
For enhanced root development, dip the cut end of the cutting into rootEricaormone. This simple step significantly increases the chances of successful rooting.
Best soil mix for cuttings
Use a soil mix of equal parts peat moss and perlite to ensure excellent drainage. Aim for a slightly acidic pH of 5.5 to 6.5 for optimal growth conditions.
Care for cuttings durirootsoting
Keep the soil consistently moist but not waterlogged to encourage healthy root growth. Place your cuttings in bright, indirect light to provide the energy they well-drainingthe risk of scorching.
To maintain humidity, cover the cuttings with a plastic bag or dome. This creates a mini-greenhouse effect, helping your cuttings thrive.
🌱 Propagating from Seeds
How to collect and prepare seeds
Harvest seeds from mature flower heads once they turn brown. Clean the seeds and allow them to dry for a few days before planting.
Seed germination process
Sow the seeds by scattering them on the surface of your soil mix without covering them. Water gently by misting the soil to avoid displacing the seeds.
Optimal conditions for seed germination
Maintain a temperature of 65°F to 70°F (18°C to 21°C) for optimal germination. Provsoilbright light while avoiding direct sunlight to prevent overheating.
Typically, seed germination takes about 2-4 weeks. Patience is key during this stage!
Transplanting seedlings
Transplant your seedlings when they have at leassoilo sets of true leaves. Space them 6-12 inches apart in well-draining soil to give them room to grow.
🌿 Division as a Propagation Method
When to divide plants
The idewiltingng fyellowingng your Erica plants is in early spring or fall when they are noMoldtively flowering. This minimizes stress on the plants.
Step-by-step division process
Start by watering the plant to ensure the soil is moist before dividing. Carefully dig up the entire root ball using a spade.
Next, geSoil pull apart the roots into sections, ensuring each section has both roots and foliage. This will help each new plant thrive.
Post-division care
Replant the divisions immediately in well-draining soil. Water thoroughly to ensure the rootsis moist but not soggy.
Monitor the plants for stress and provide shade for a few days to reduce transplant shock. This extra care will help them settle in.
🌱 Layering Technique
Explanation of layering method
Layering involves bending a stem to the ground and covering part of it with soil to encourage rooting while still attached to the parent plant. This method is effective and relatively easy.
Best practices for successful layering
Choose a flexible, healthy stem that can easily bend to the ground. Make a small cut or scrape on the underside of the stem to encourage rooting.
Bury the wounded section in soil, leaving the tip exposed. This allows the stem to continue receiving nutrients from the parent plant while developing roots.
Timing and care for layered plants
The best time for layering is in spring or early summer. Keep the soil moist and monitor for root development, which may take several months.
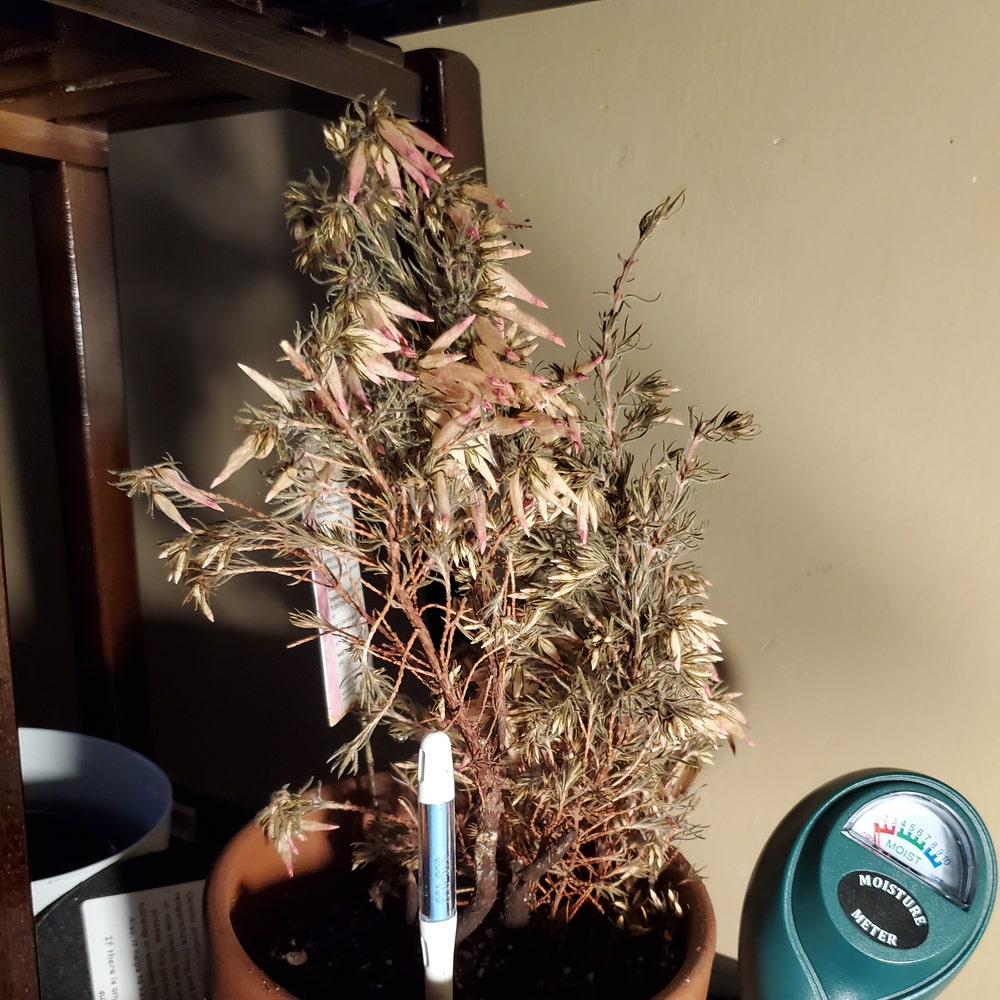
⚠️ Challenges in Propagation
Common Issues with Cuttings
Watch for signs of failure, such as wilting or yellowing leaves, which indicate a lack of moisture or root development. Mold growth suggests excess humidity or poor air circulation.
Adjust humidity levels and consider re-cutting with fresh cuttings if necessary. Staying vigilant can save your propagation efforts.
Seed Germination Challenges
Soil moisture and temperature fluctuations can hinder seed germination. Check seed viability and adjust light conditions to improve your chances of success.
Division and Layering Pitfalls
Avoid dividing too late or not providing enough roots, as this can stress the plant. Handle divisions carefully to prevent damage to the parent plant.
With these methods and tips, you're well on your way to successfully propagating your Erica. Each technique offers unique advantages, so choose the one that best fits your gardening style!
⚠️ Safety First
This content is for general information and may contain errors, omissions, or outdated details. It is not medical, veterinary advice, or an endorsement of therapeutic claims.
Always consult a qualified healthcare professional before using any plant as food, medicine, or supplement.
Never eat any plant (or feed one to pets) without confirming its identity with at least two trusted sources.
If you suspect poisoning, call Poison Control (800) 222-1222, the Pet Poison Helpline (800) 213-6680, or your local emergency service immediately.
Spotted an error? Please report it here.
Propagate your Erica like a pro 🌿 with Greg's tailored reminders and expert tips that ensure your cuttings thrive every step of the way!